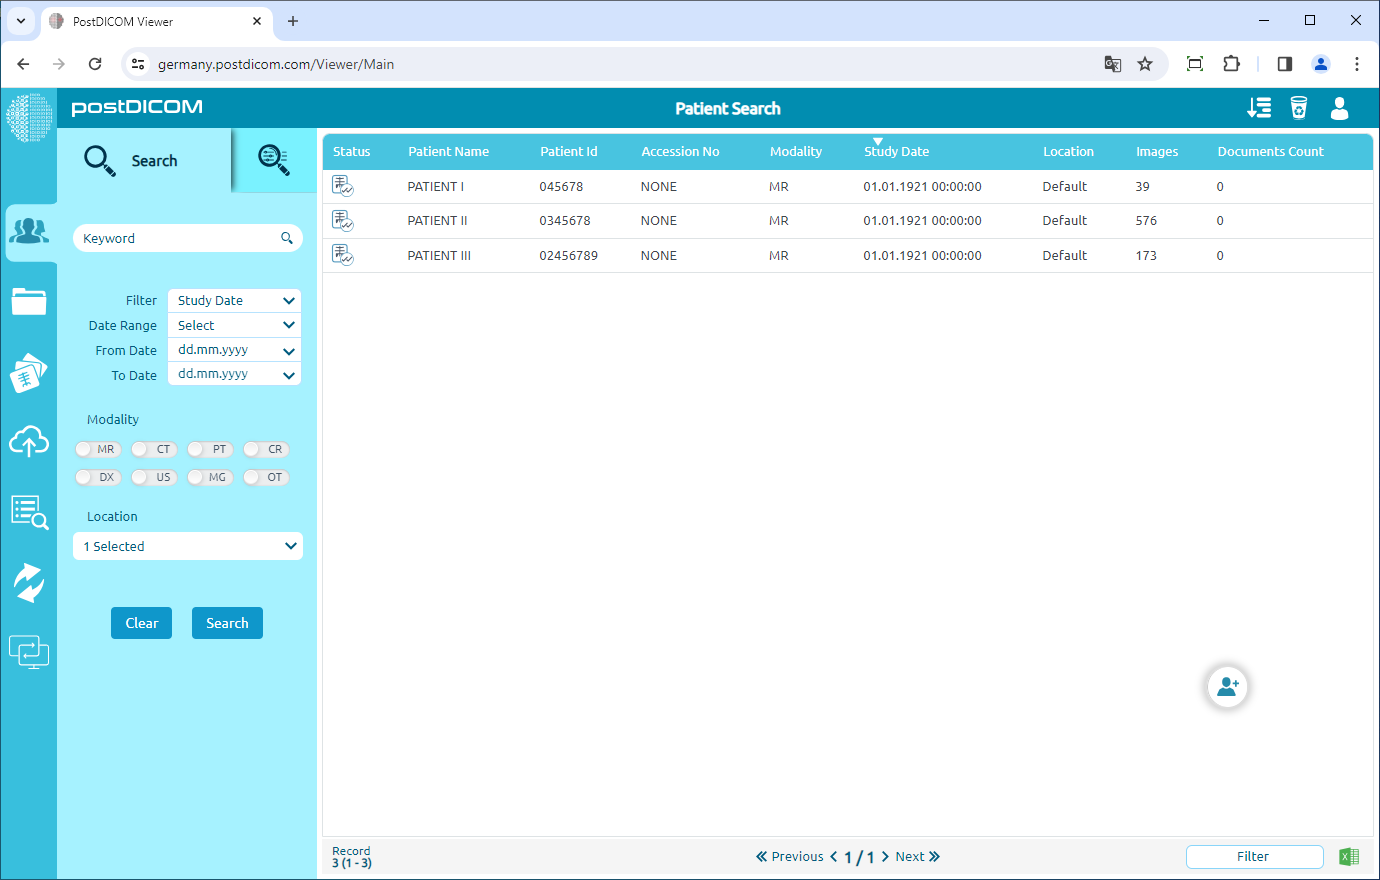
On "Patient Search" page, you will see all patient orders with patient name, patient id, accession no, modality,study date,location, images count columns information.
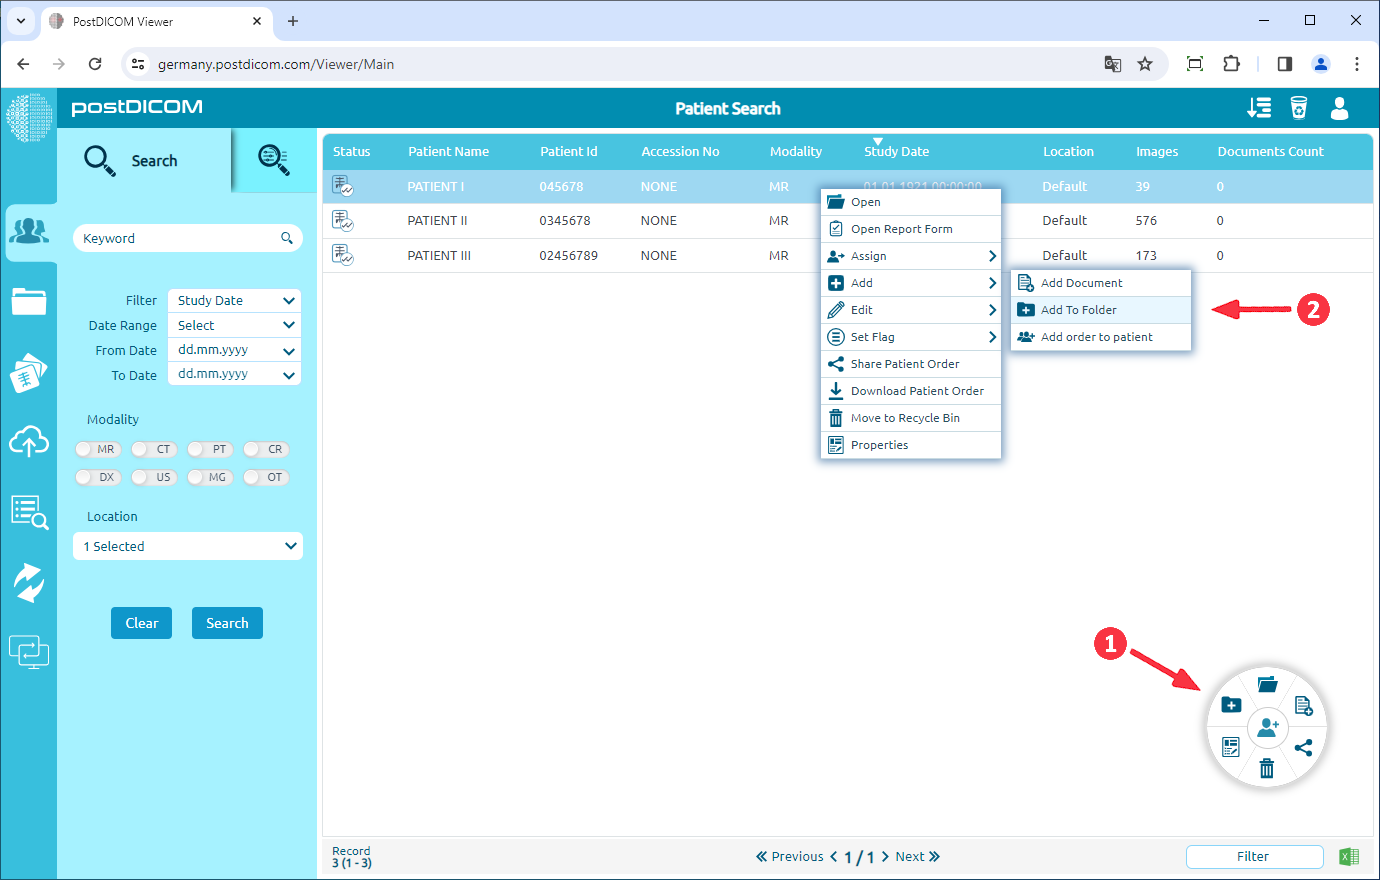
Click on the patient order, it will be selected and turn into blue color and order editing will be shown. Now, patient orders can be added to folders in two different ways. The first one is by clicking on the "Add Order to a Folder" icon. The second one is right clicking on the patient order and clicking on "Add To Folder" menu item.
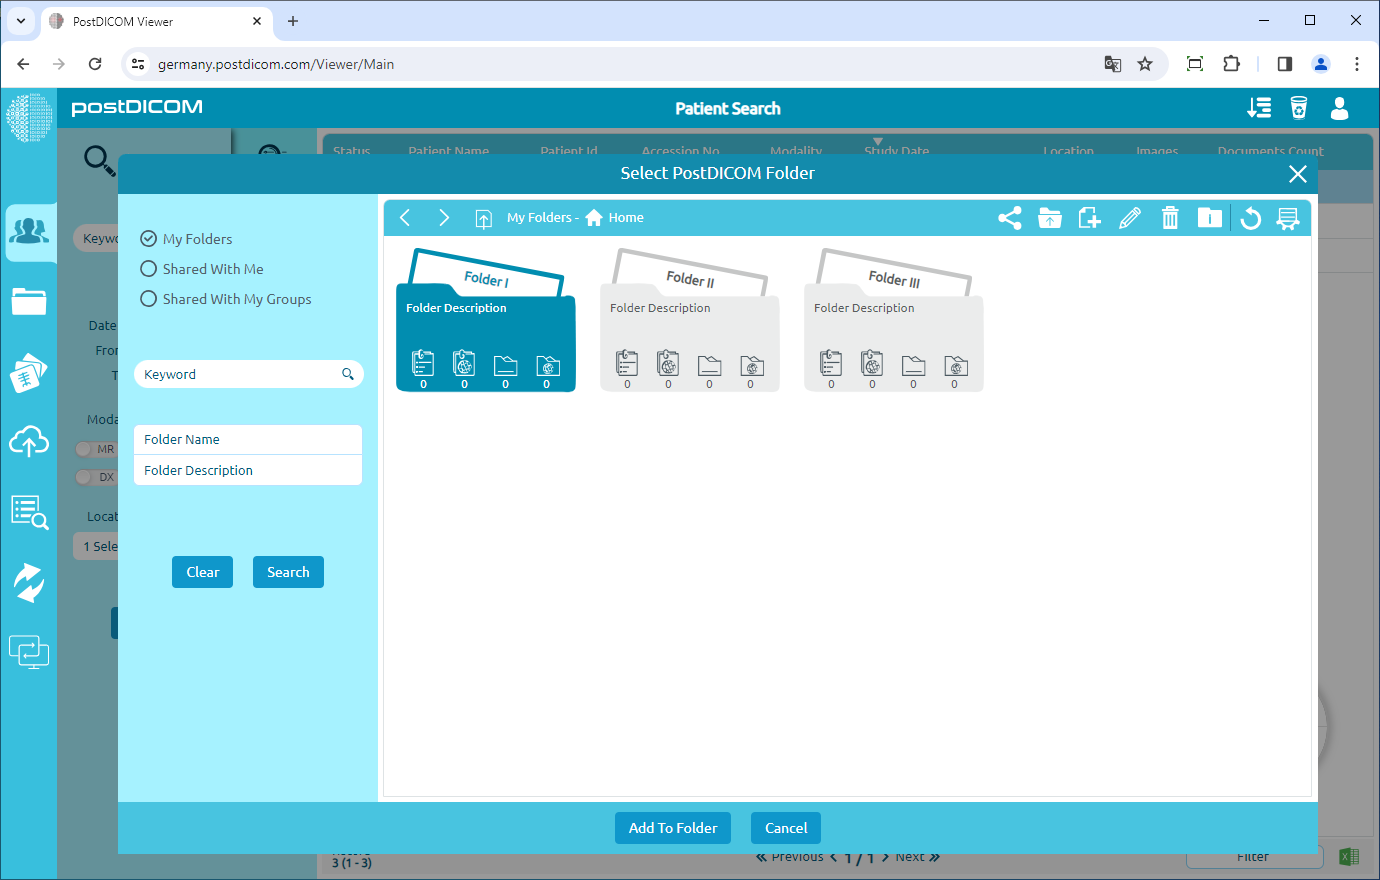
The "Add to Folder" form will be shown and all of the folders and their contents will be displayed. Click on the folder that you want to add to the order. The selected folder will turn into blue color and if you click on it again it will be deselected. After you have selected the destination folder, click on the “Add To Folder” button to complete the folder selection process.
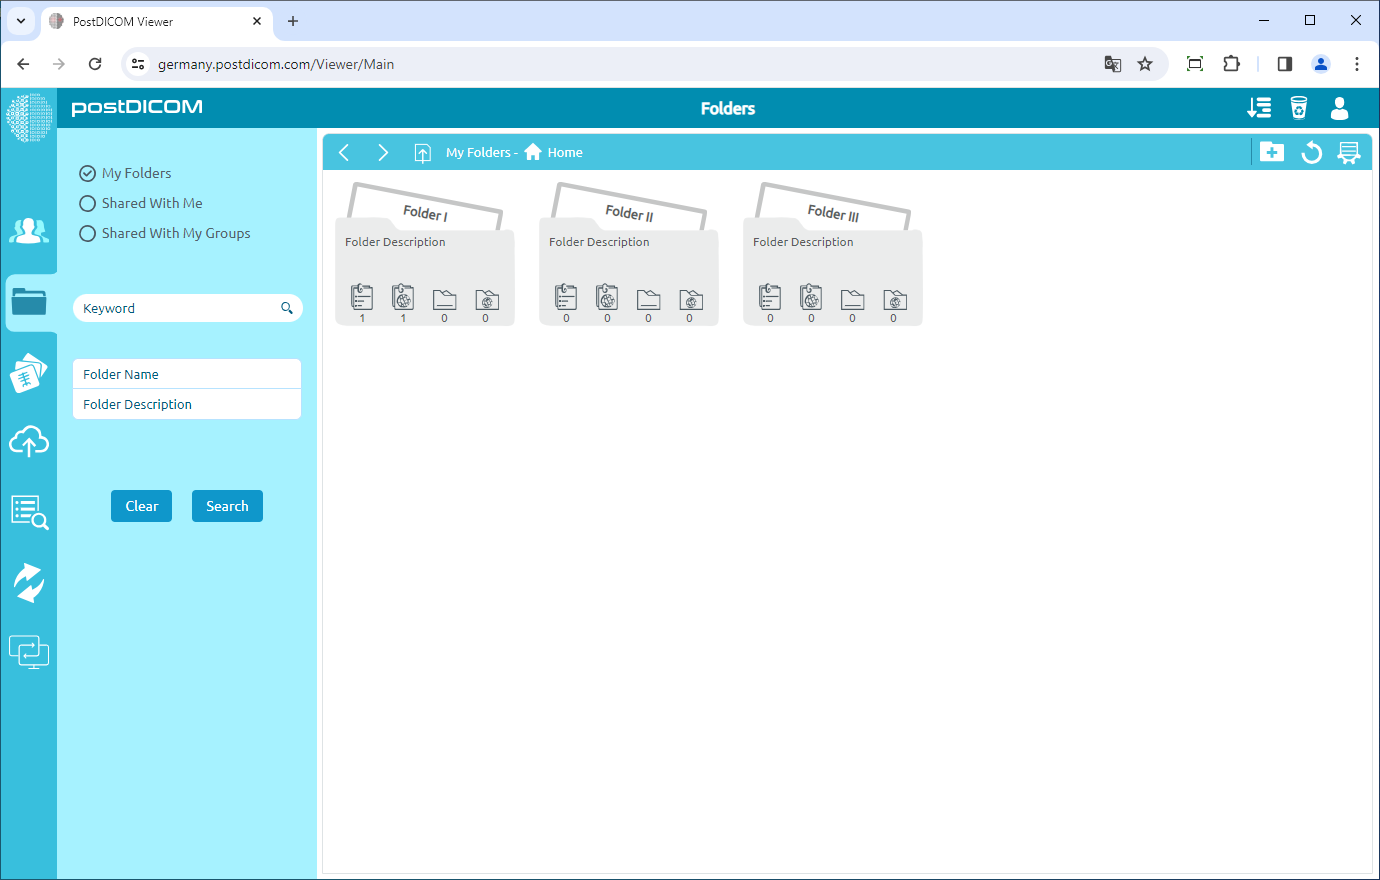
After clicking "Add To Folder", the patient order will be added to the destination folder. On "Folders" page, you will see that the number of orders of the folder increases by one.
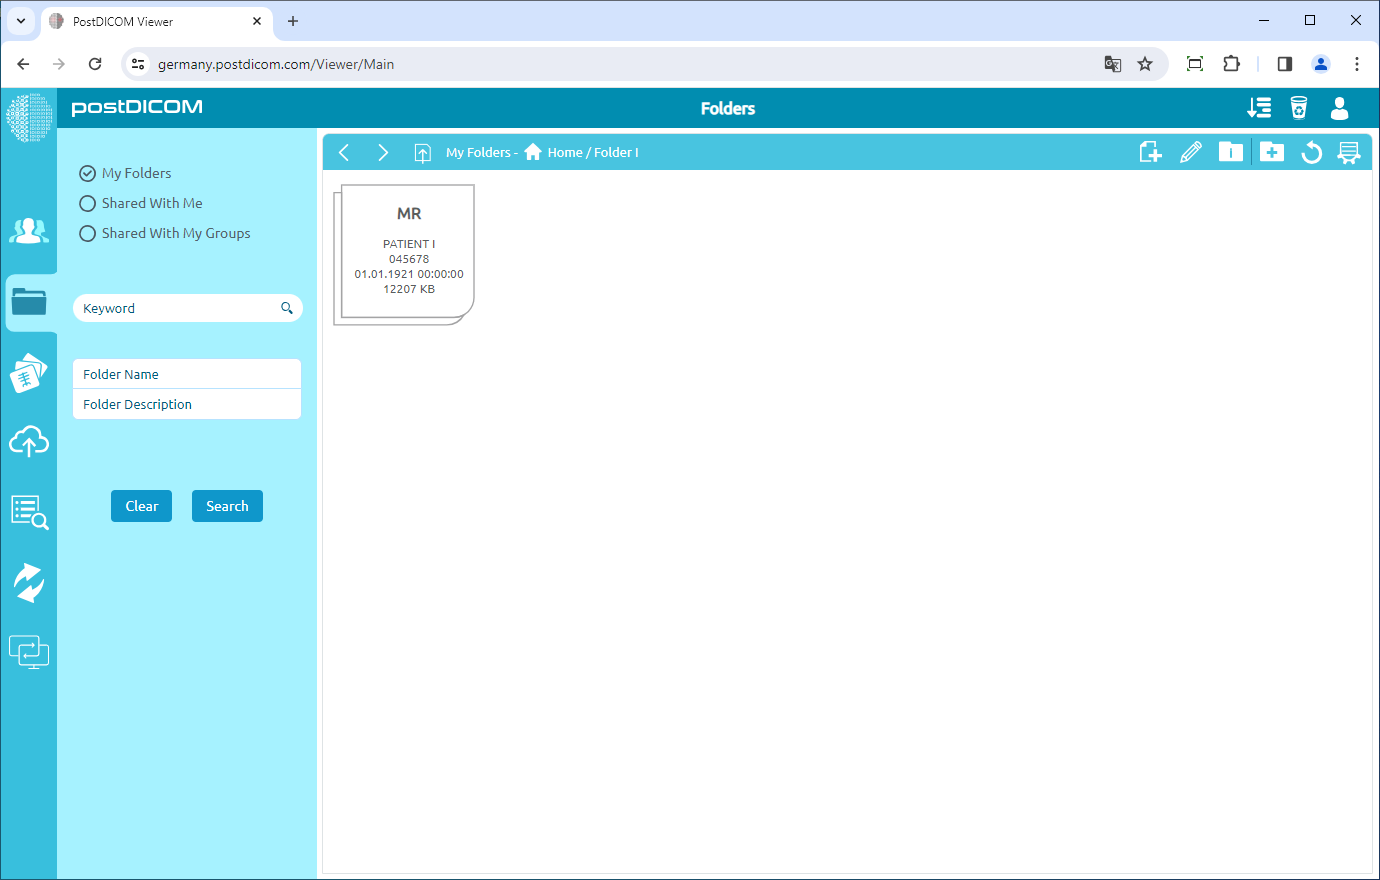
When you open the destination folder by double-clicking on it, the patient order you added will be shown in the folder.
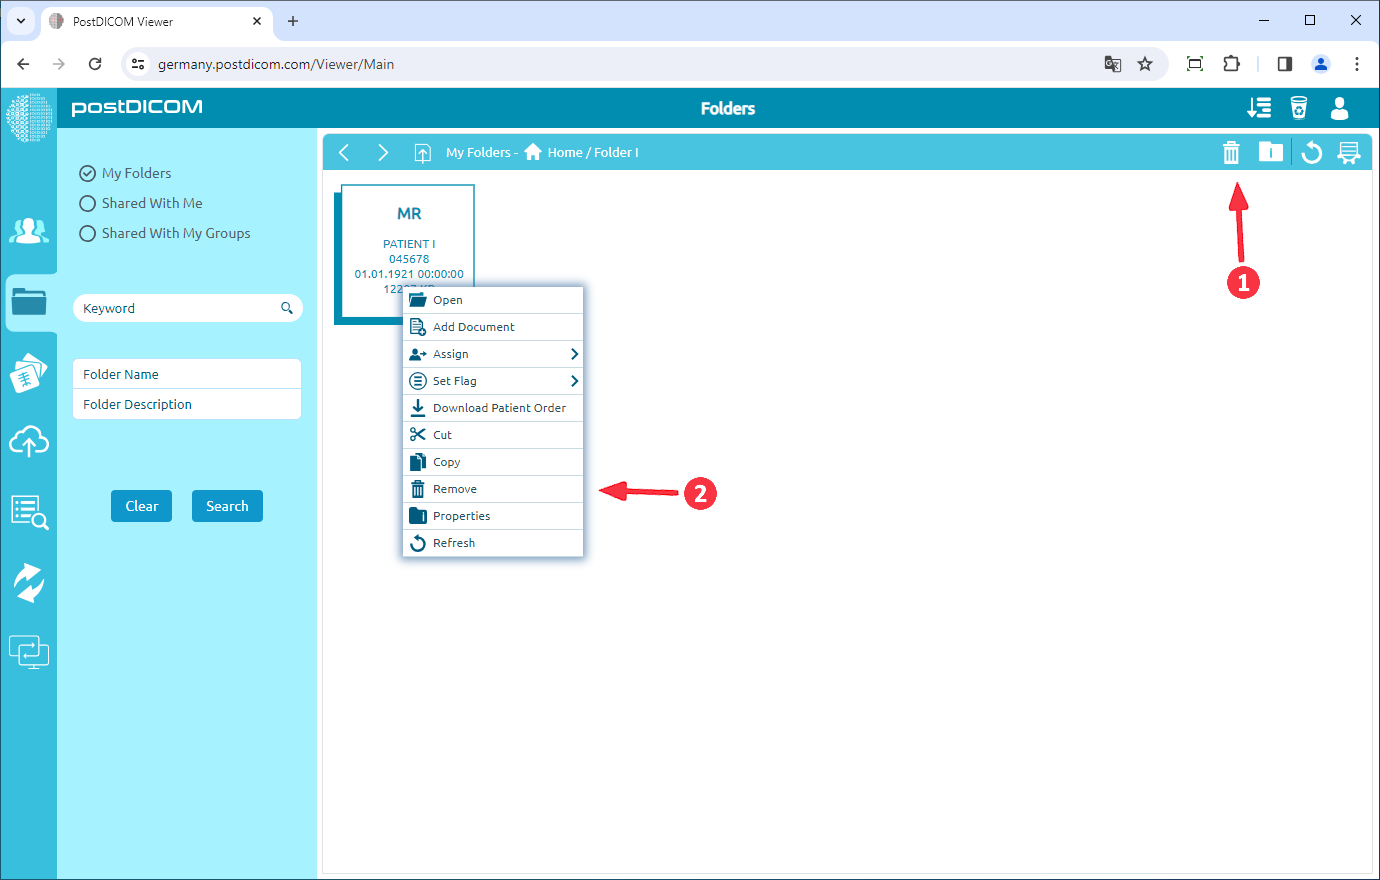
If you want to remove the patient order from the folder, you can follow two different ways. For the first one, click on the order to select it, then click on "Remove" icon on the upper right side of the field. For the second one, right click on the order and then click on "Remove" icon.
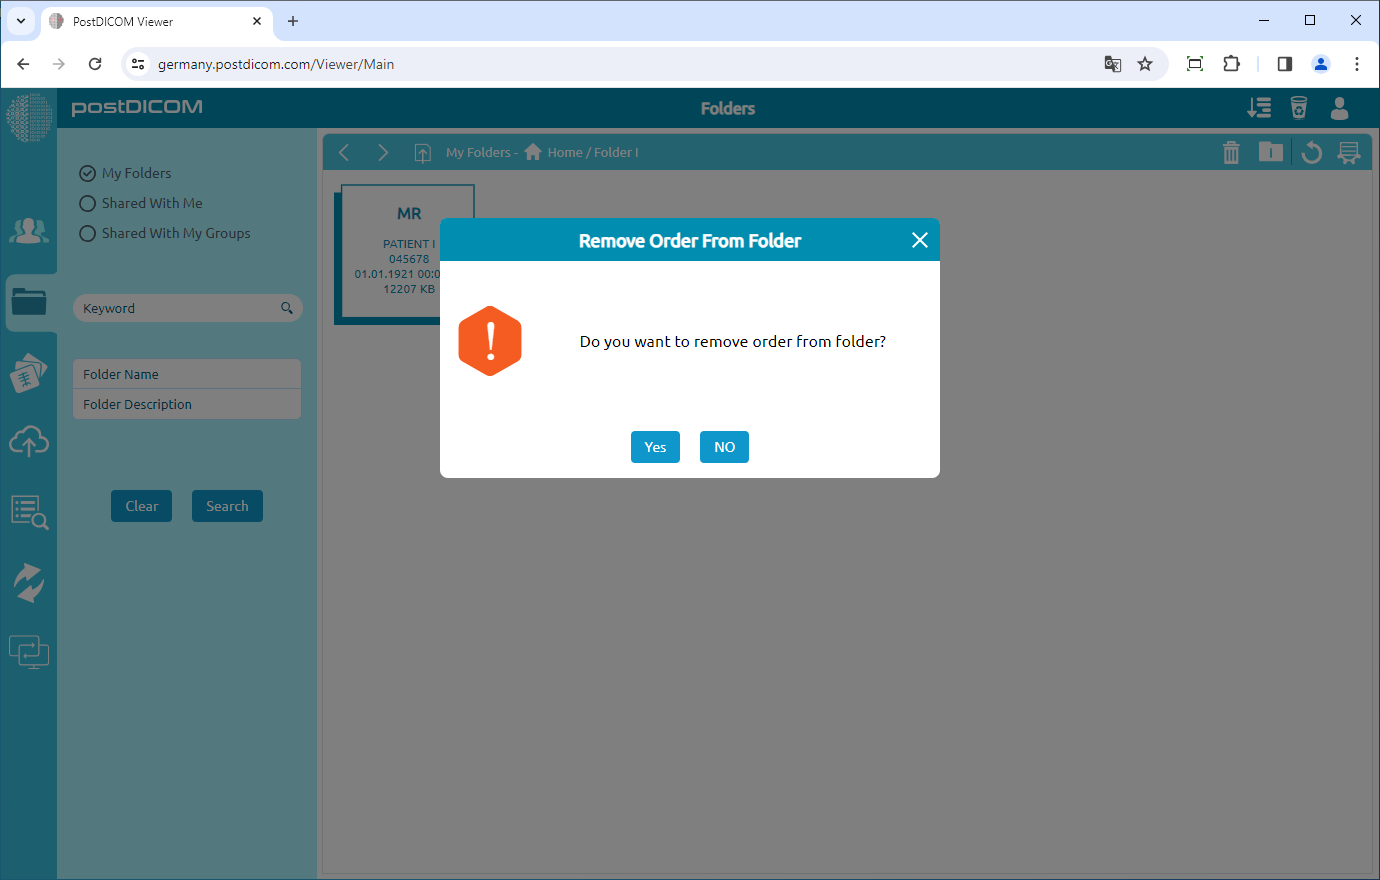
After clicking, a message box will be shown. Click on "Yes" to confirm that you want to remove the order from the folder. If you don’t want to remove it, click on "No".
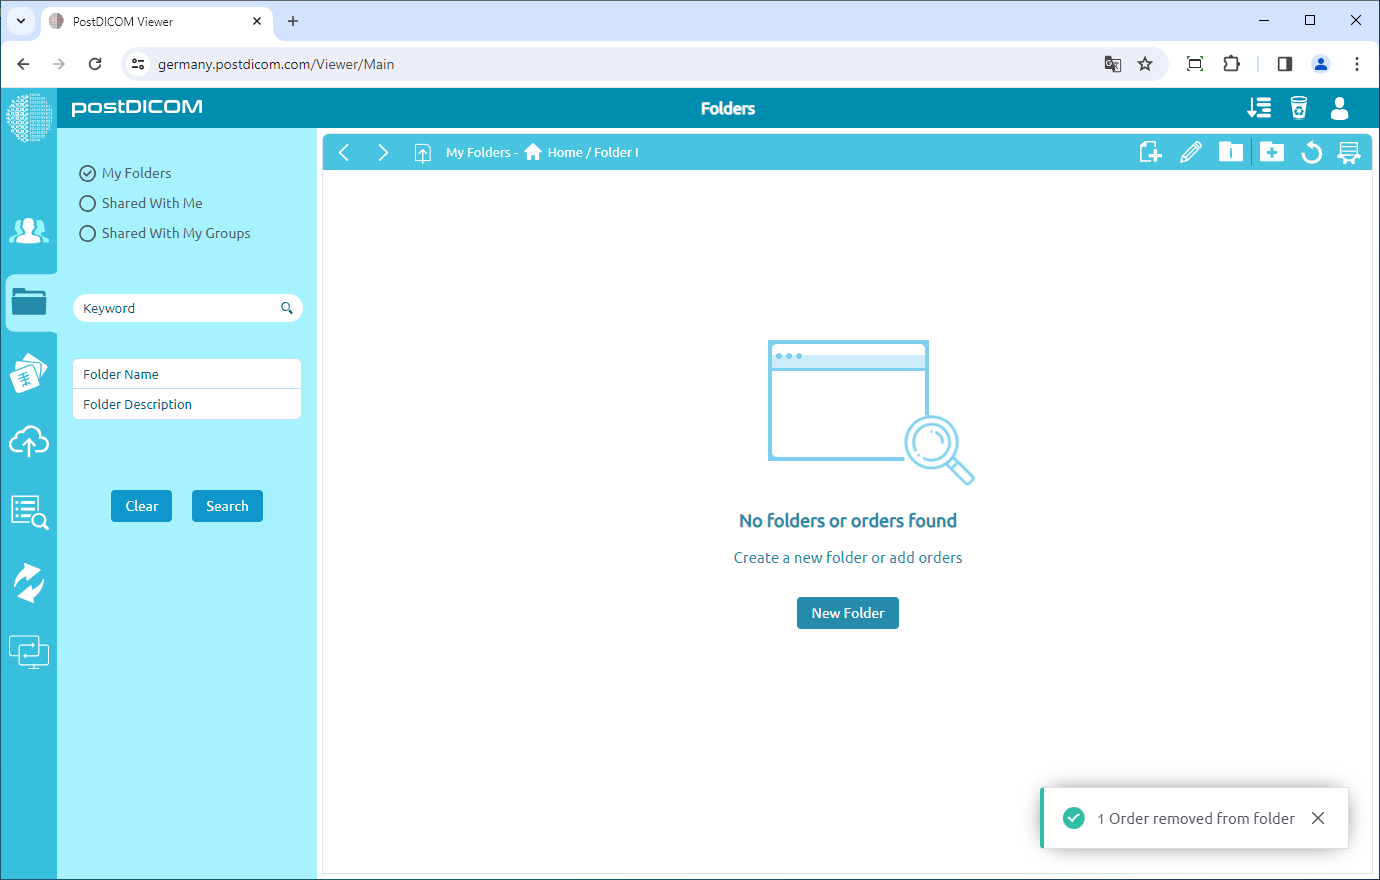
Once you have clicked on "Yes", selected order will be removed from the folder.
In this way, you can add any patient study to any folder.
