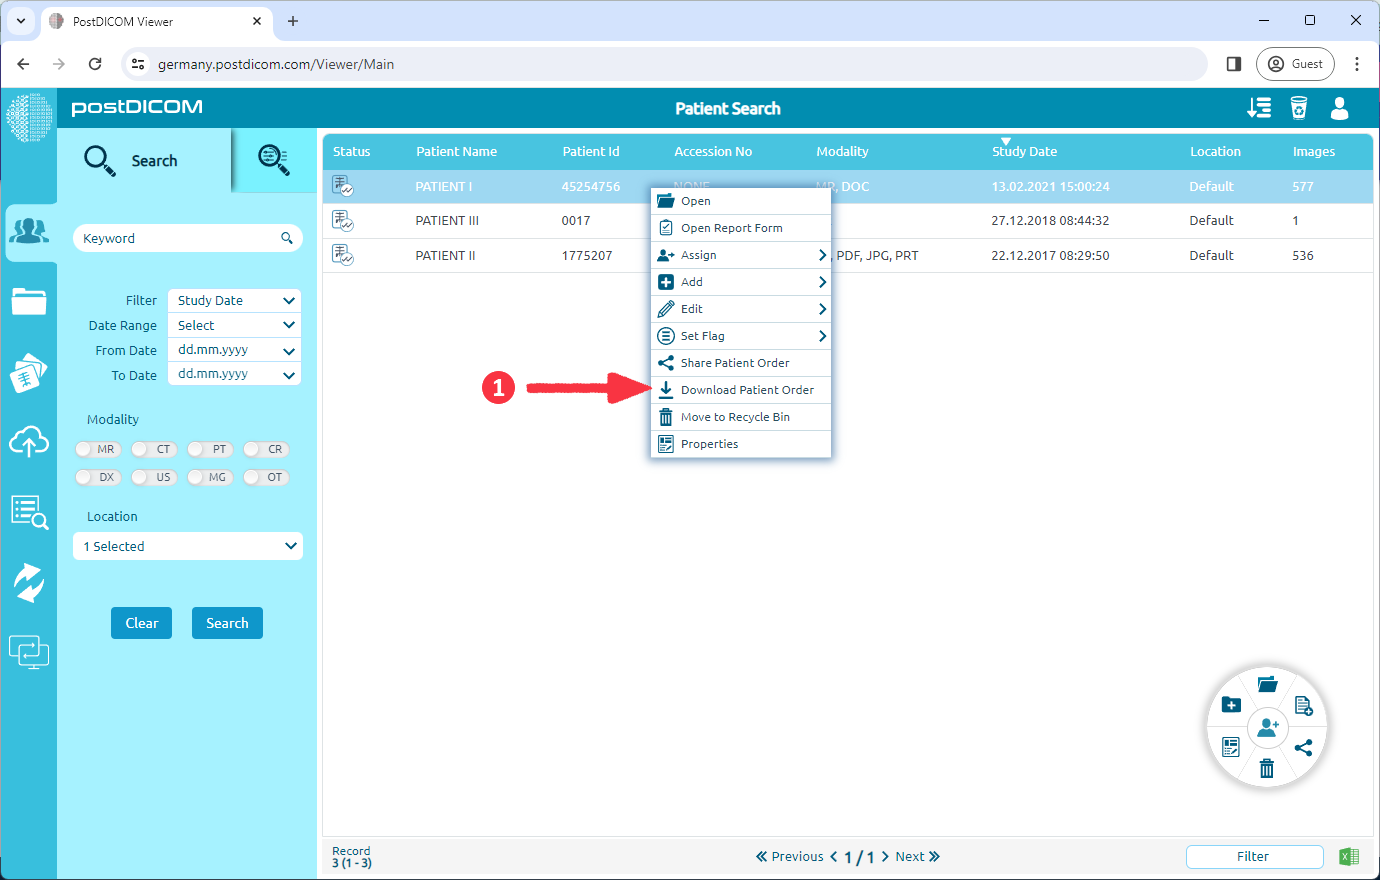
To download images with CD Viewer, right-click on the patient study that you want to download and select "Download Patient Order" on context menu.
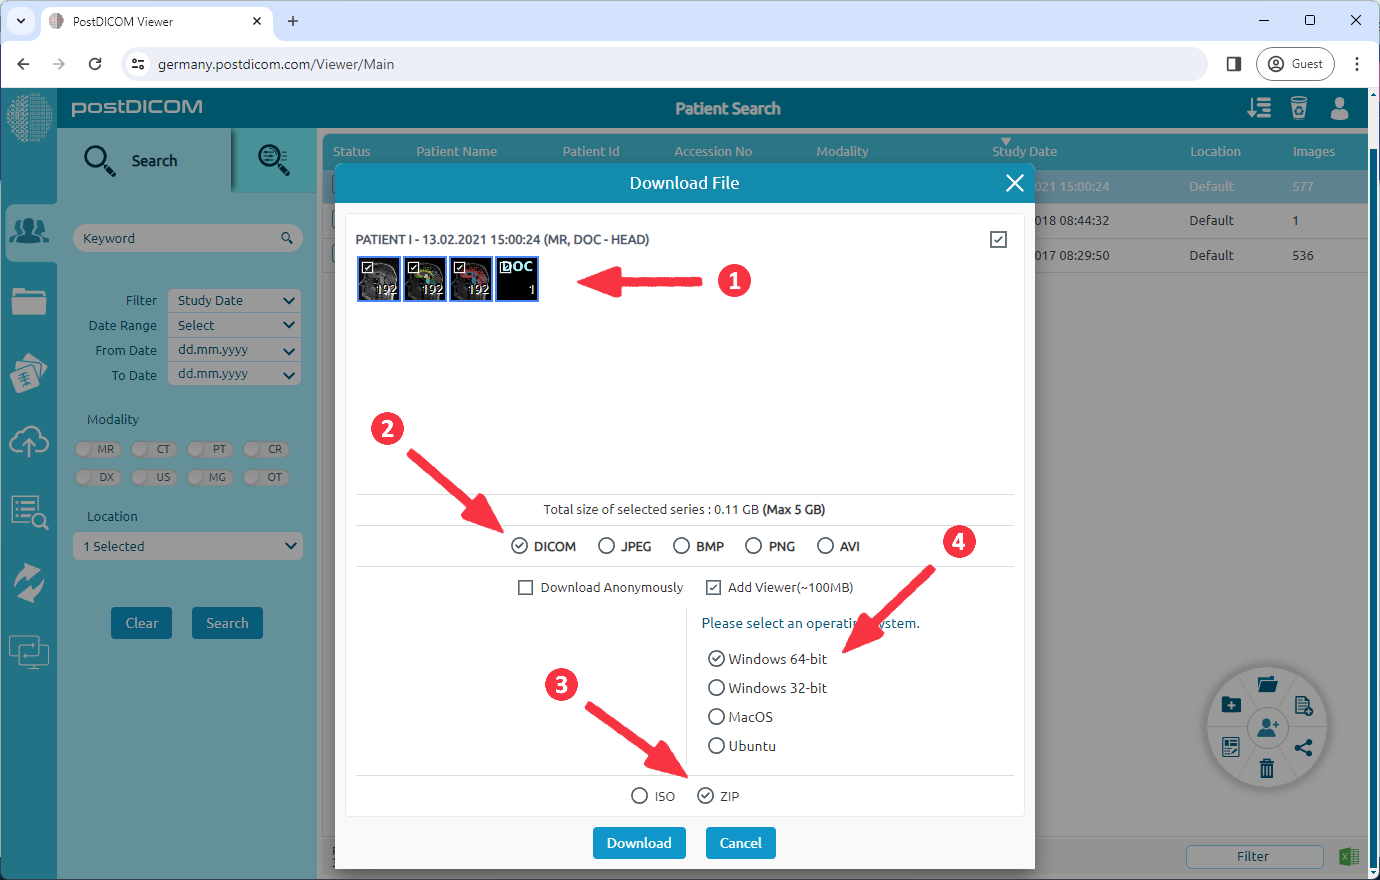
(1) Select the series to be downloaded. (2) Select 'DICOM' format. (3) Select 'ZIP' format you want to download. (4) To add a viewer, you should select the 'Add Viewer' option and select the Windows operating system with system type(x64 or x32). This option adds the 'PostDICOMCDViewer' application, which is approximately 100 MB in size. Finally, click the 'Download' button.
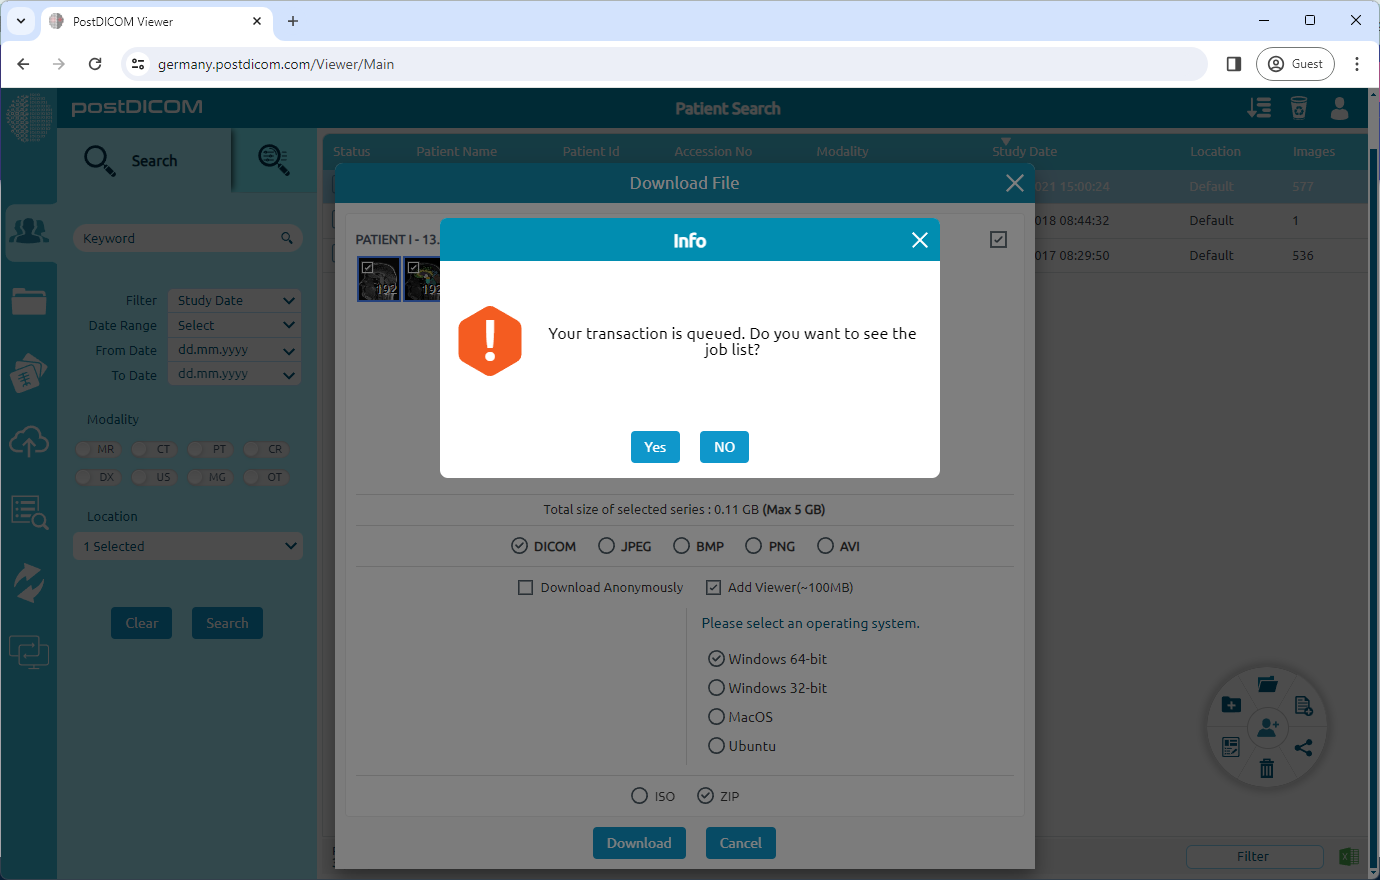
'The download' has been added to the job list as a server job. By clicking the 'Yes' button, you can access the job list and view your progress.
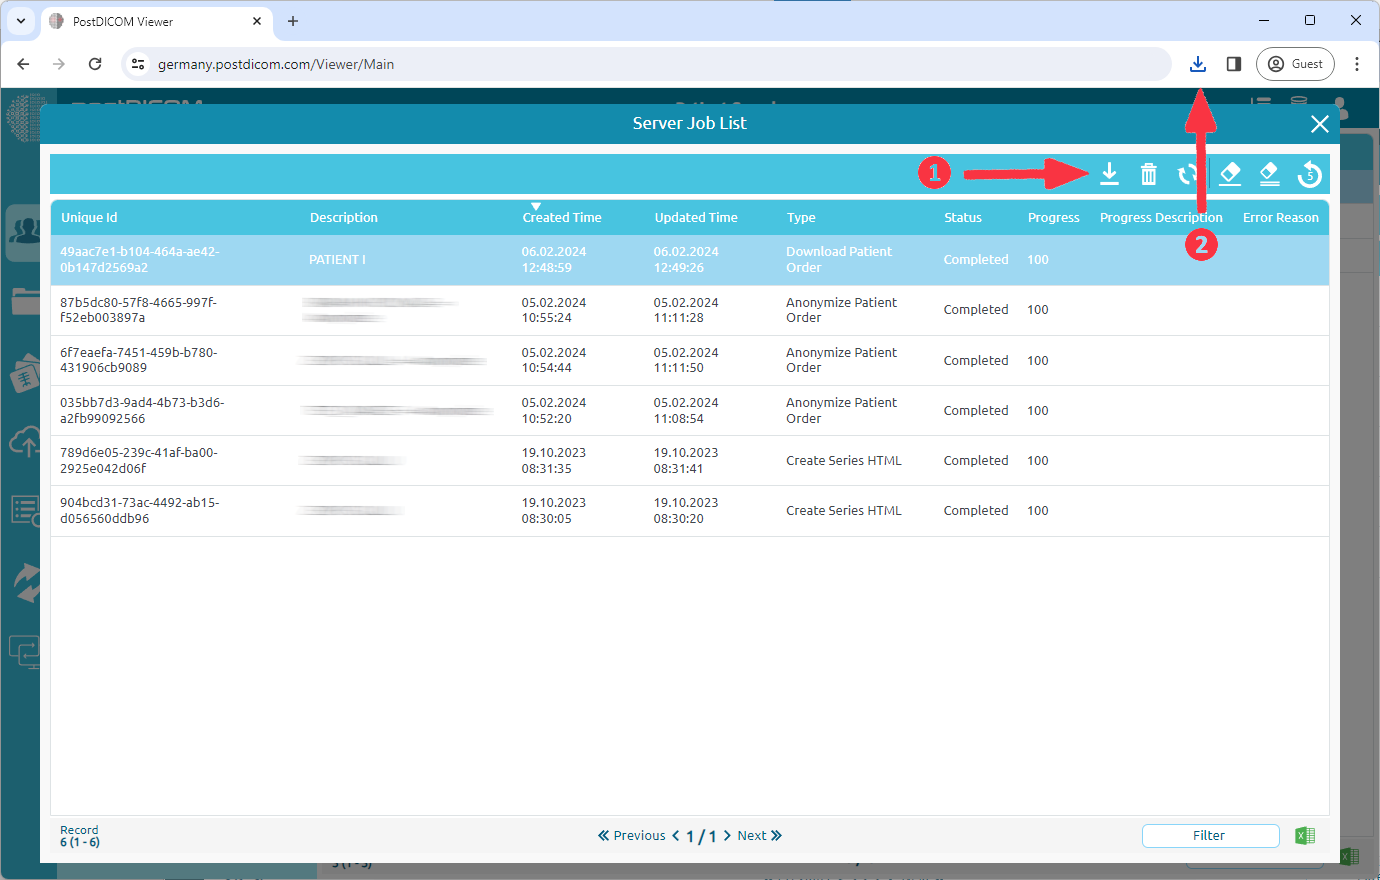
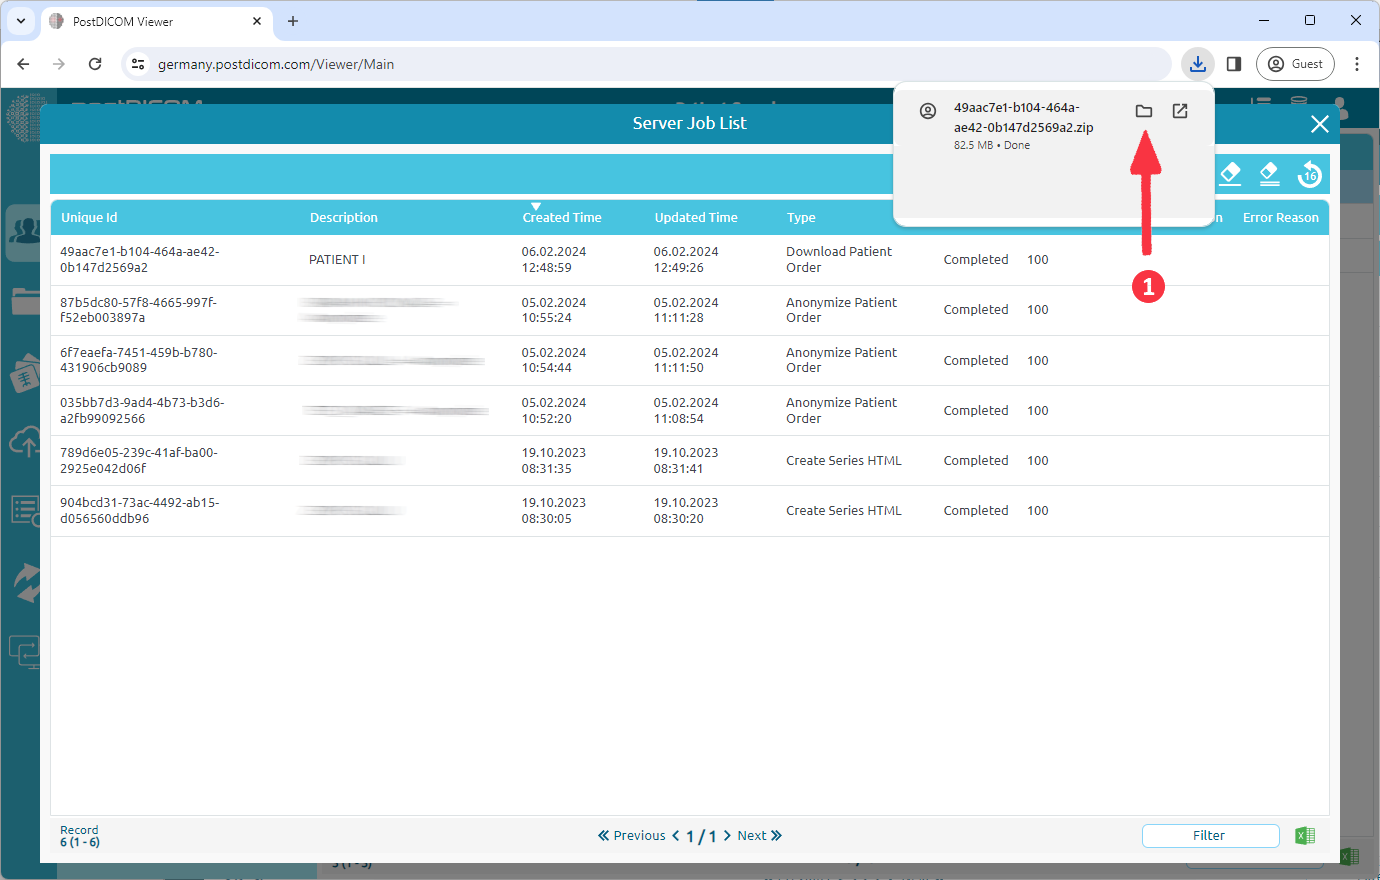
A job which type is 'Download Patient Order' has been added to your job list. When the job is complete, the download will start automatically. If it does not start, you can click the 'Download' button (1).
Click the folder icon (1) to view downloads folder.
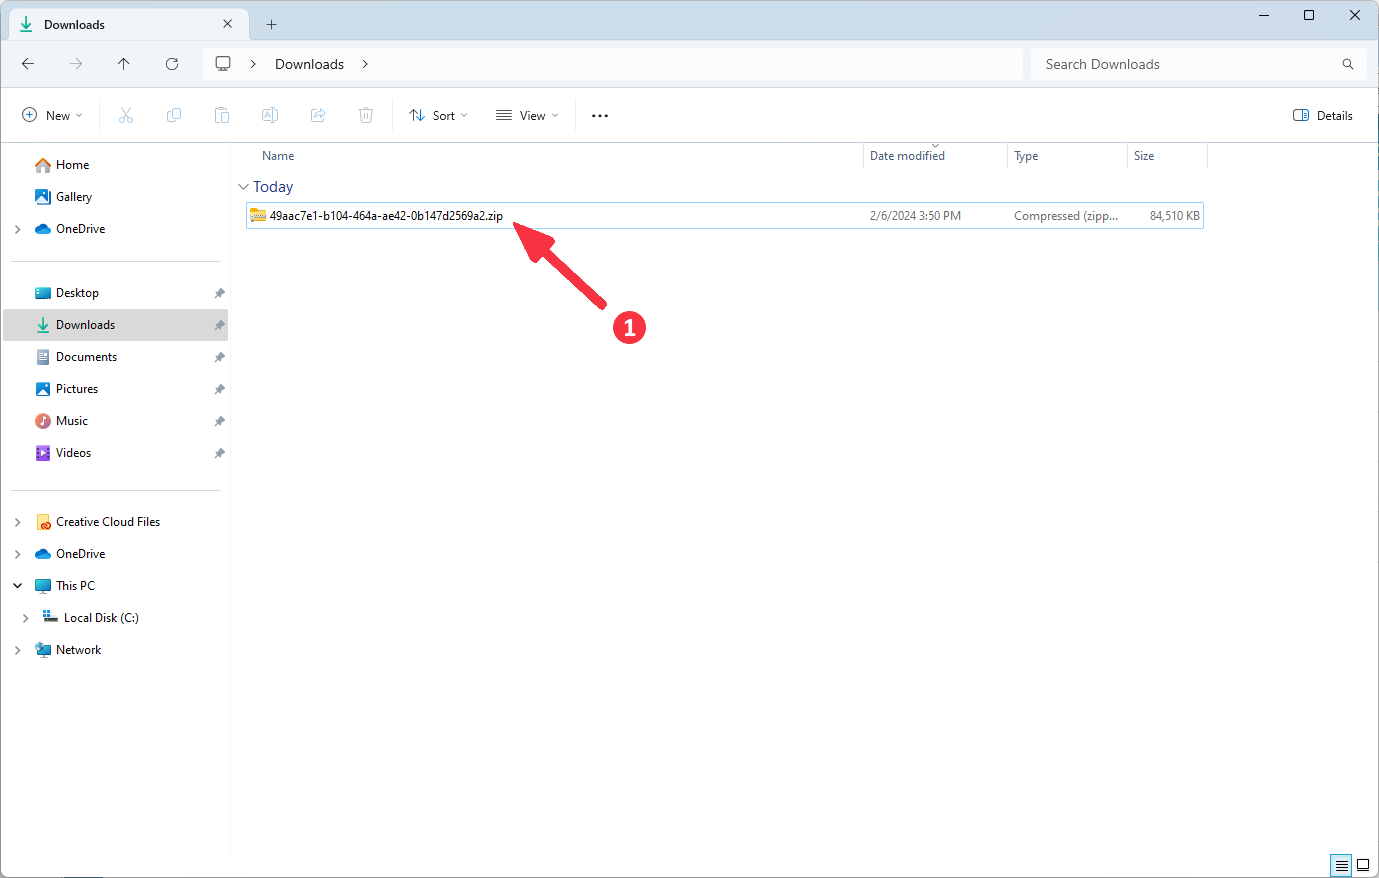
Right-click on the downloaded ZIP file.
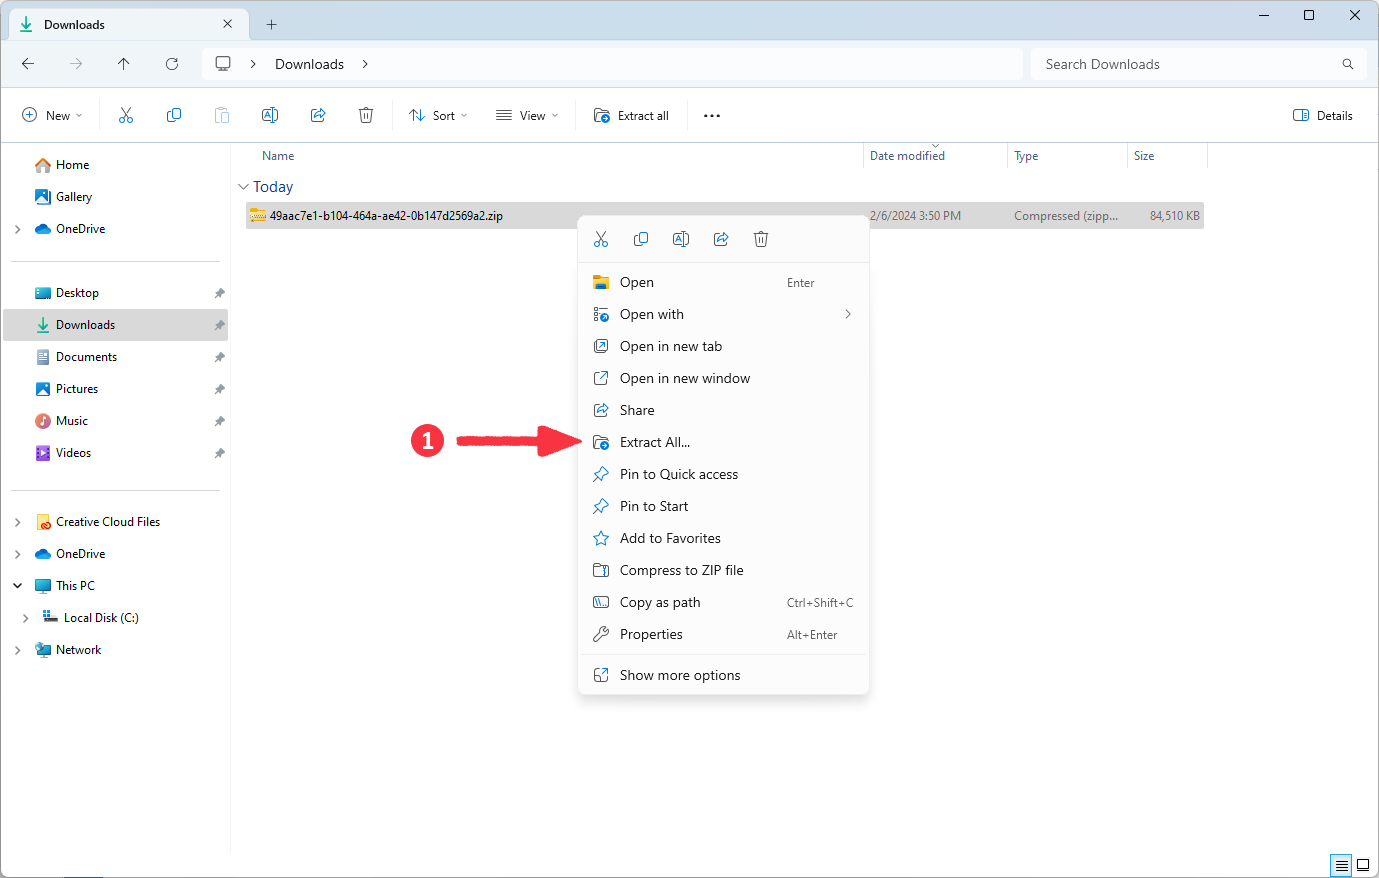
Select 'Extract All...' option on the context menu.
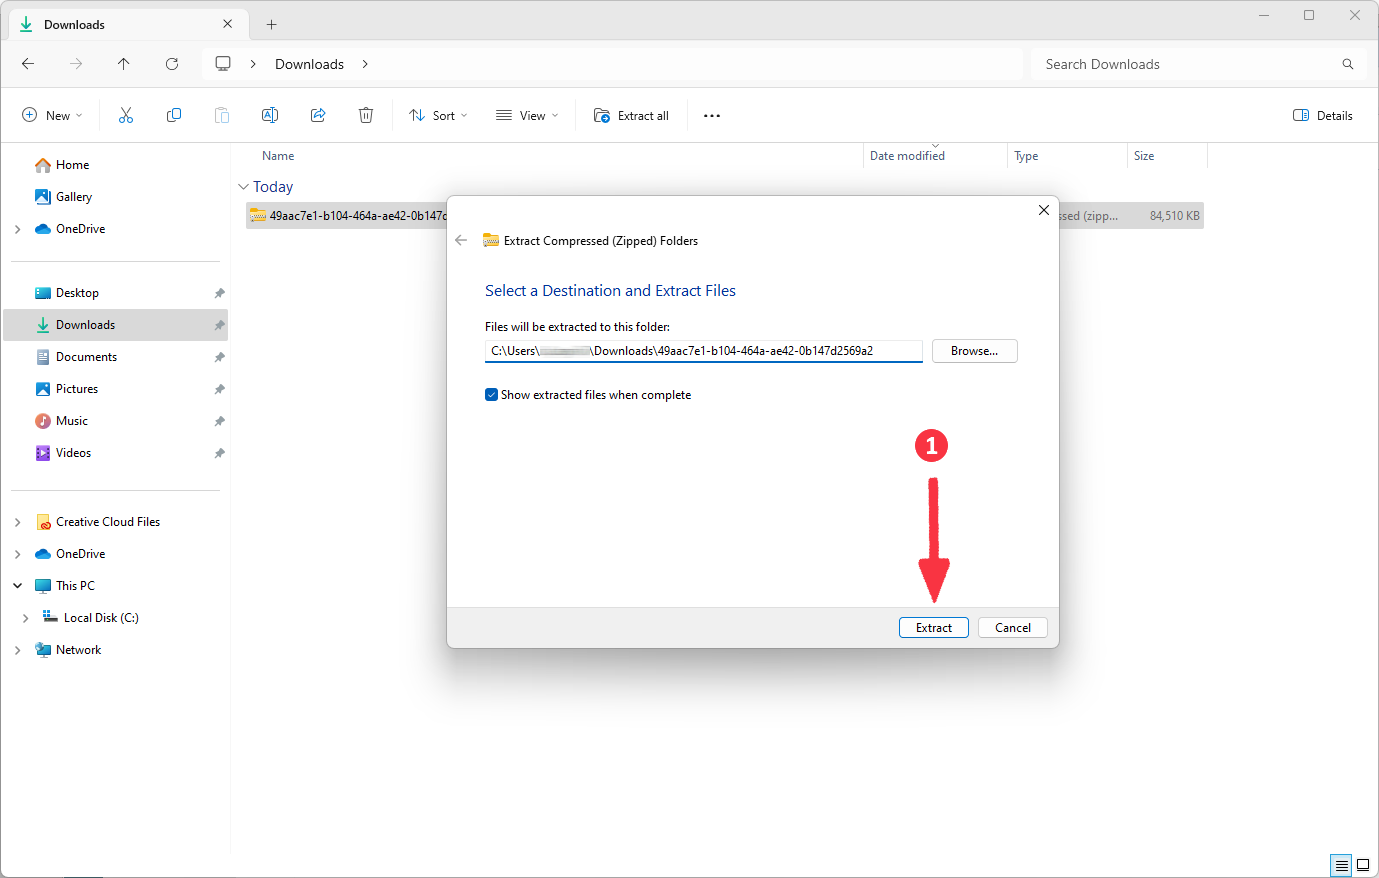
Select a destination and click the 'Extract' button.
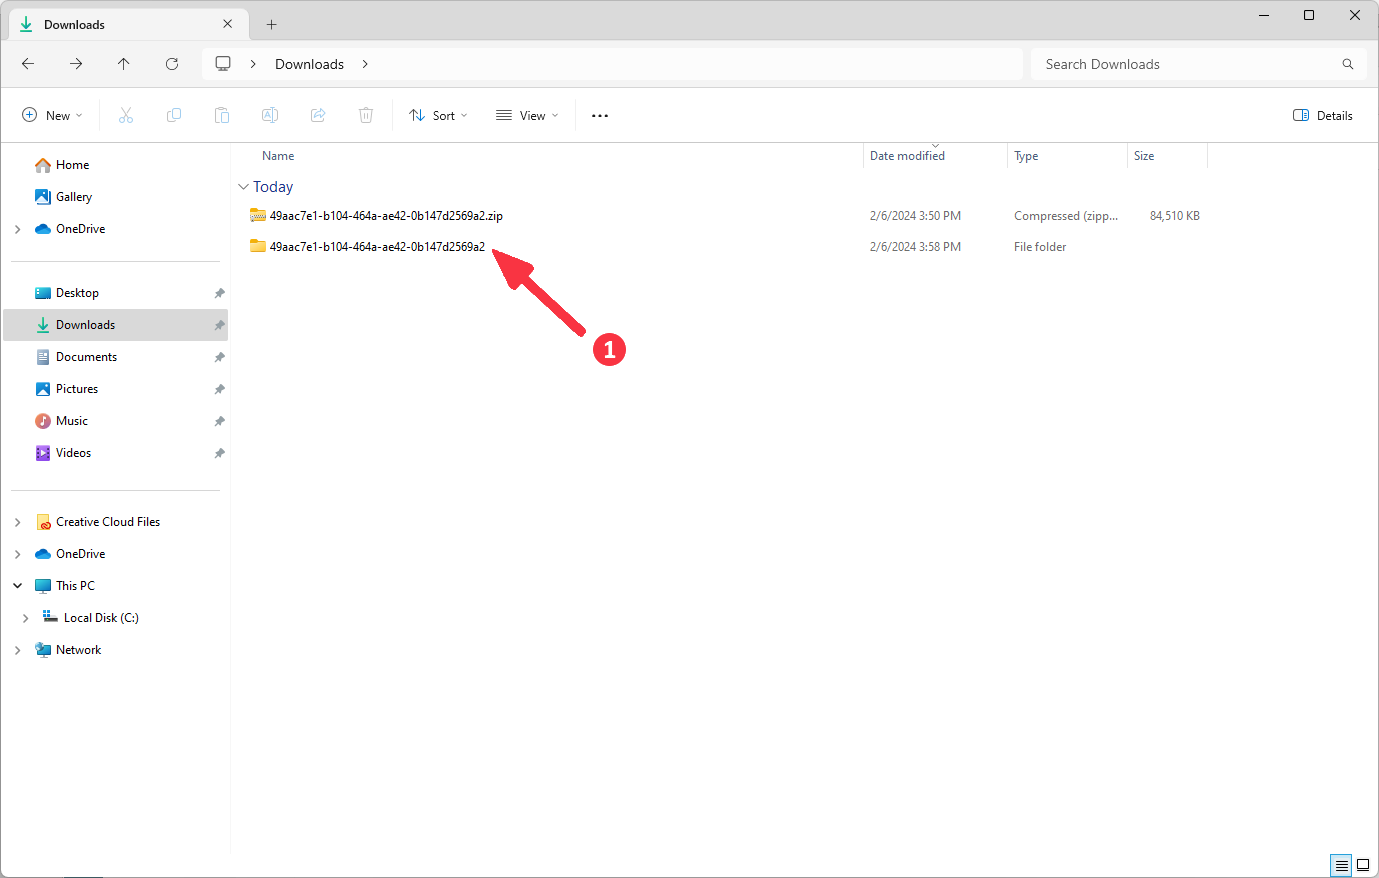
Double-click on the extracted files and enter into it.
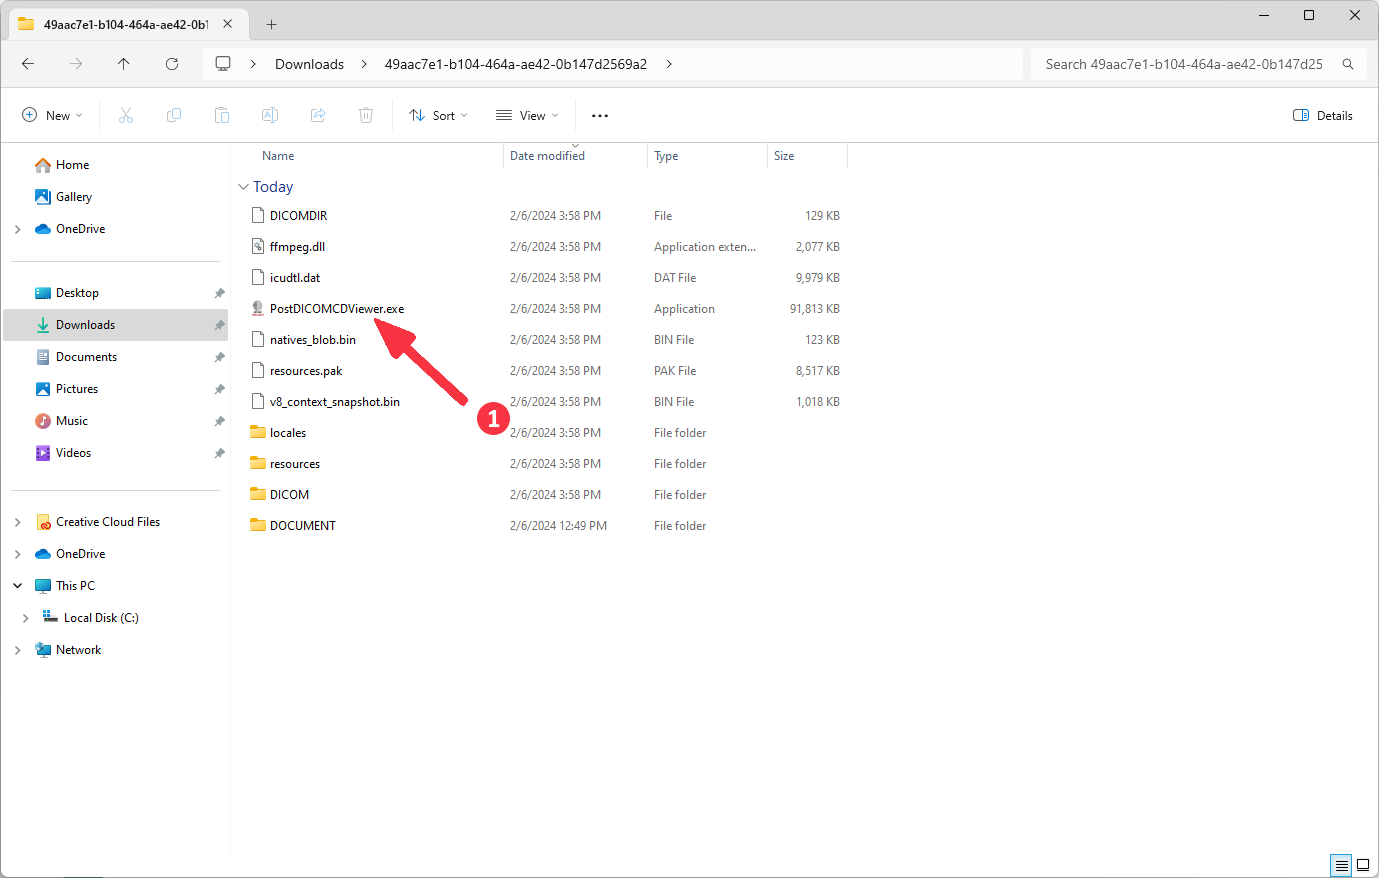
Double-click on the 'PostDICOMCDViewer.exe' application.
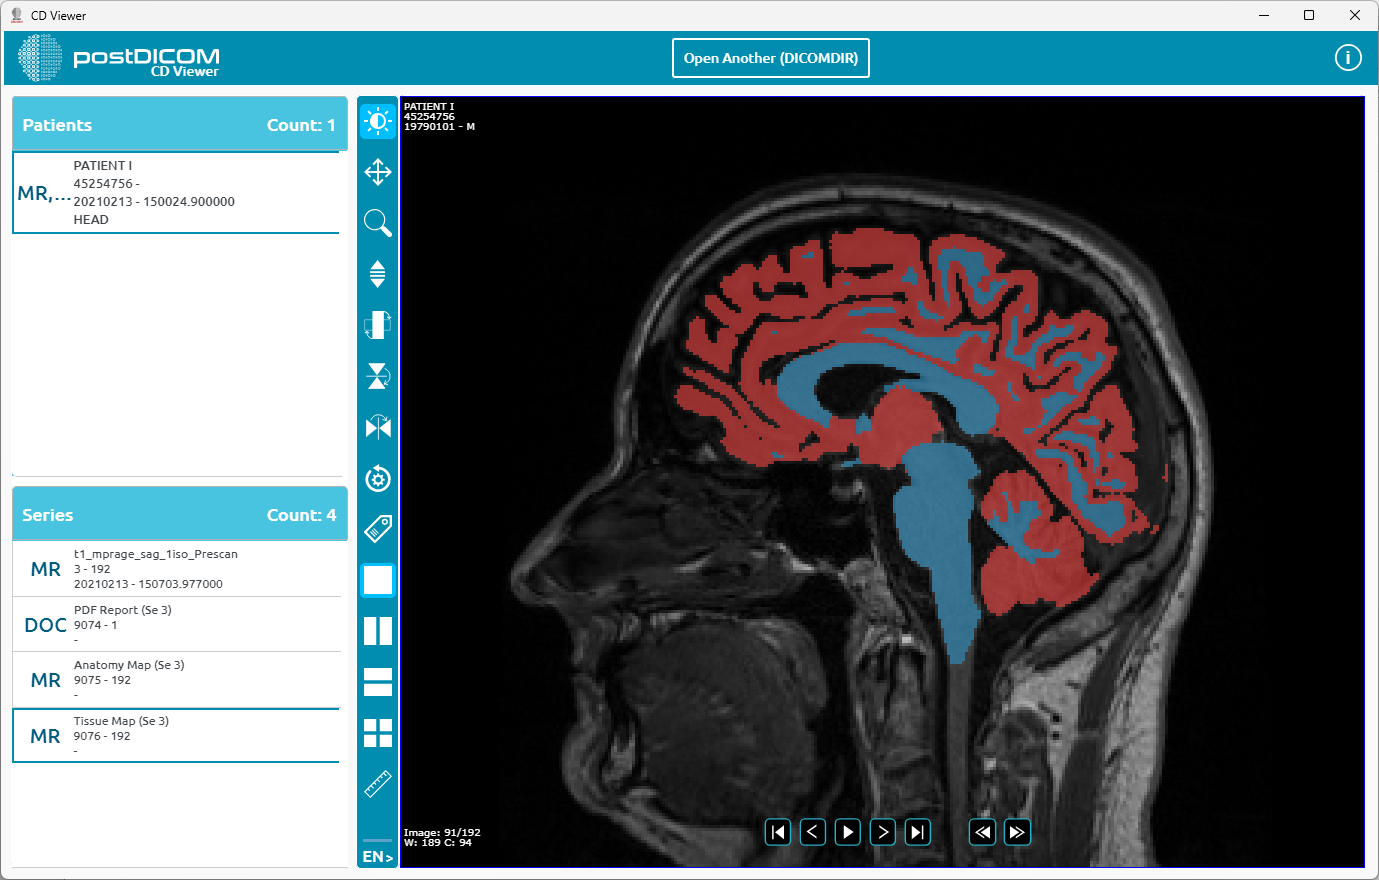
You can start using the application.