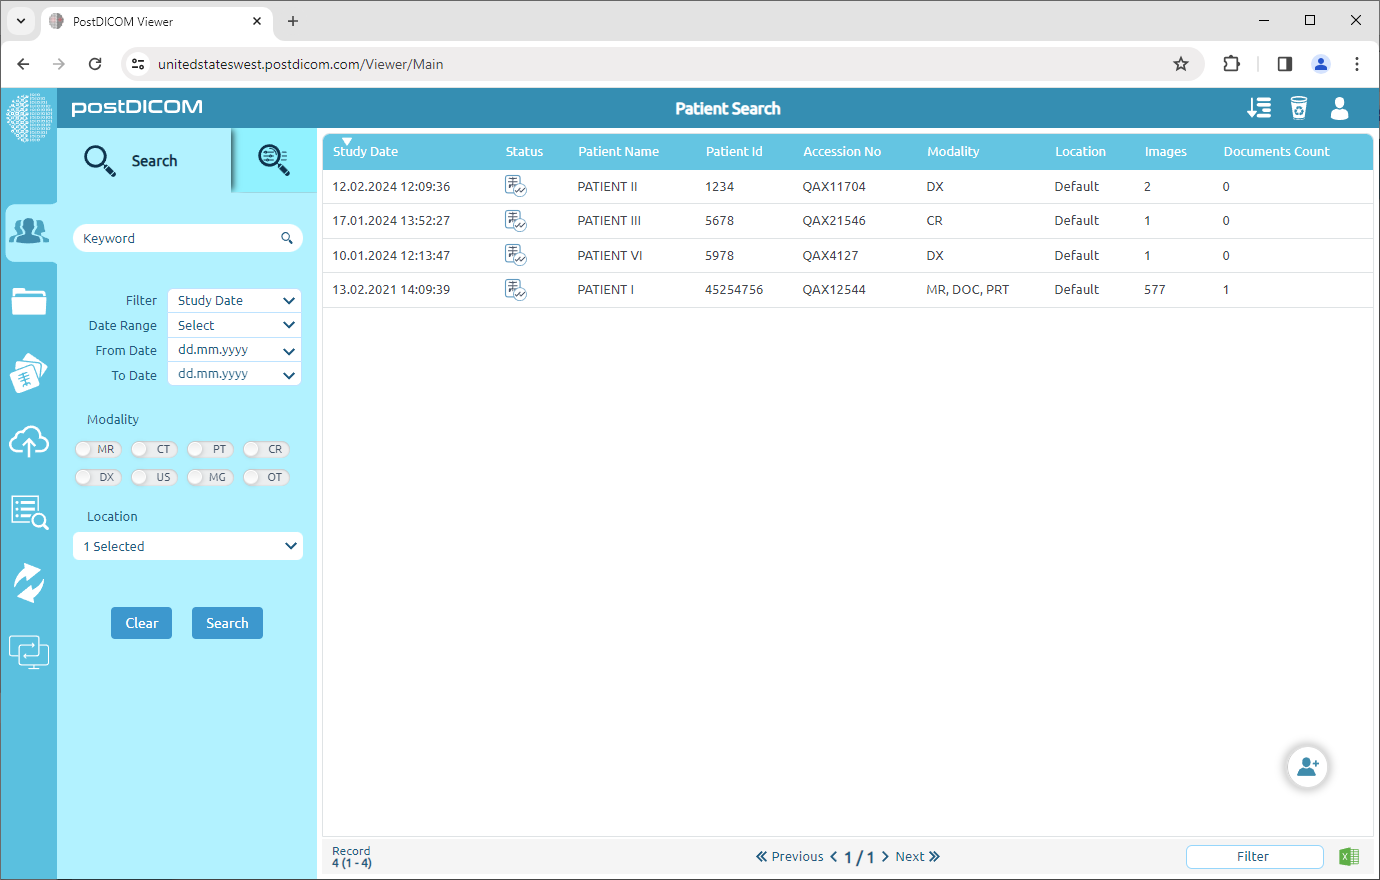
When you open the “Patient Search” page, all patient orders in your account will be shown. Patient Search results are displayed on the grid with patient name, patient id, accession number, modality, study date, location, images, documents count columns. You can sort the patient orders by clicking on these columns. Also, you can customize patient search columns according to your needs.
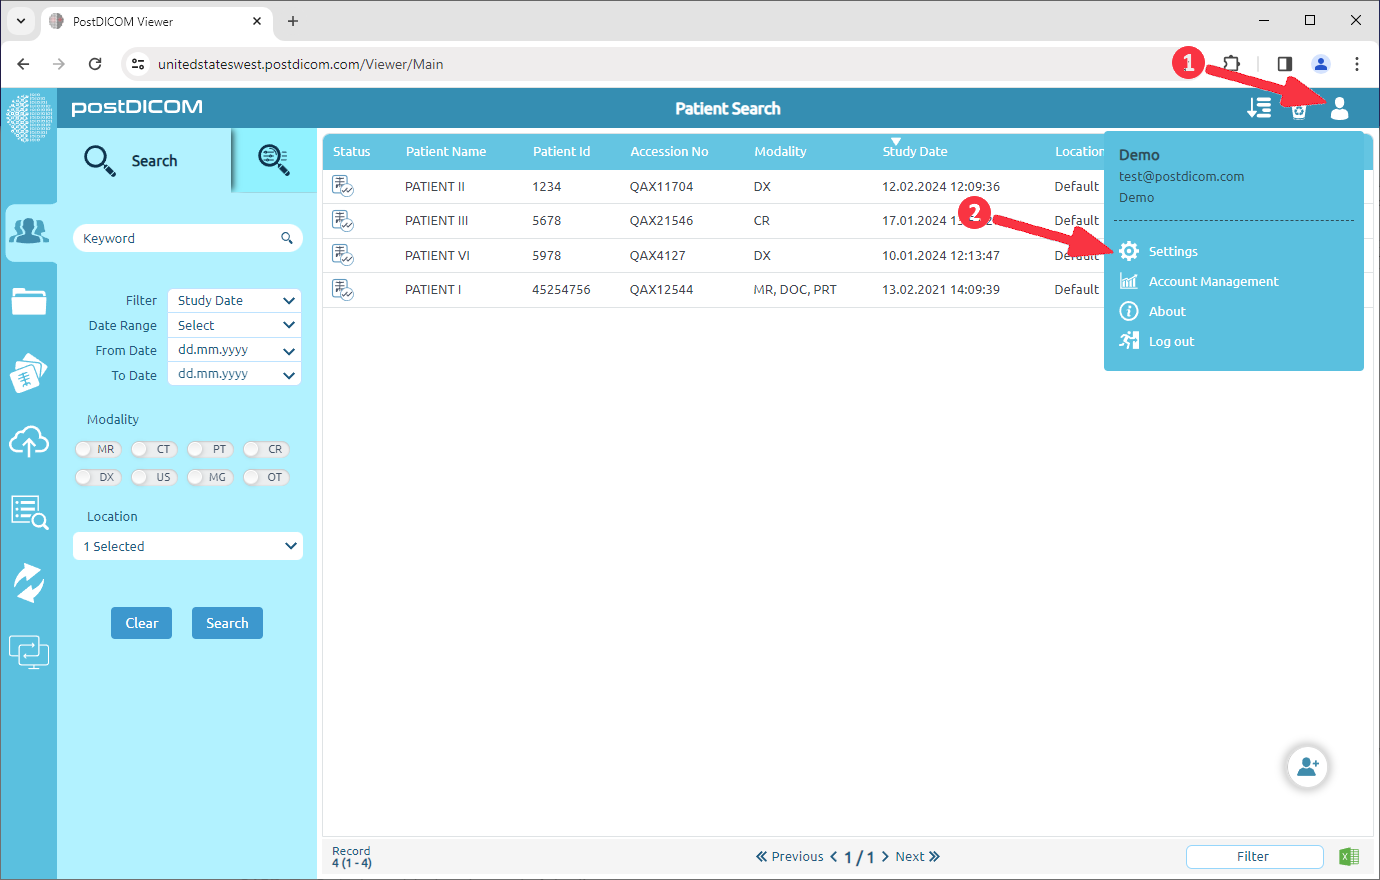
Click on "Settings".
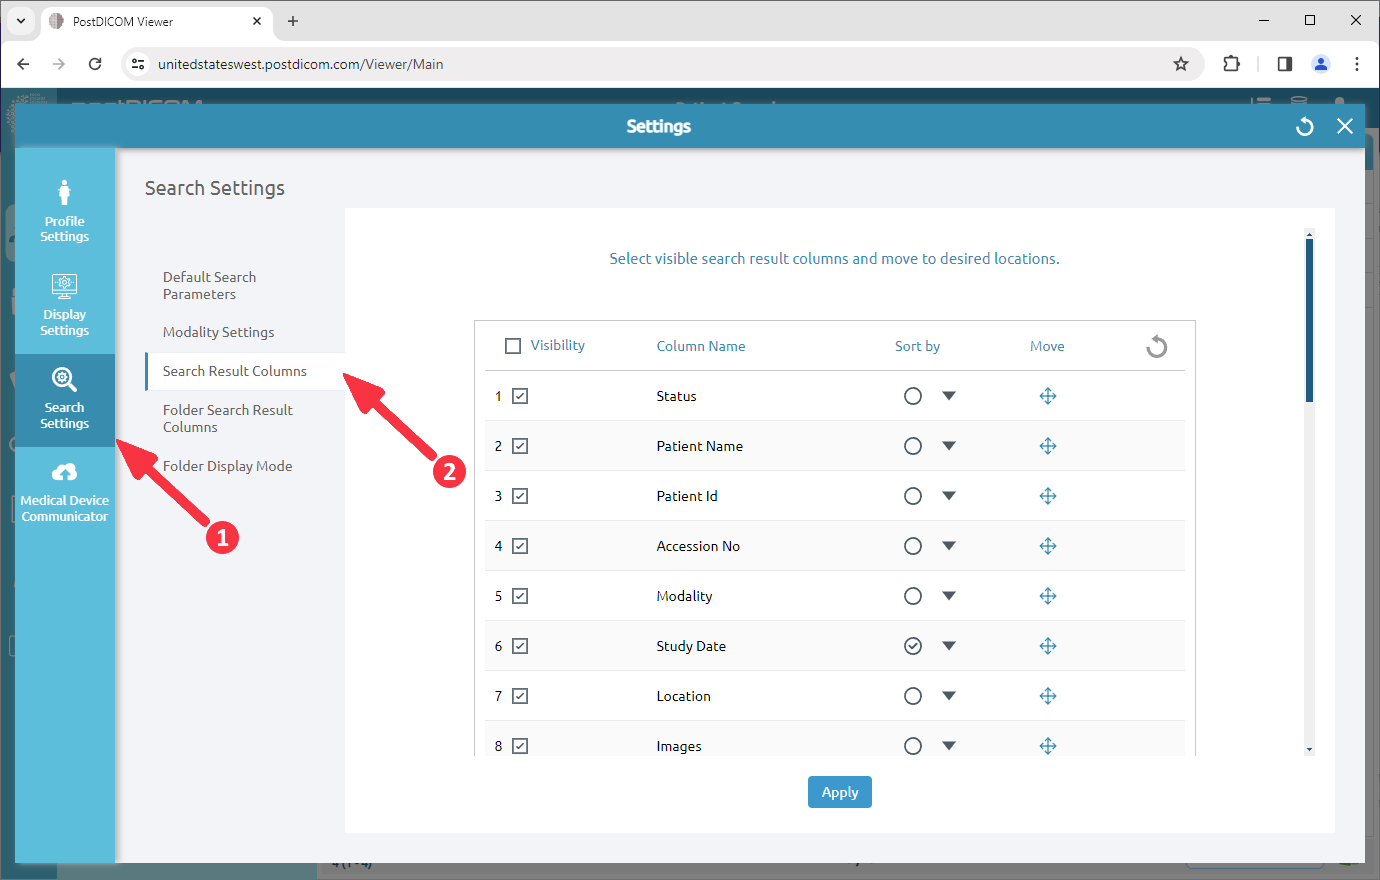
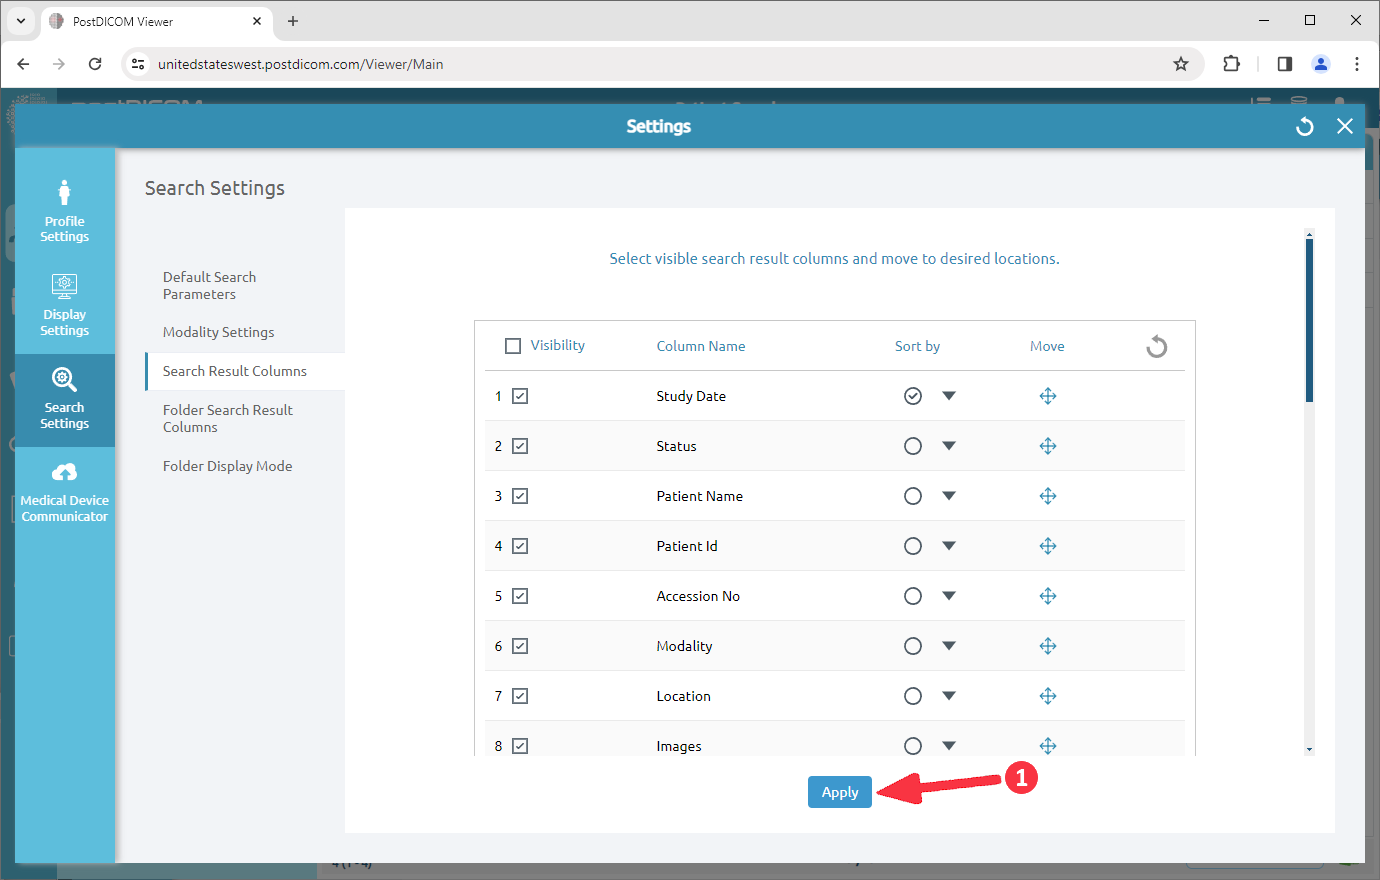
On the Search settings field, click on the “Search Result Columns” menu item.
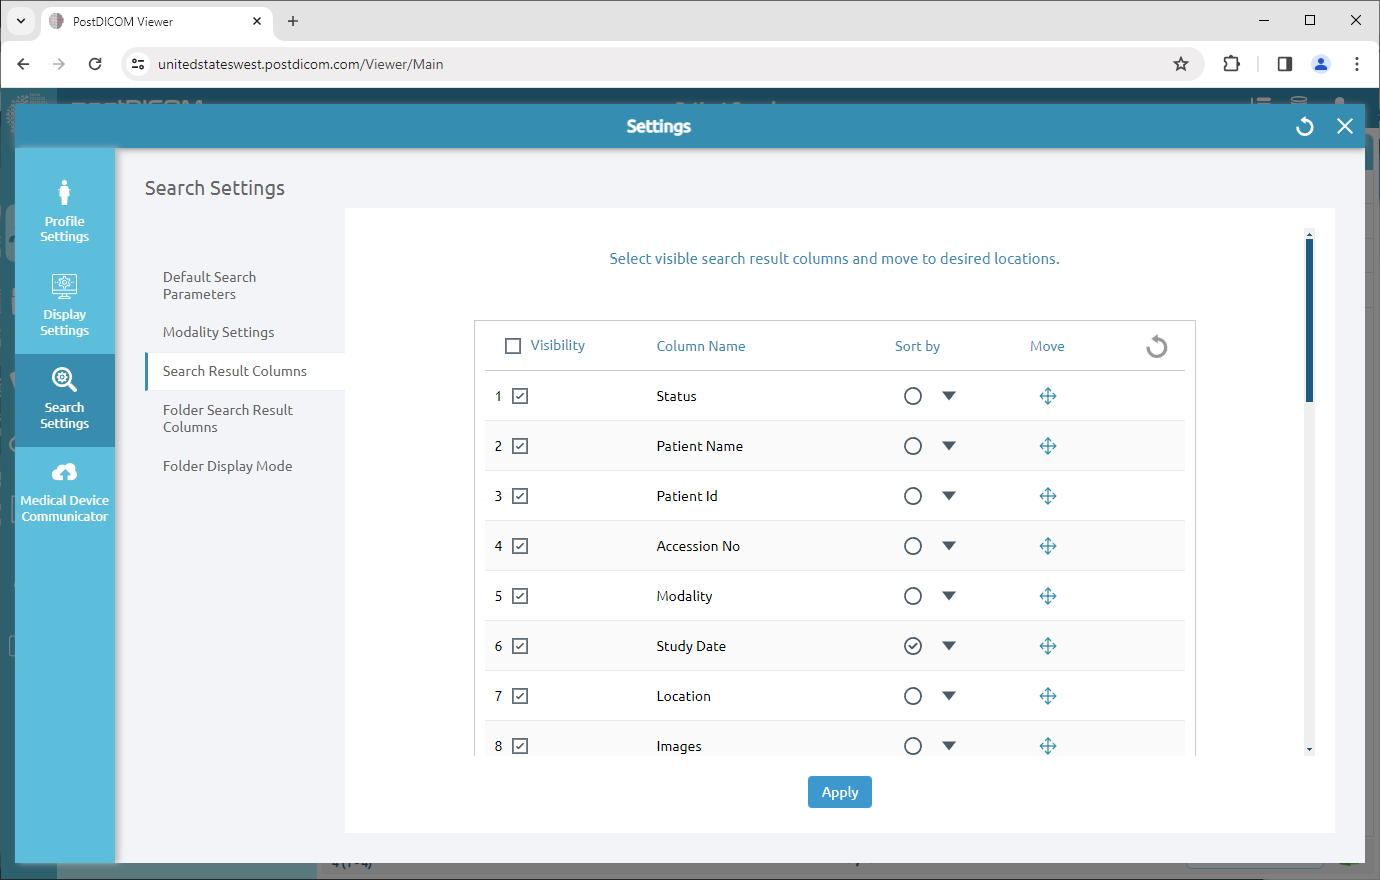
After clicking, the Search Result Columns field will be opened. You can select or drop the work-list criteria by clicking the box on the left side. The selected criteria will be ticked and moved to the upper rows of the list and the dropped ones will be moved to the end of the list automatically. If you want to select all the criteria, click on the “Select All” button on the upper side of the list.
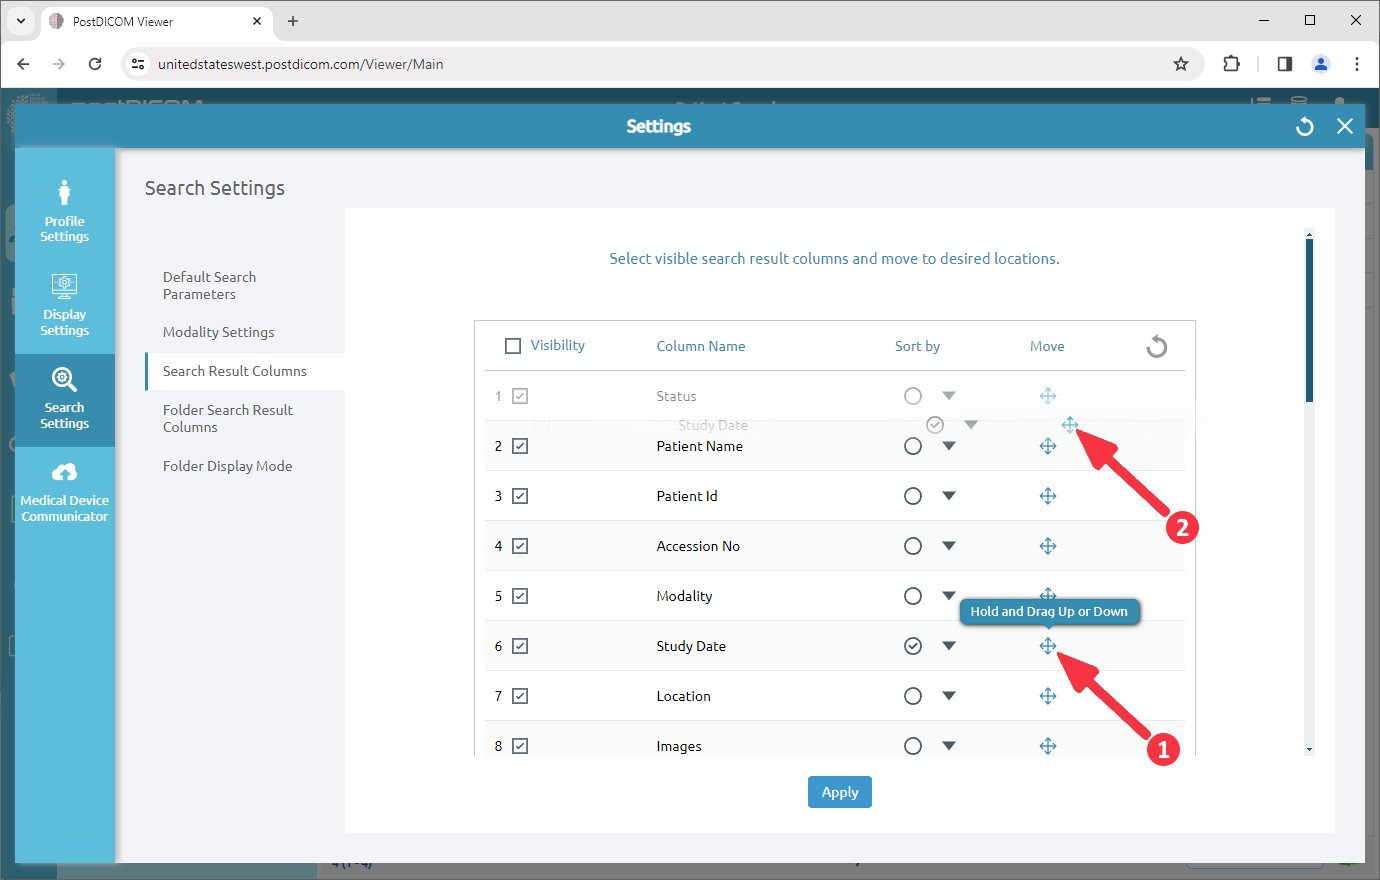
In order to move the work-list criteria, hold on to the move icon on the right end of the criteria, then drag and drop it wherever you want.
After selected the work-list criteria to create your own list and moved them wherever you want, click on the “Apply” button on the lower side of the field.
Once you have clicked, an info box will be shown to indicate that the process is completed. Click on “OK” to close the box.
On the patient search page, you will see the customized patient search columns.