On the “Patient Search” page, all patient orders in your account will be shown. Double-click on the order you want to view the images. The “View” page will be opened. Click on the “Tools” icon on the upper left side of the page.
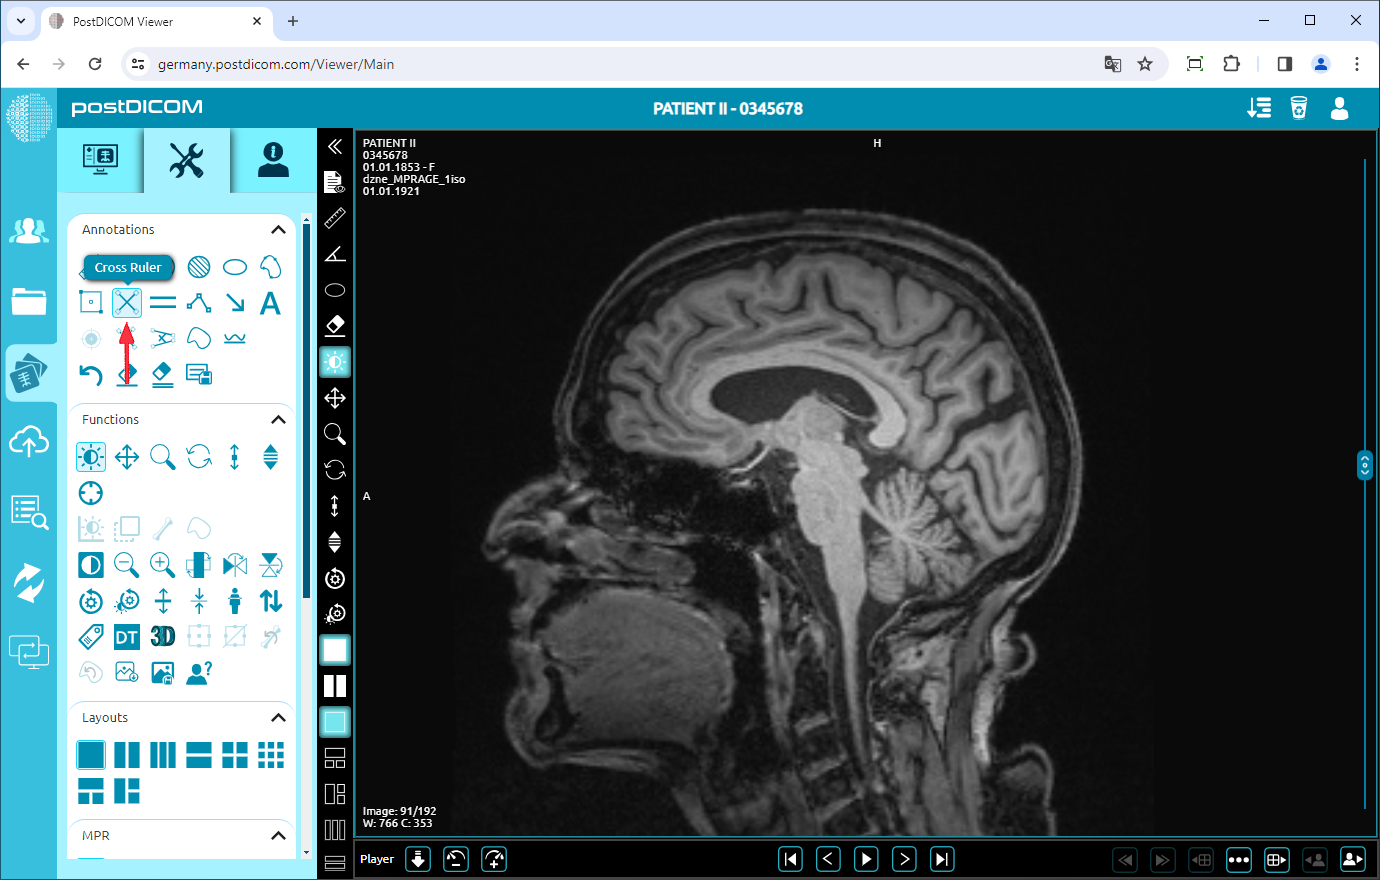
After clicking, the tools section will be displayed. In the “Annotations” field, click on the “Cross Ruler” icon on the upper side of the section.
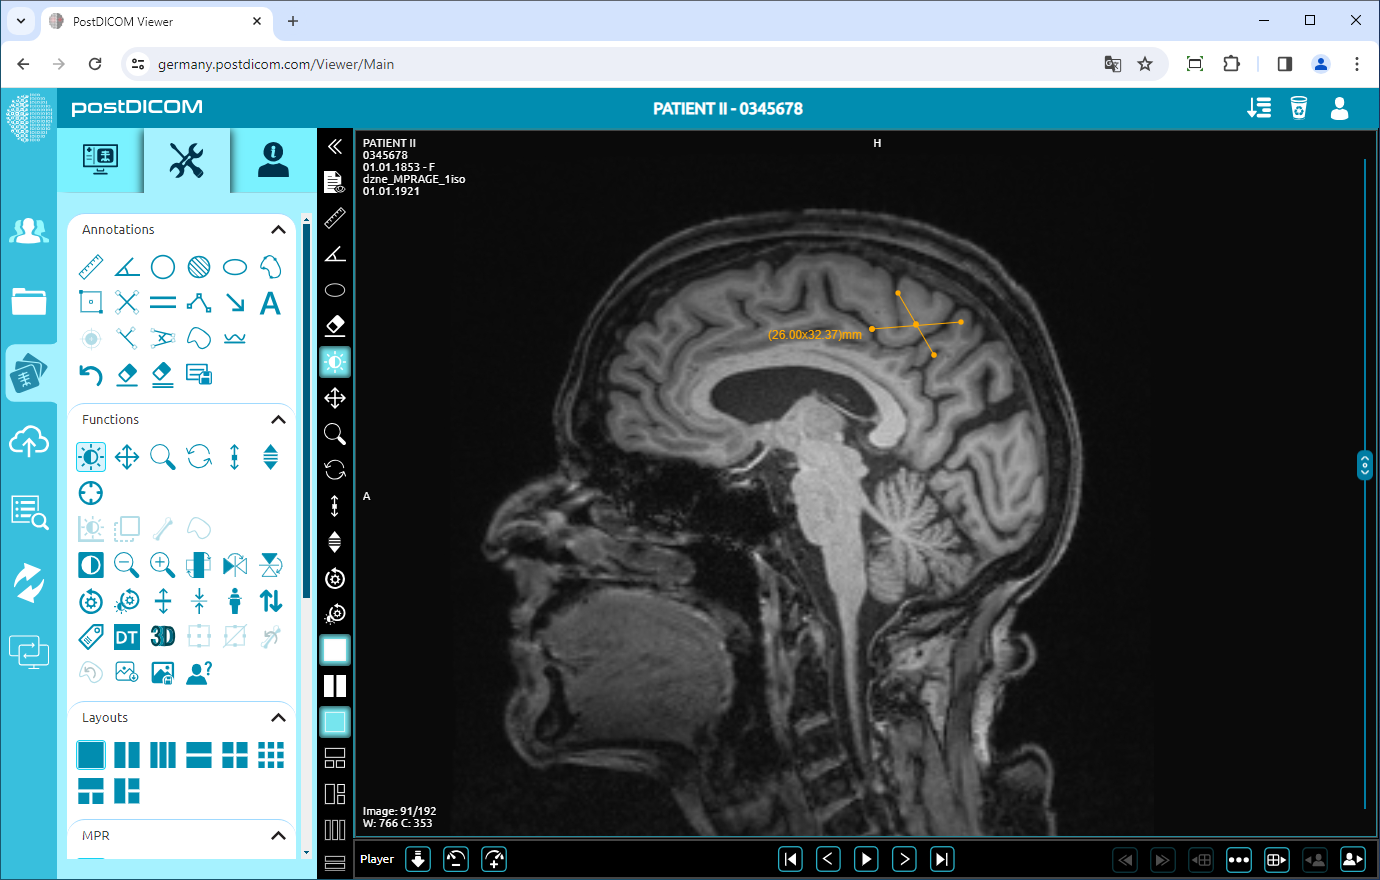
When you click on the icon, it will turn into blue color and a cross ruler sign will be displayed at the bottom of your mouse pointer. Draw the first line by clicking on the starting point, moving your mouse to the endpoint, and click again. Then similarly draw the second line by crossing the first line. Until you click on the fourth point, the lines will be shown in blue color. After you click on the endpoint of the second line, the lines will turn yellow. You will see the distances of both lines with a cross between them next to the endpoint of the second line. These are the actual values of the measured distances.
If you need to measure another cross region, draw two new lines for the new measurement. Right-click to exit from the tool. The mouse pointer will return to the default function.
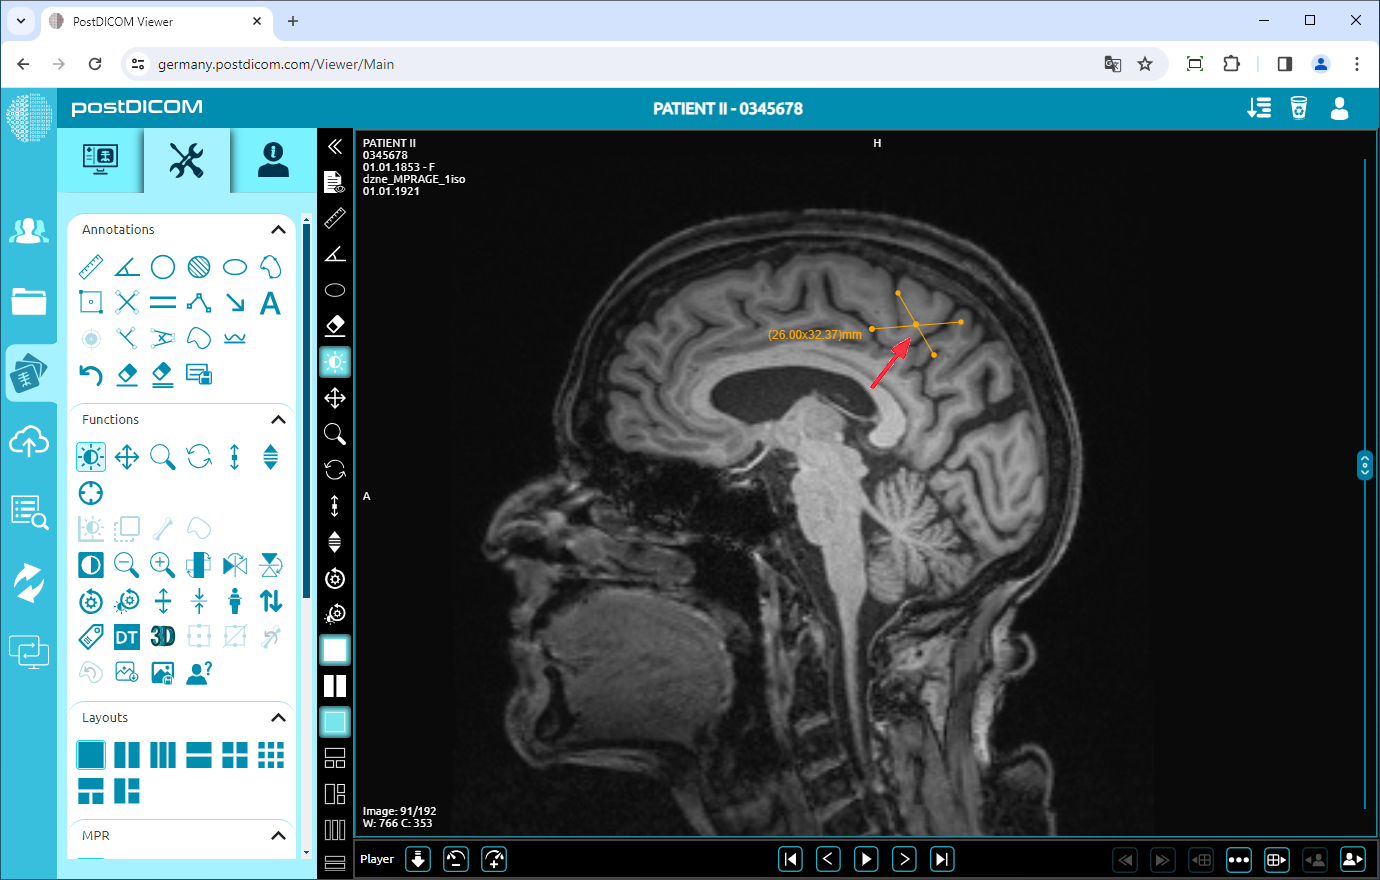
To move the cross region, right-click to exit from the function, click on the point in the middle of the cross and drag your mouse to the direction you want.


