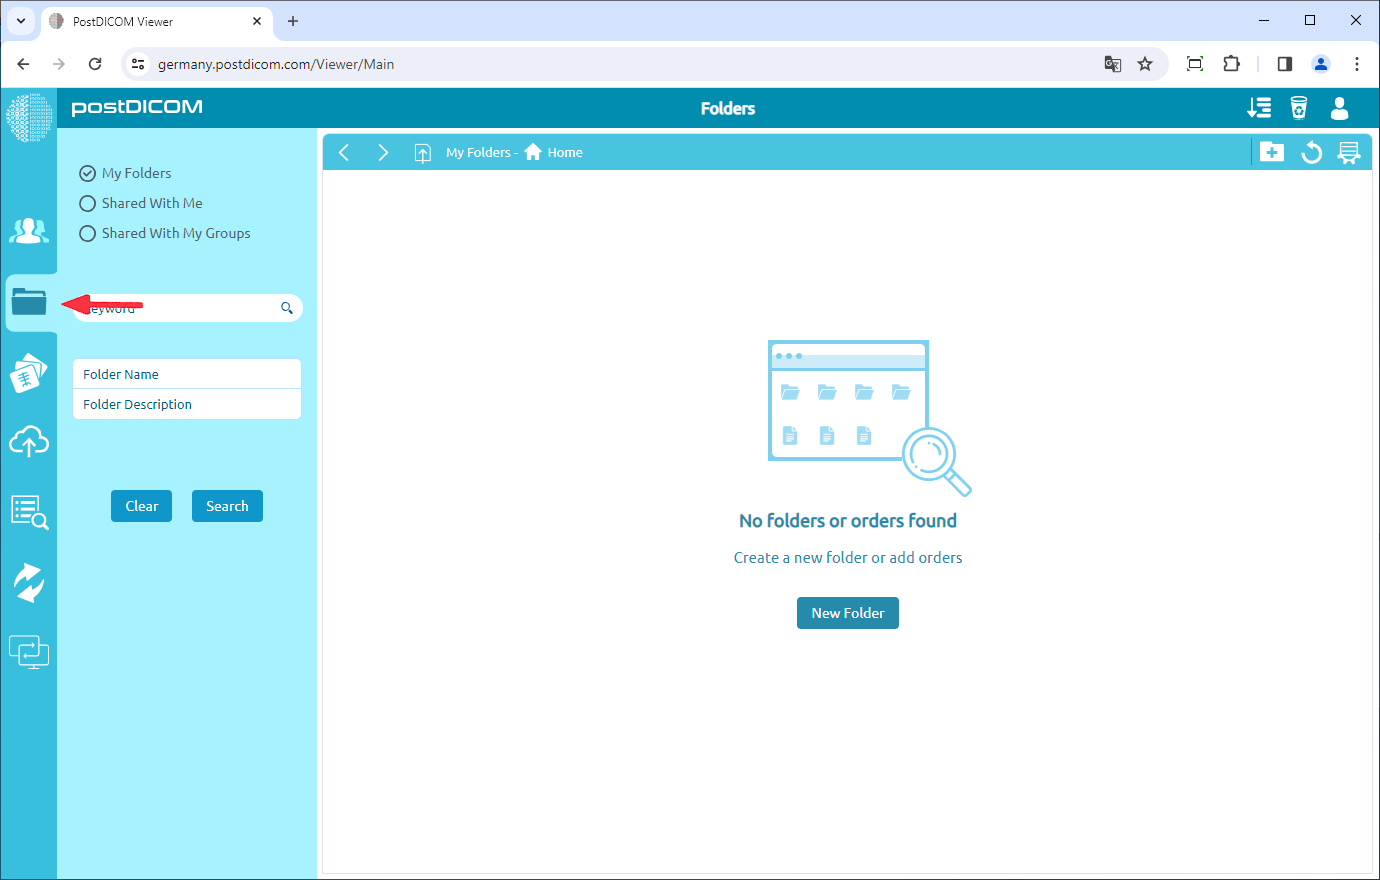
To create a folder. Click the “Folders” tab in the main menu.
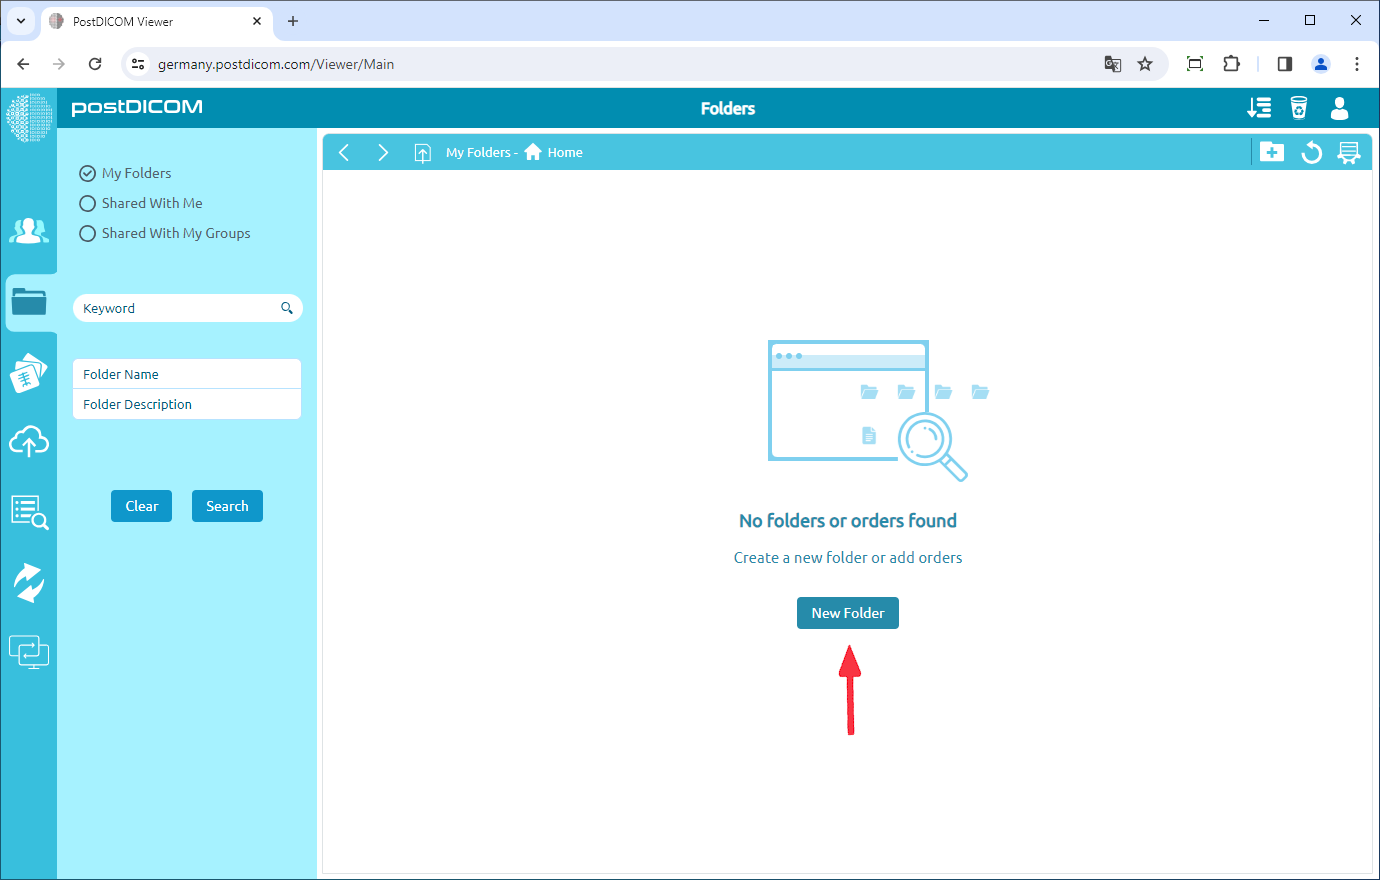
If you don’t have a folder. You can create new folder by clicking the “New Folder” button on the “Folders” tab.
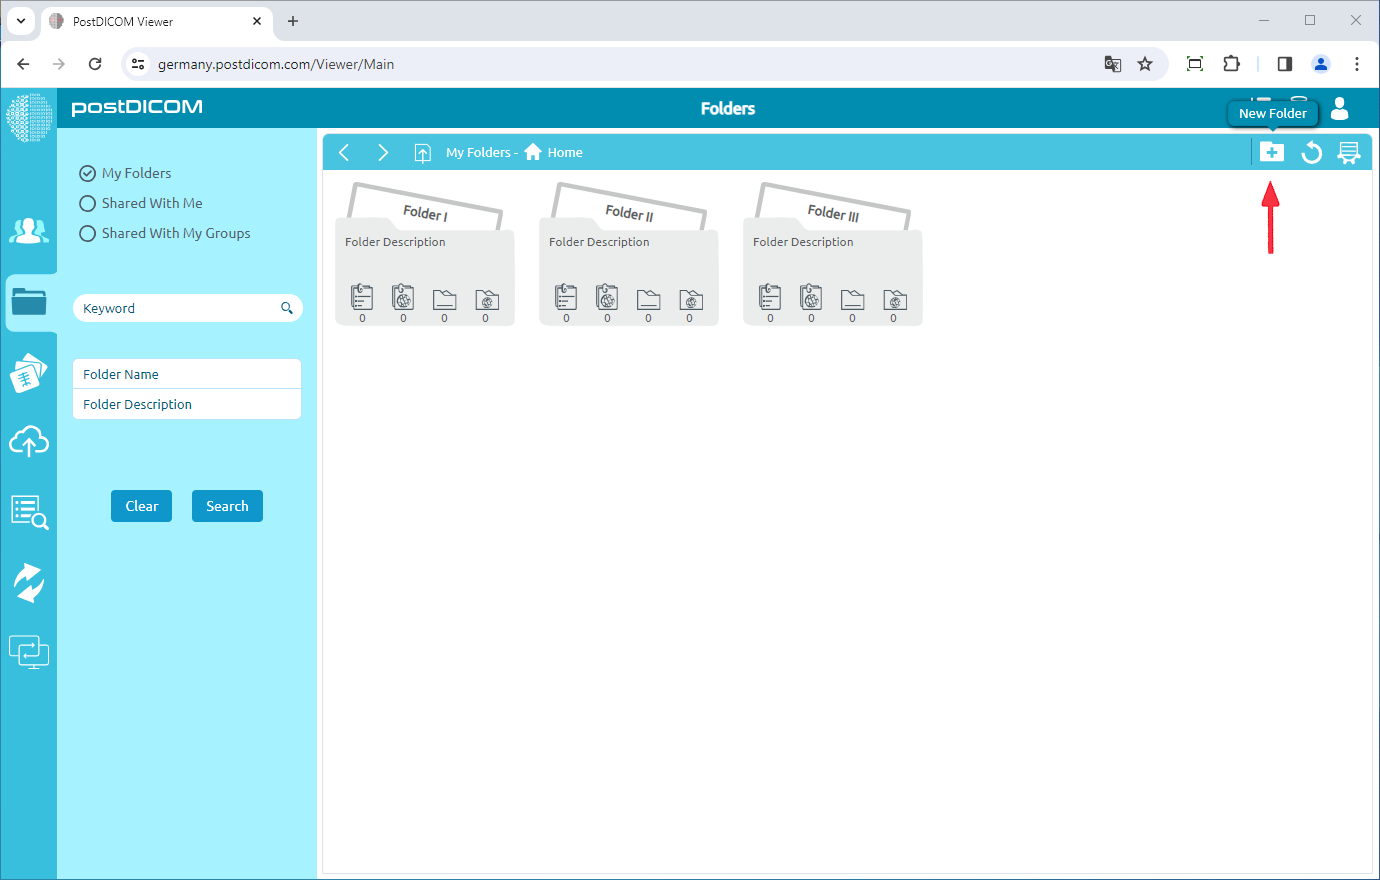
If you have created a folder before you can click the "New Folder" icon.
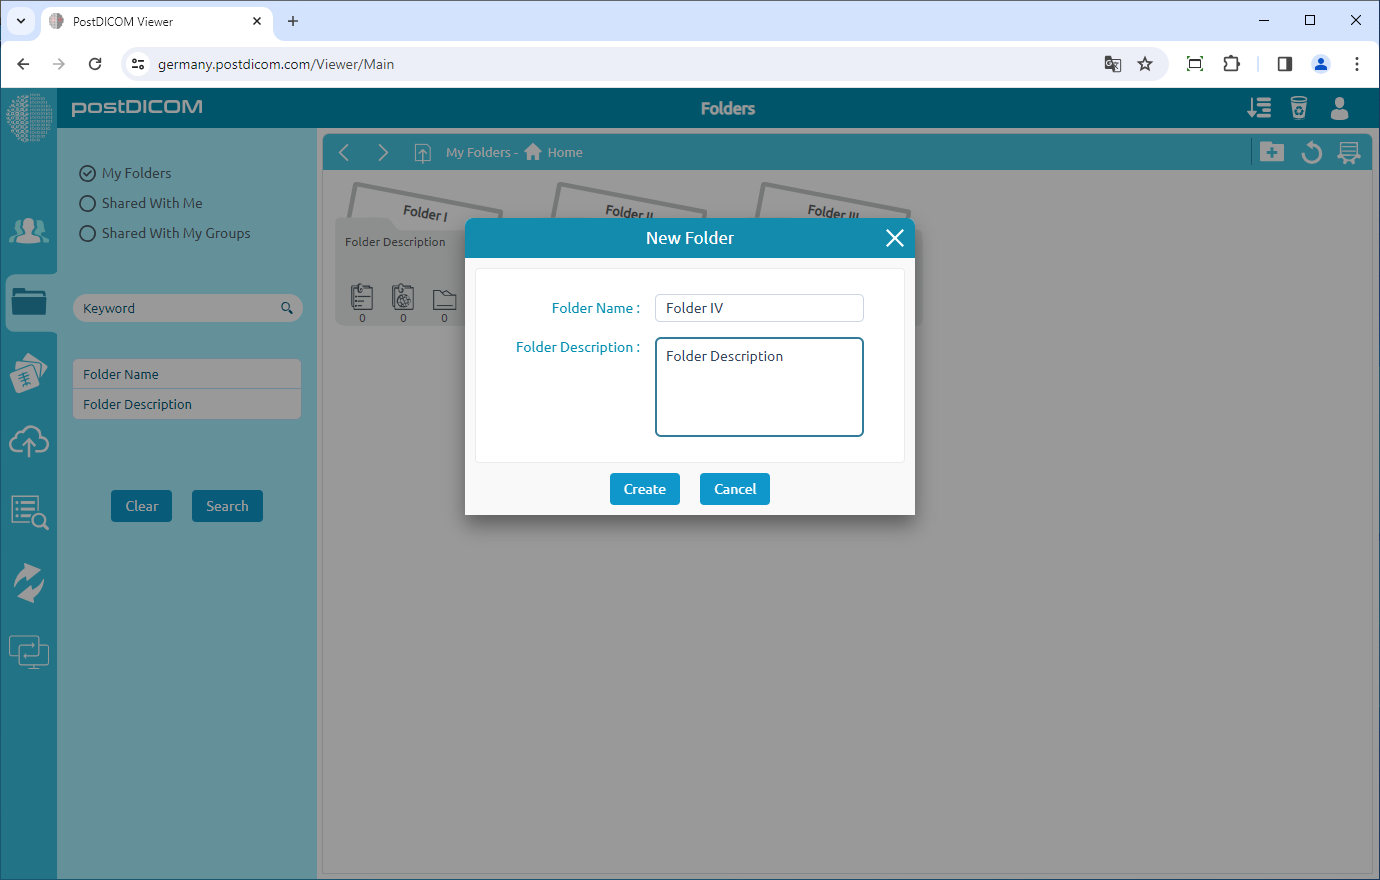
Enter the folder name and folder description(optional) in the “New Folder” form then click the "Create" button.
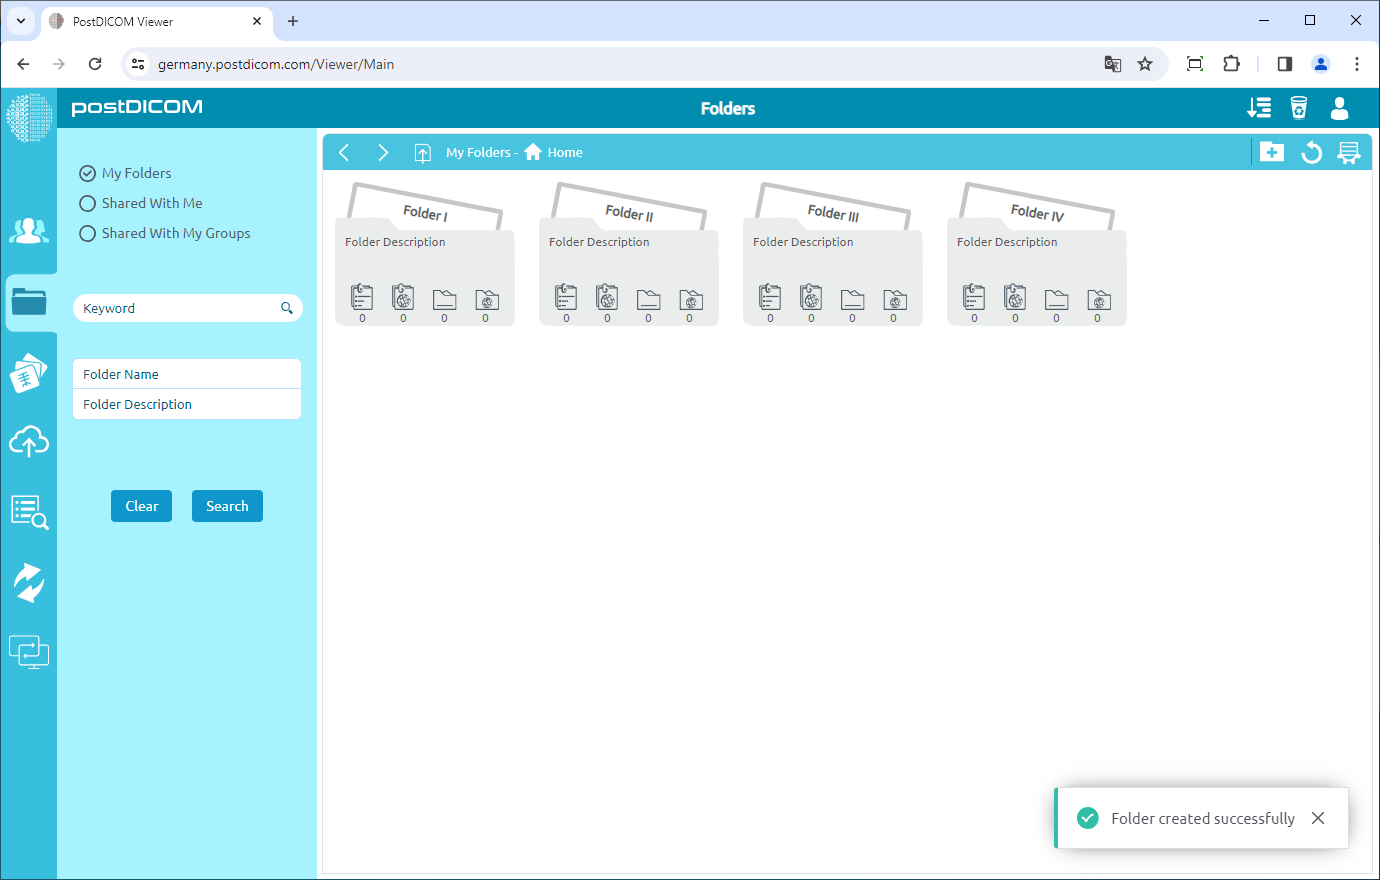
After clicking the "Create" button, the folder you created will appear on the Folders page.
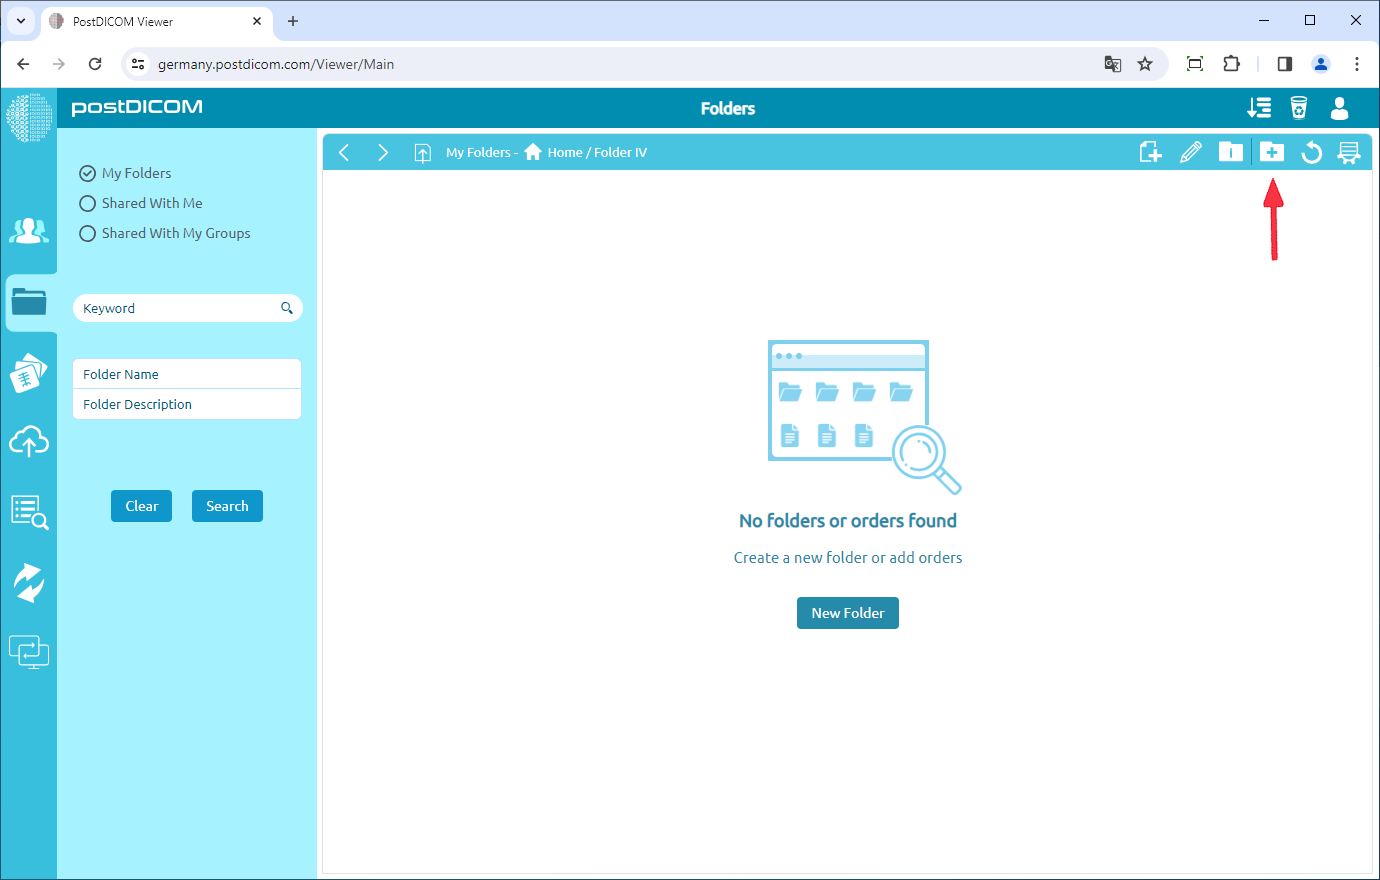
Folders can contain other folders. First, navigate to the folder (see Navigating Folders) where the subfolder will be created. Subfolders and Patient Studies will be shown if there are any. Then, click the "New Folder" icon at the upper right side of the page.
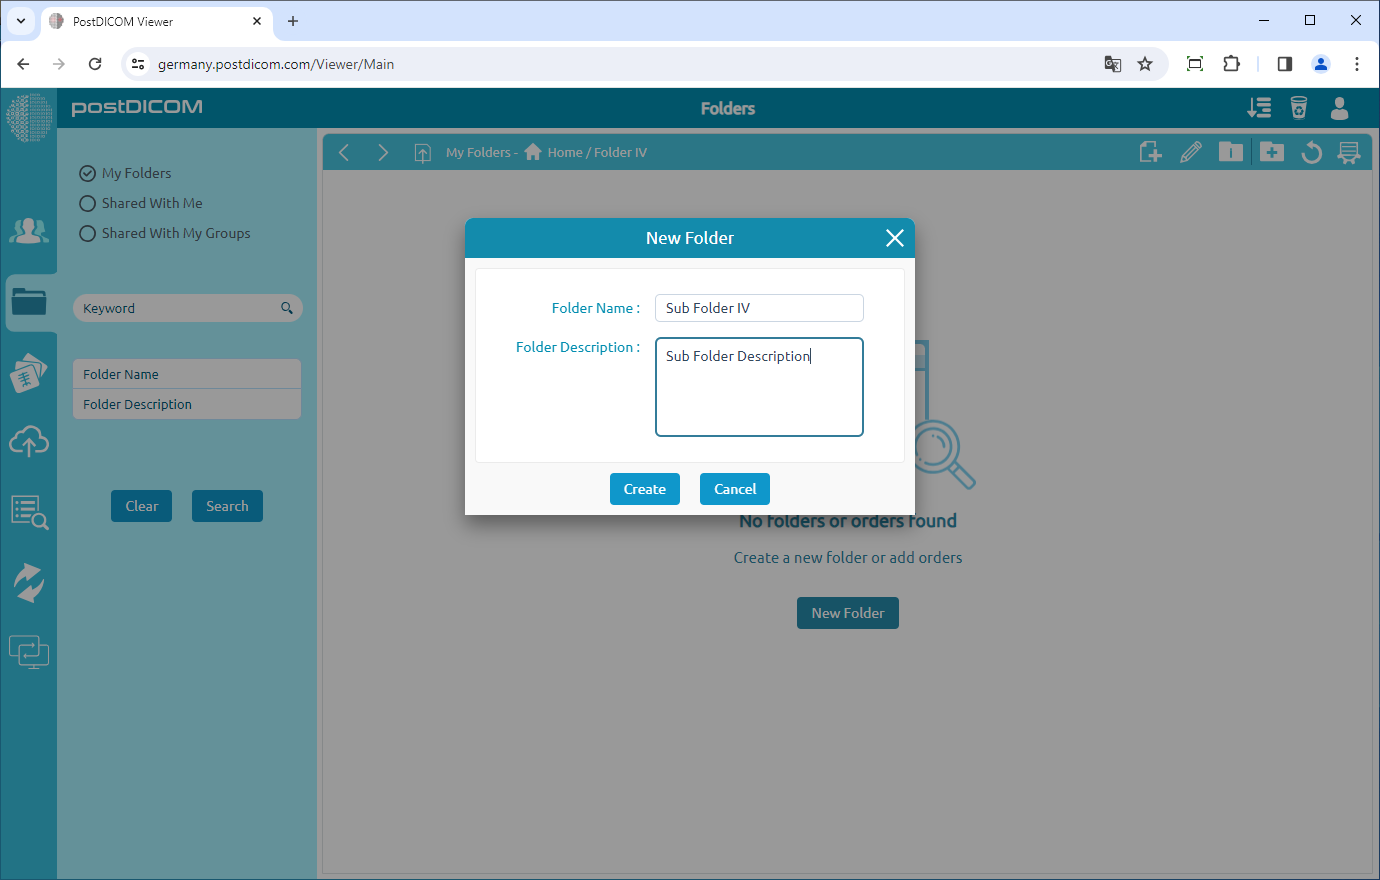
The "New Folder" form will be shown. Enter a folder name and folder description and then click on the "Create" button.
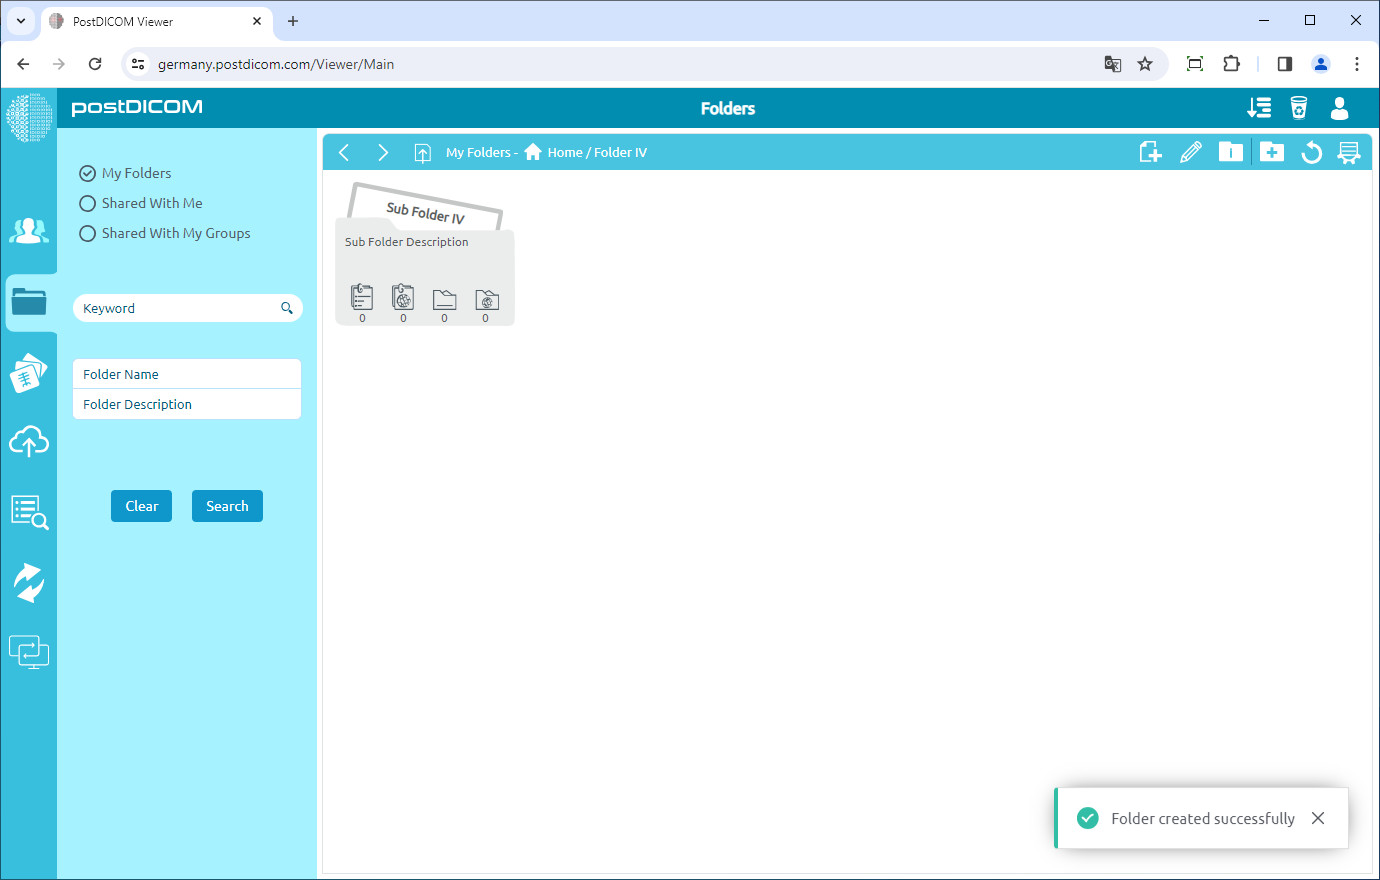
The created folder will be displayed in the parent folder. By using these steps you can add as many folders as you want.