MeDiC software must be installed on a local area network (LAN) and DICOM Nodes must be on the same network, otherwise, they can not communicate with each other.
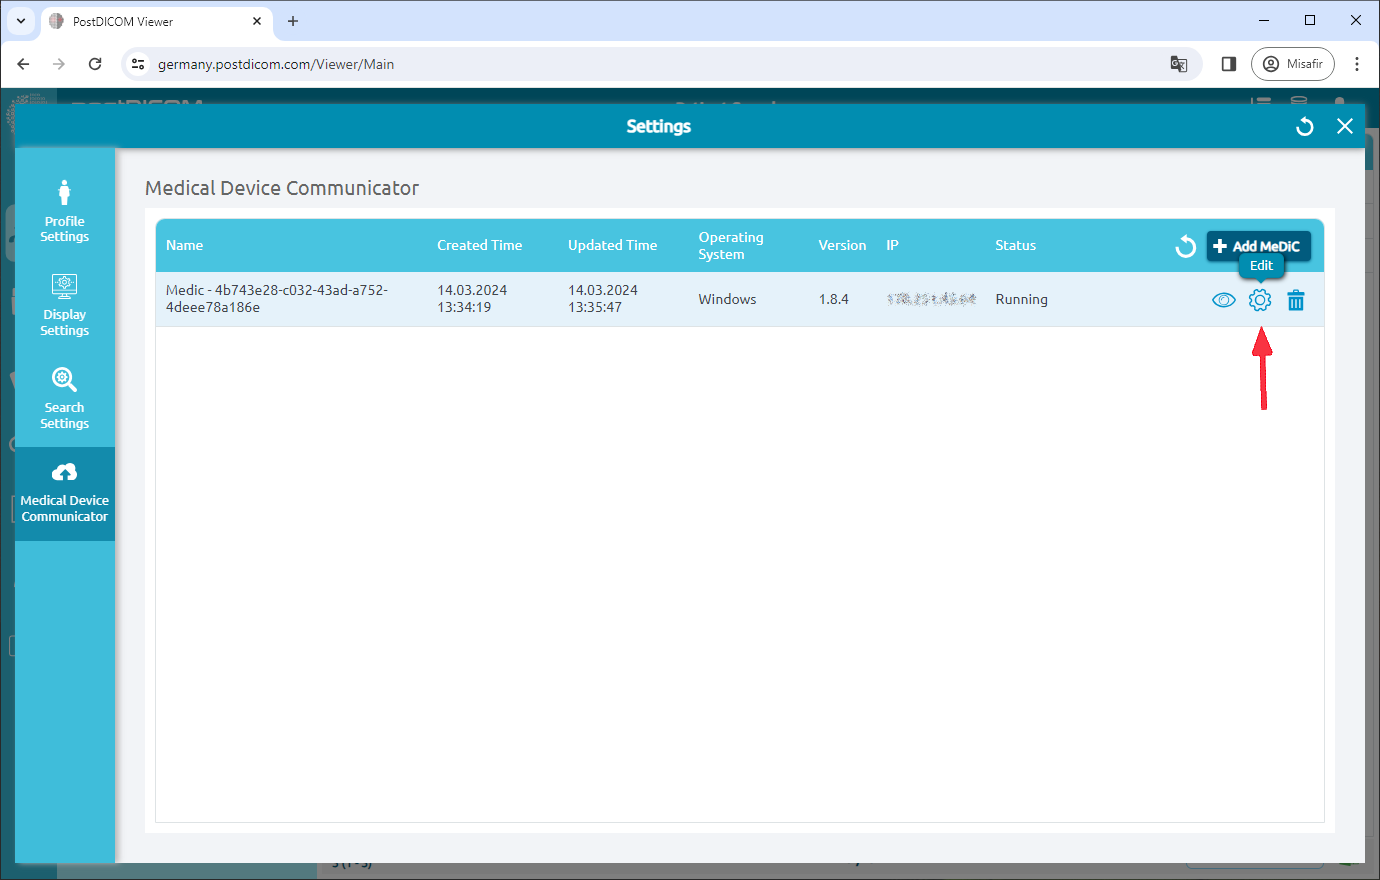
To edit a MeDiC application, click on the “Edit” icon on the right side of the page.
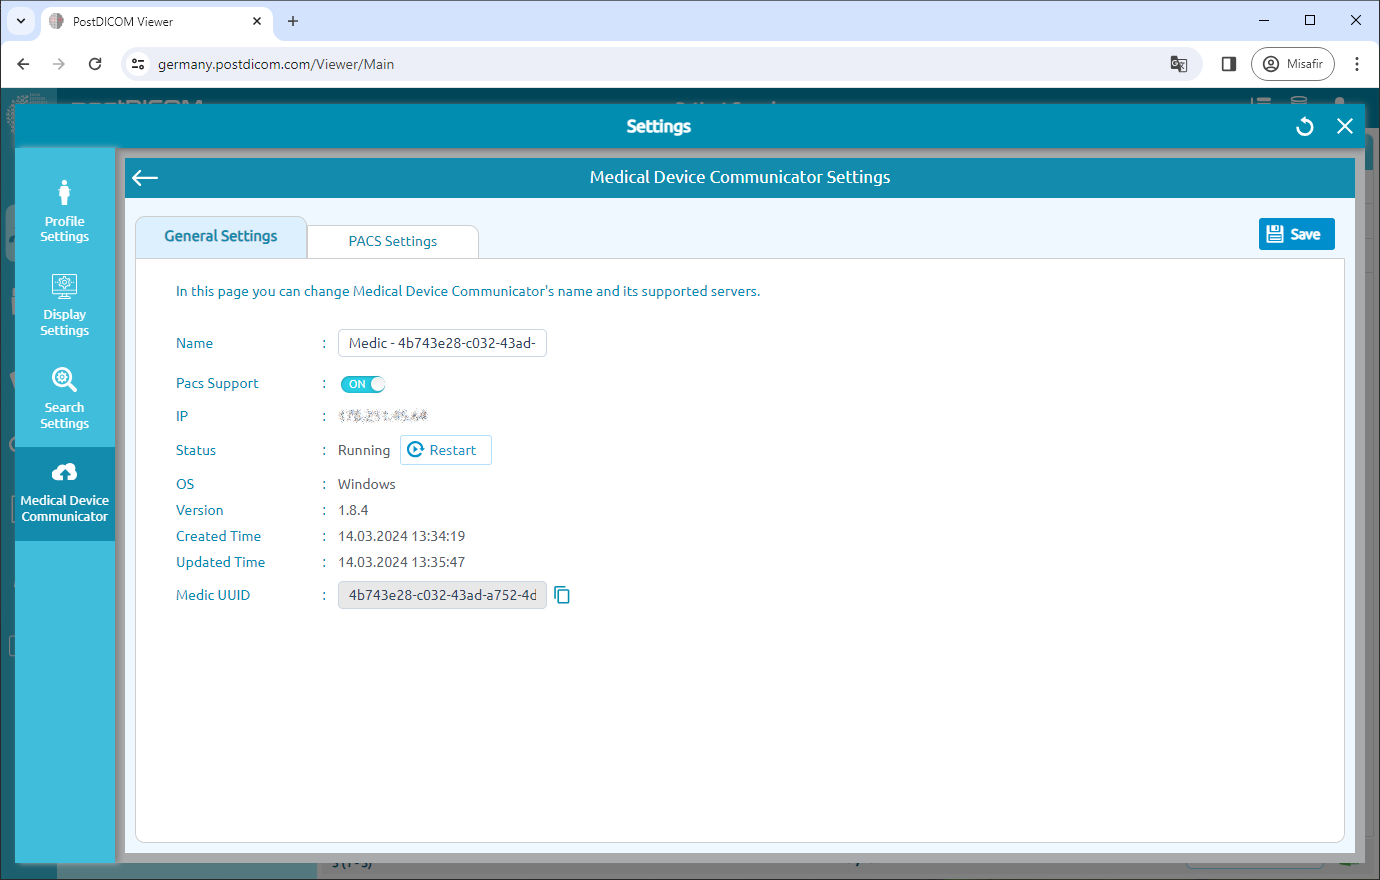
MeDiC General Settings will be shown.
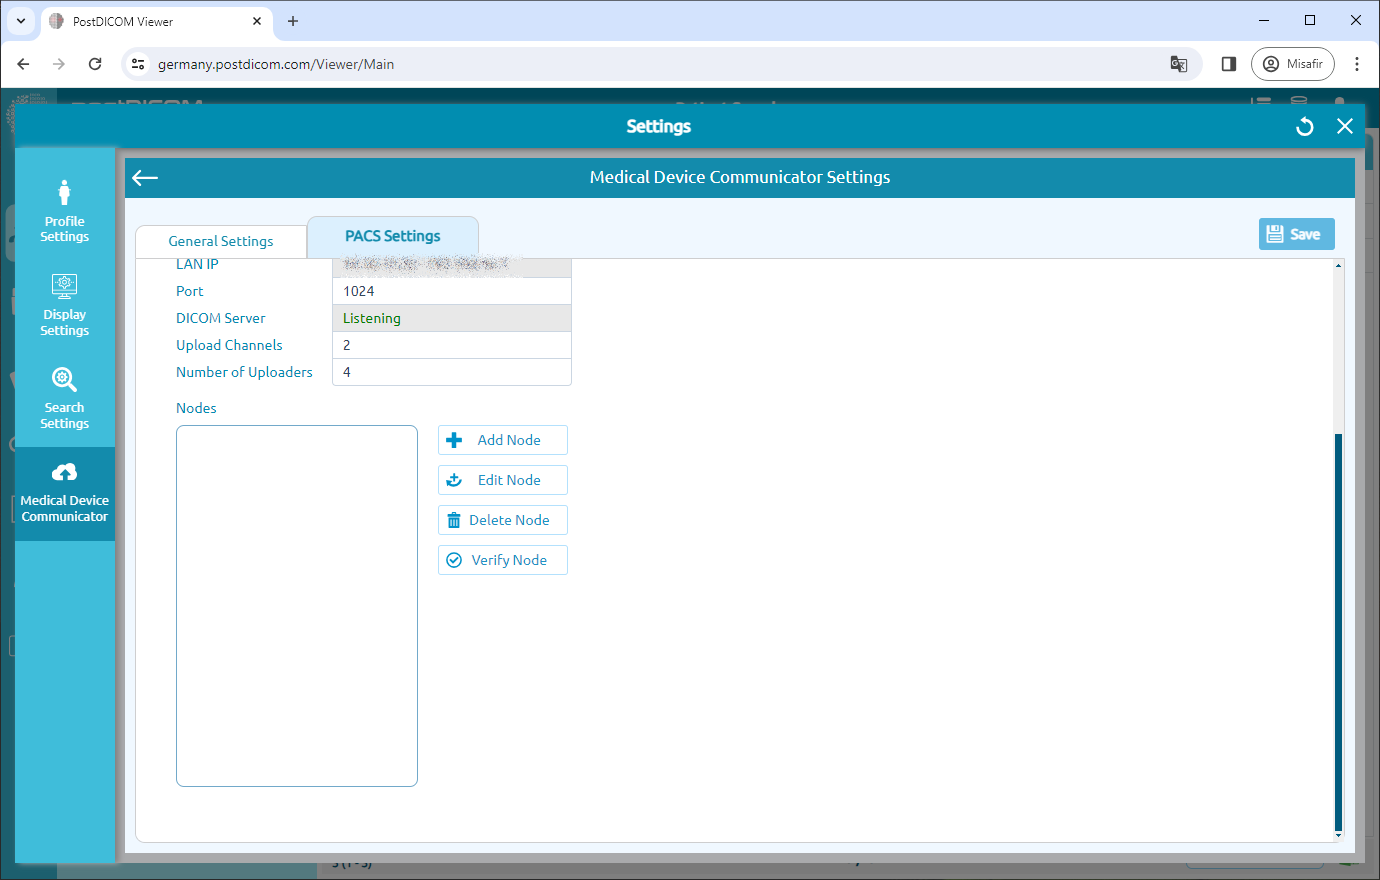
Click on the “PACS Settings” header on the upper side of the page.
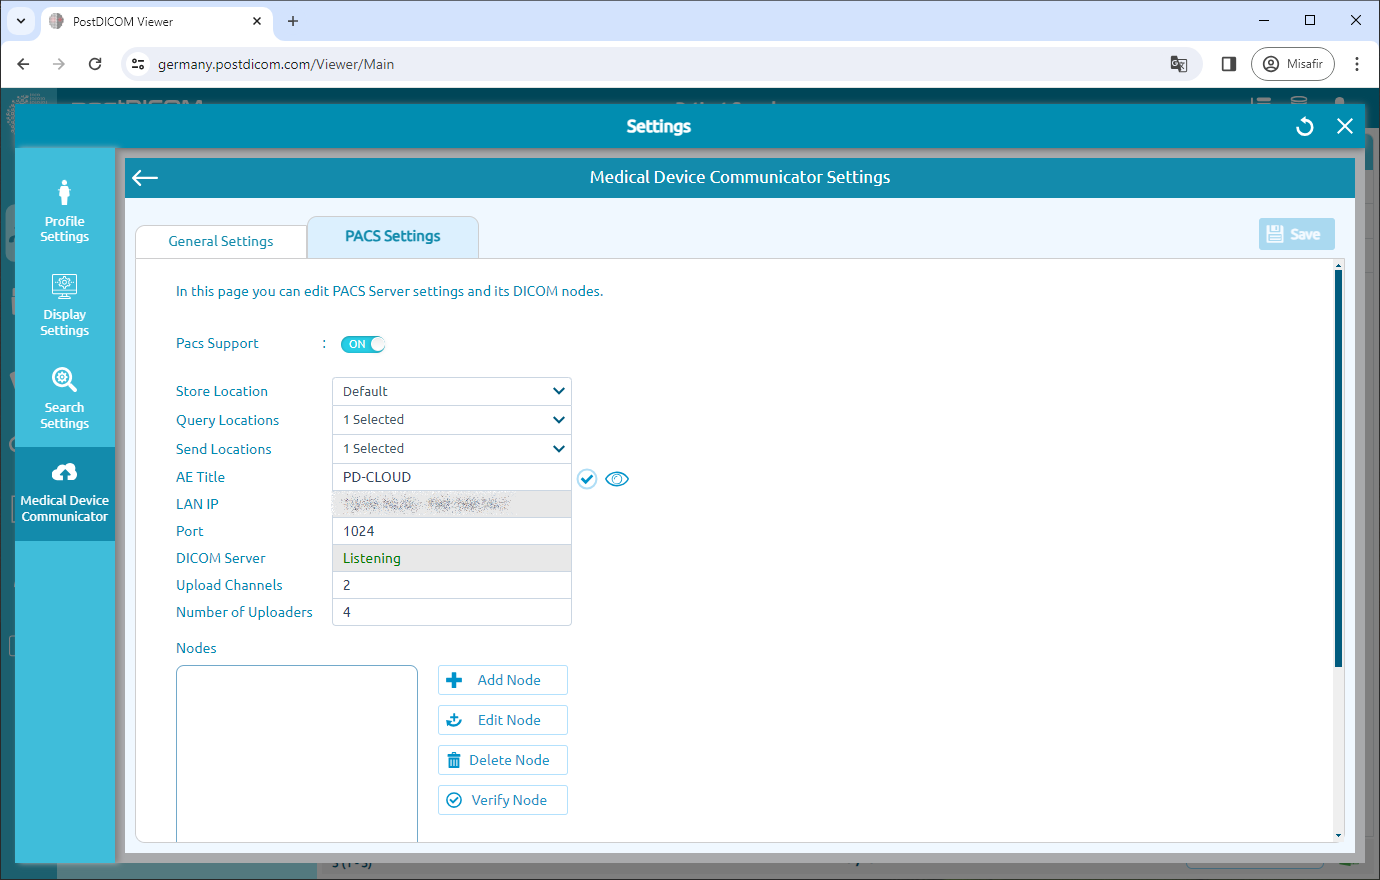
On this page, you can see MeDiC PACS Server settings. You can see store location, query locations, send locations, ae title, lan ip, port, server status, upload channels, and the number of uploaders. You can edit MeDiC PACS Server Port information by writing in related fields. After the port number is changed, click on the “Save” button to save the changes. Then MeDiC will automatically restart.
MeDiC software must be installed on a local area network and DICOM Nodes must be on the same network, otherwise, they can not communicate with each other.
Adding a DICOM Node To communicate with other DICOM-compatible modalities (MRI, CT, CR, Ultrasound, etc.), you have to add their properties (AE Title, IP, and Port) to each other's configuration.
DICOM requests from unregistered nodes will be rejected by the MeDiC PACS Server. Therefore, every modality that will interact with the MeDiC PACS Server must be added to the Nodes list.
Each DICOM compatible device has an interface for adding other DICOM Nodes to their allowed list. As an example, we gave the steps to configure Horos Viewer to work with PostDICOM MeDiC. These steps are given below.
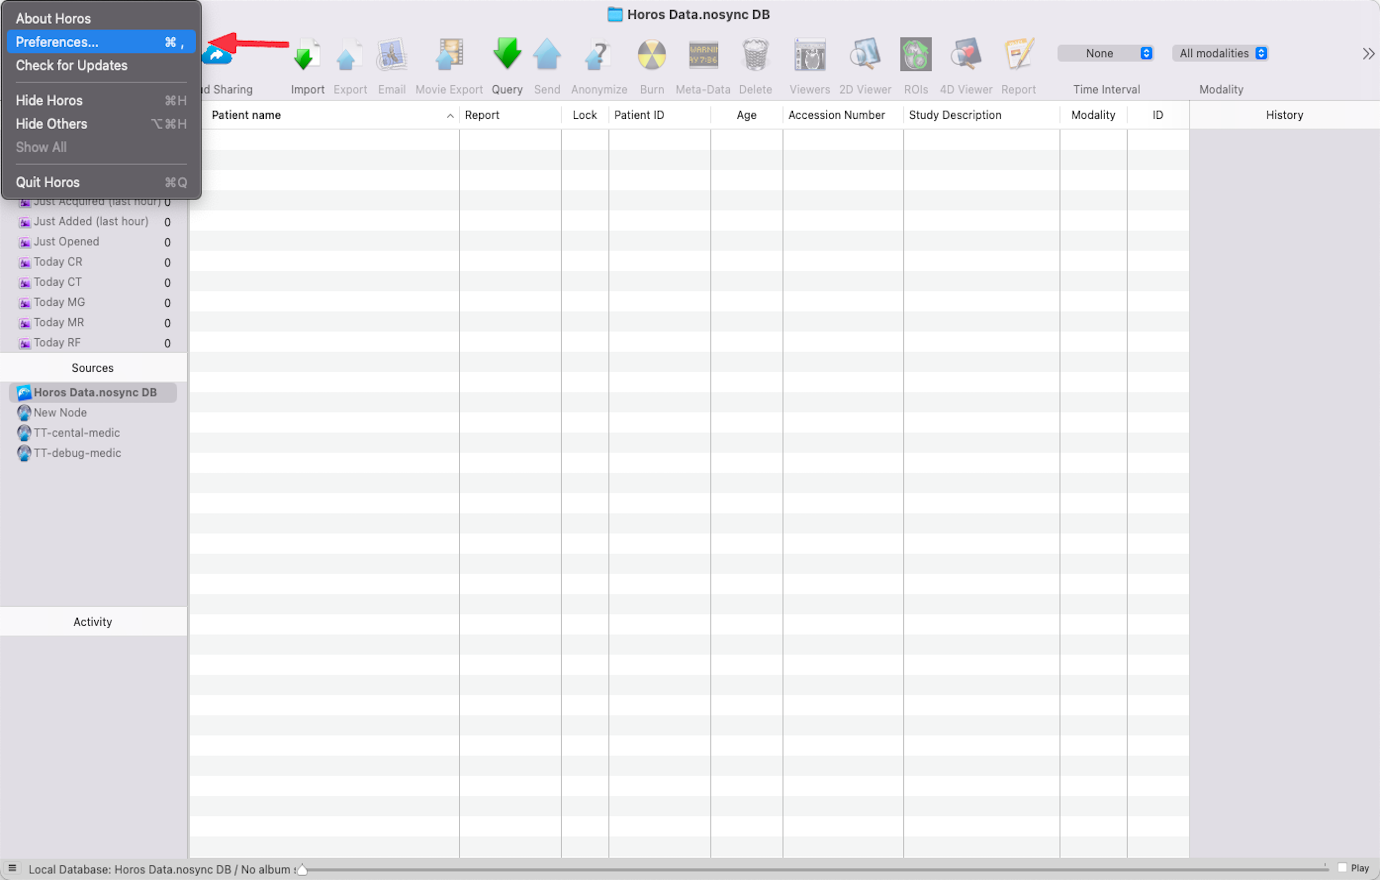
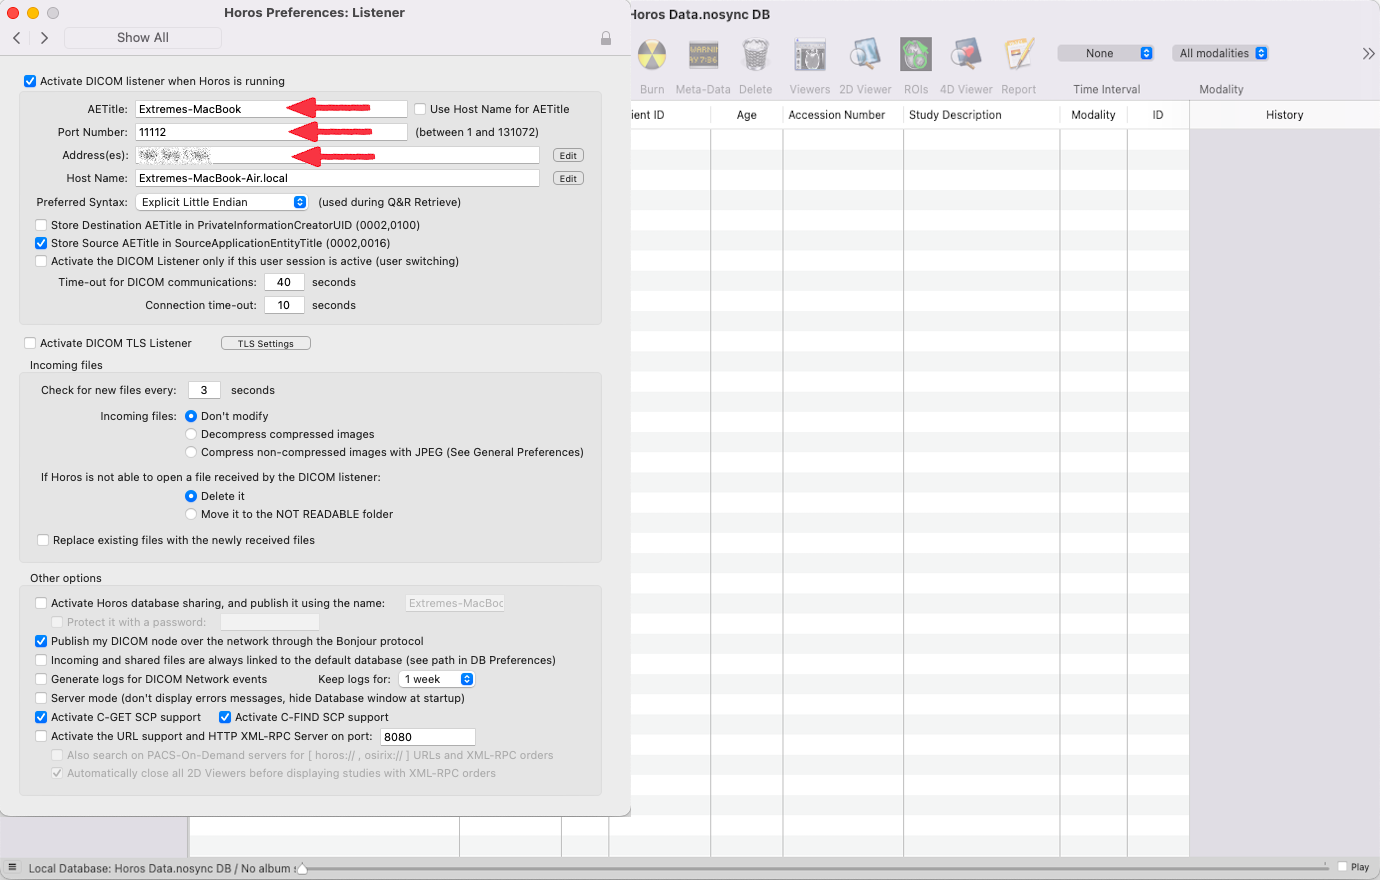
Go to the Horos->Preferences and look at the Horos AE Title and Port.
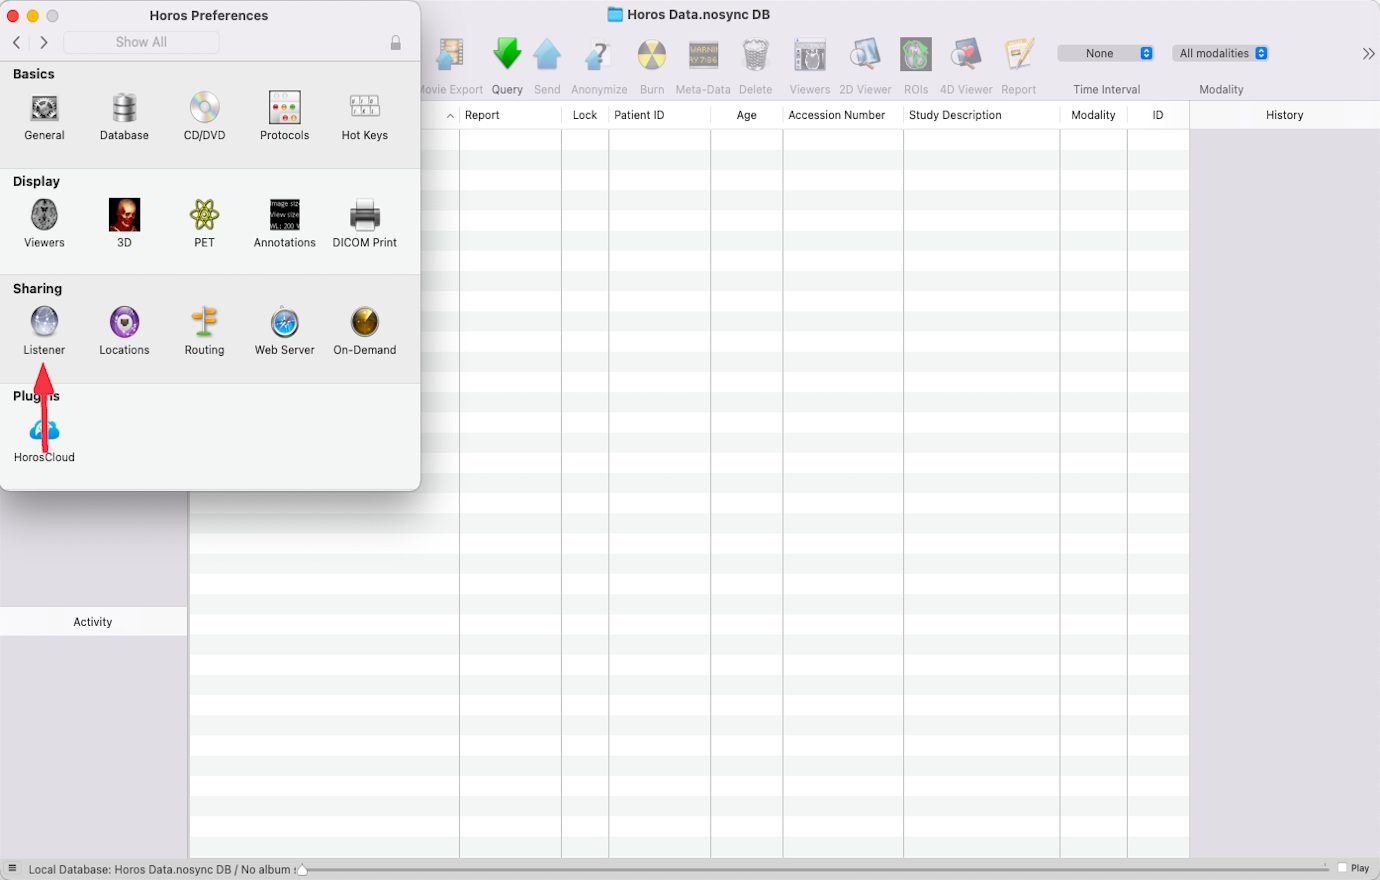
Click on Sharing->Listener.
Copy the Horos AE Title, IP address and Port number.
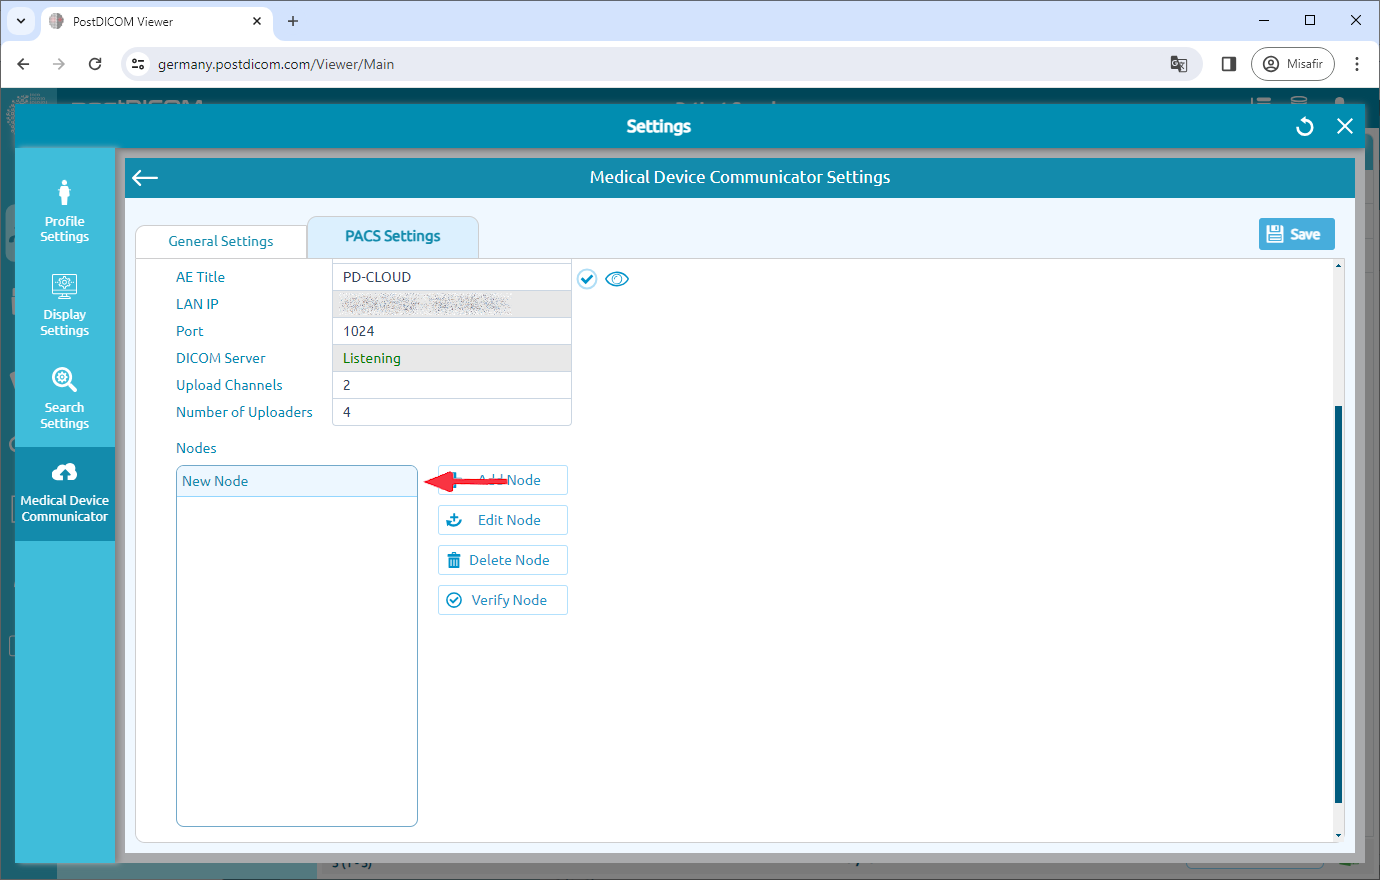
Click on the "Add Node" button.
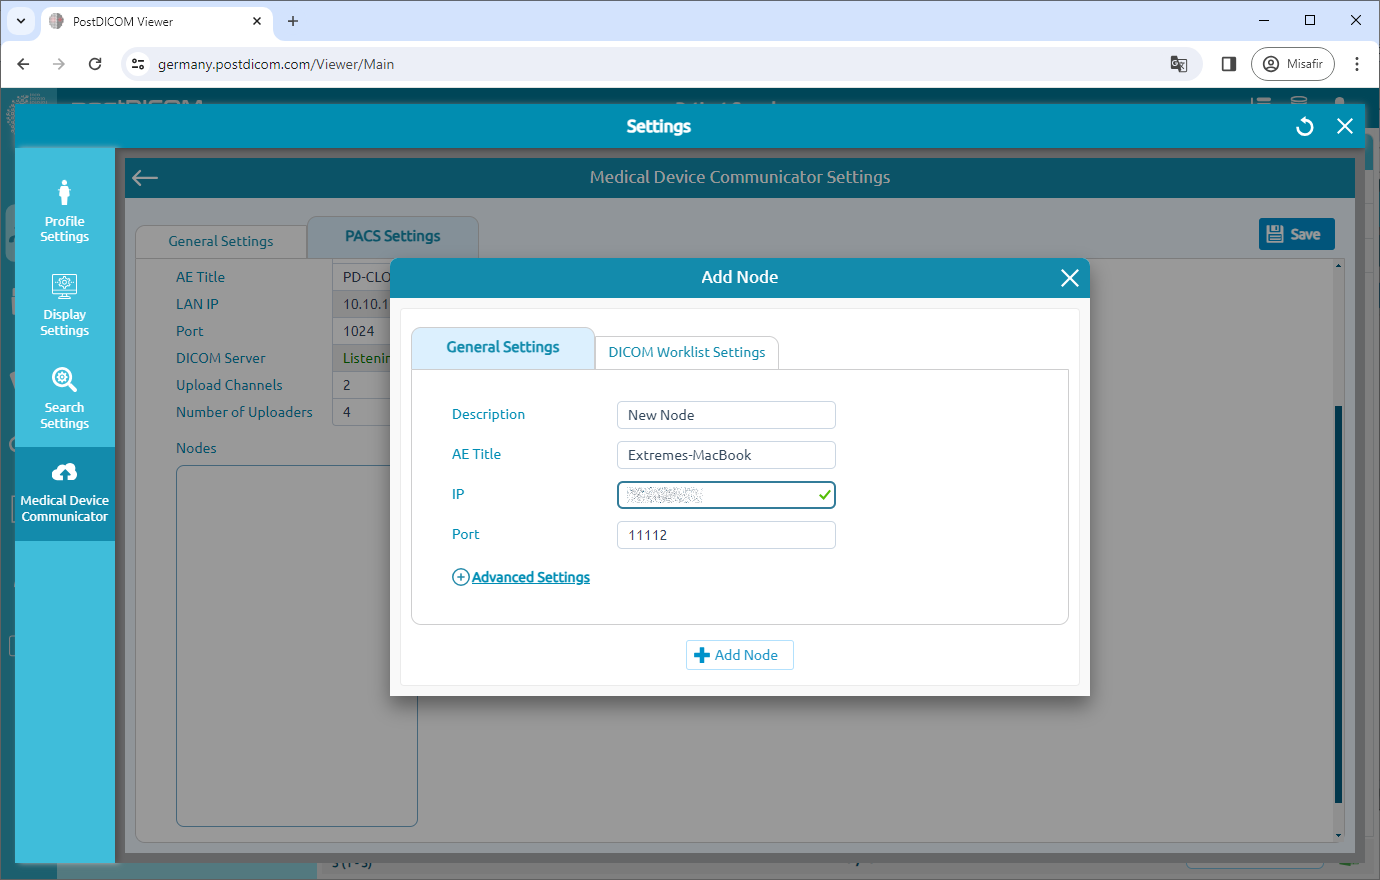
After clicking the “Add Node” button, you will see the "Add Node" form. the "Add Node" form contains the description, ae title,ip, and port number.
After filling in the necessary information click on the “Add Node” button to add a newly created DICOM node to the Nodes list.
New DICOM node will be added to the Nodes list on the left side of the page.
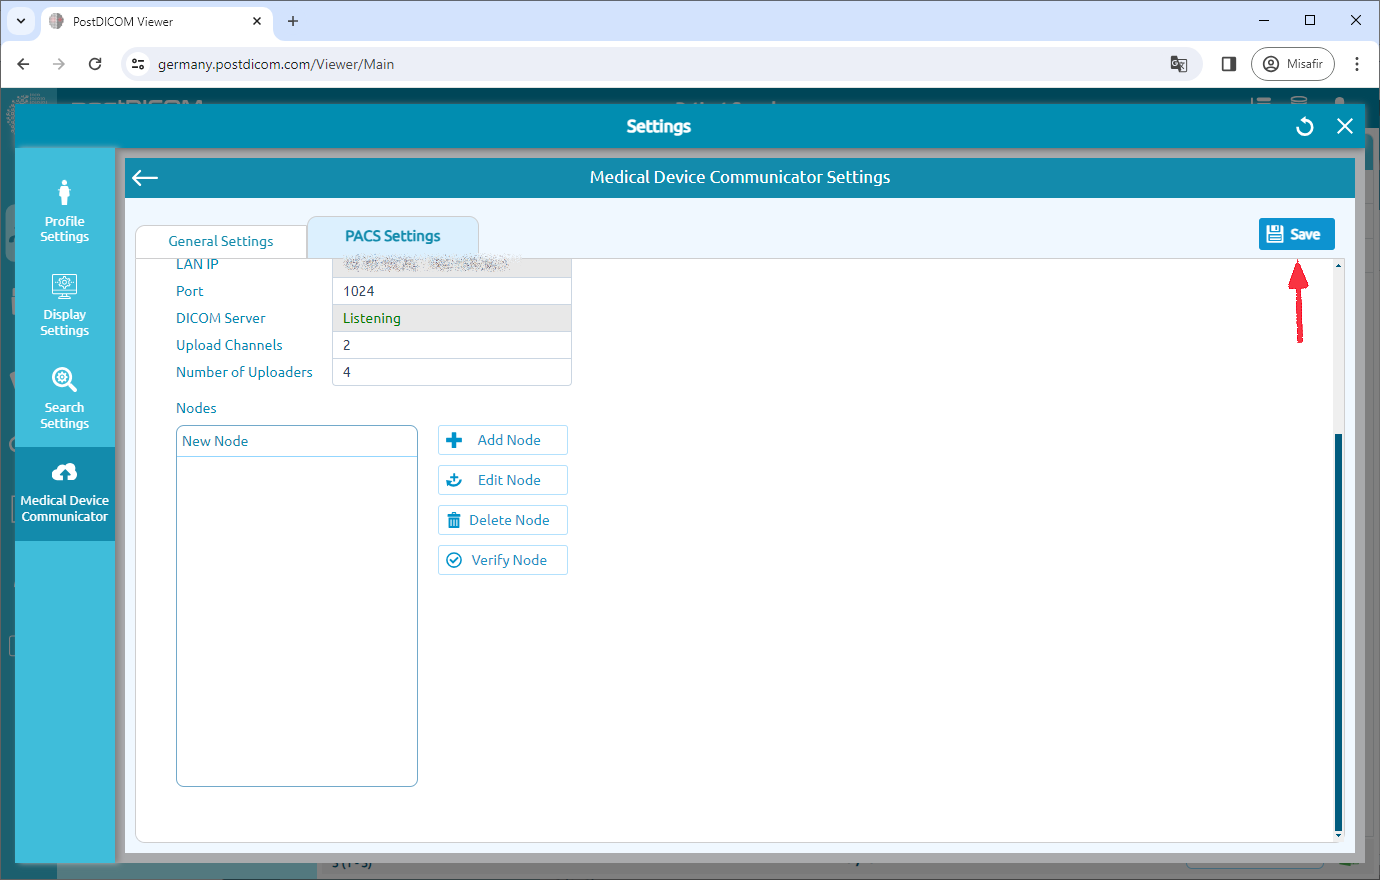
To reflect the changes, click on the “Save” button on the upper right side of the page. If you close the Settings page without saving, all of the changes will be lost. Make sure that you saved your changes before closing the current window.
To communicate with MeDiC, you have to add MeDiC's AE Title, IP, and Port to the Horos Viewer.
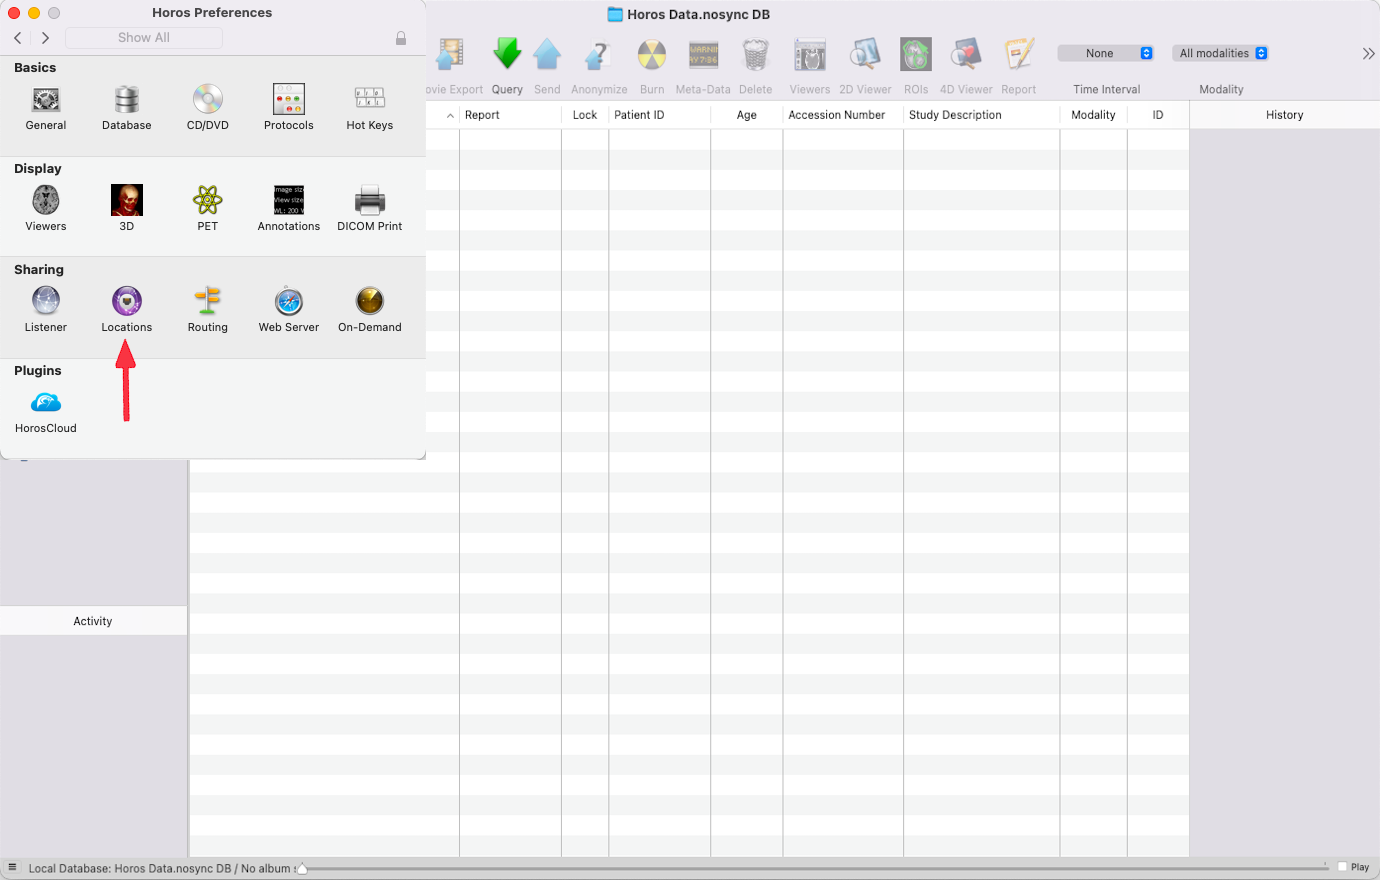
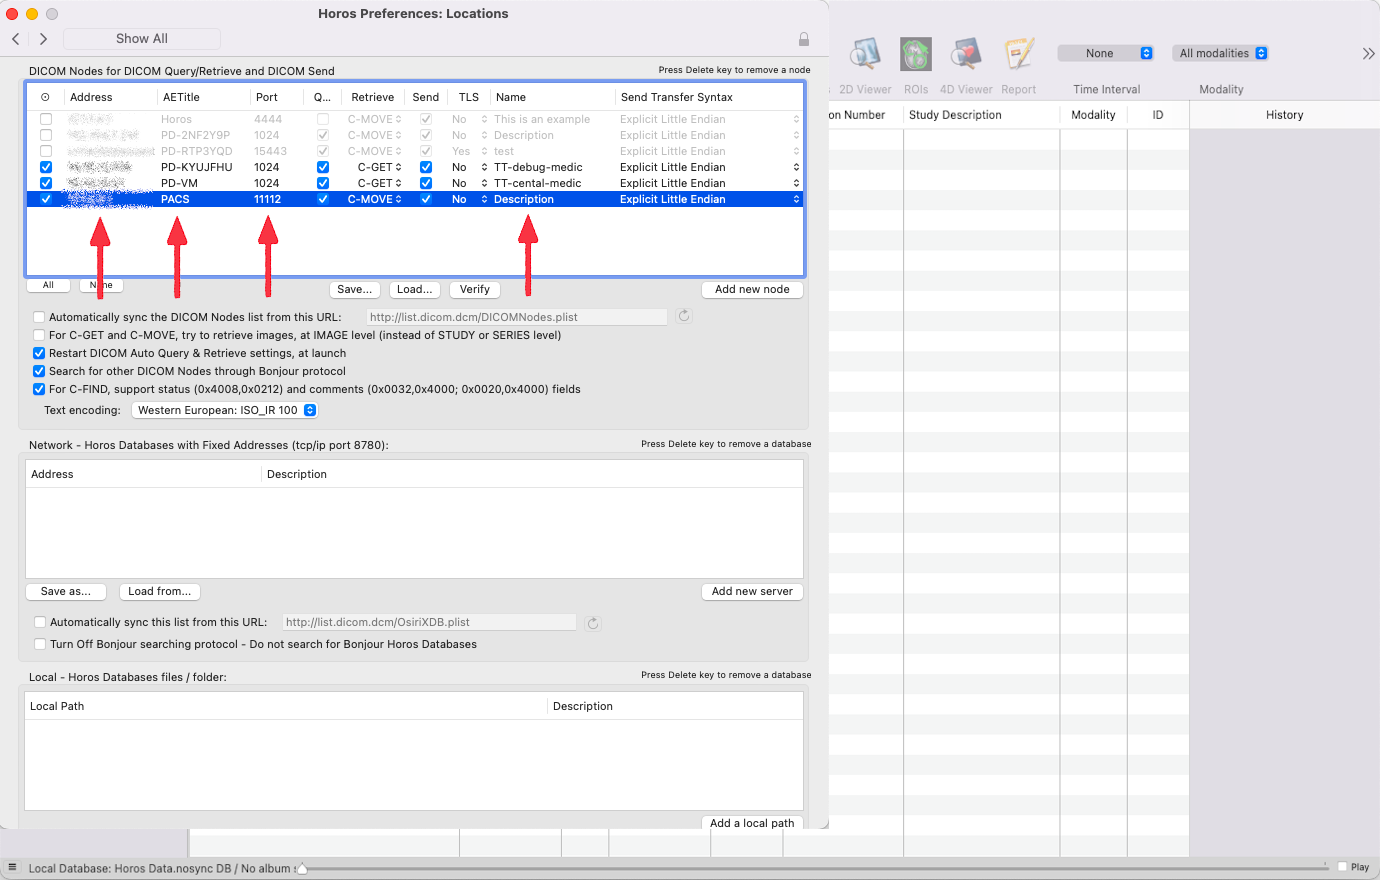
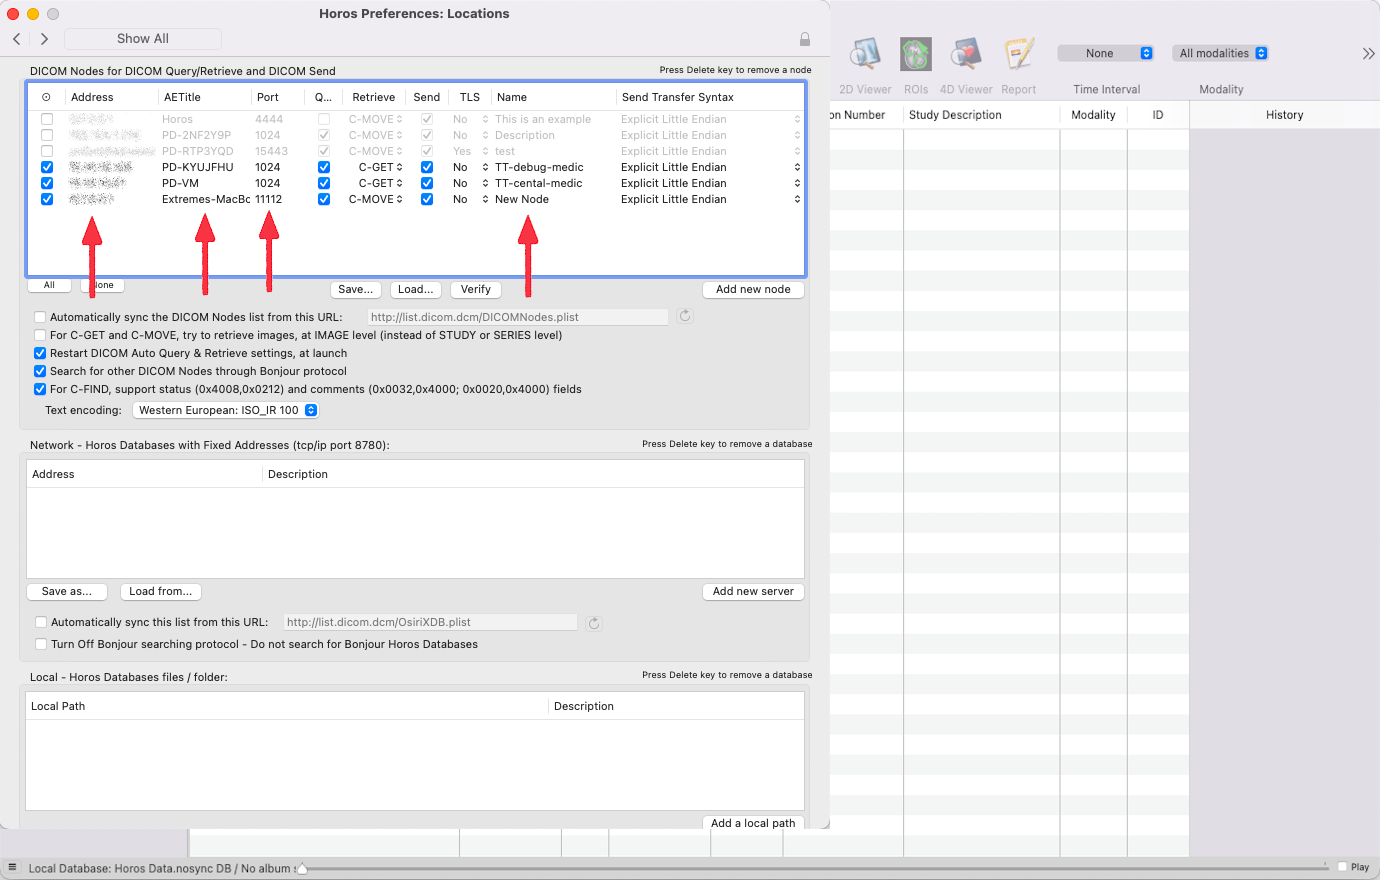
Go to Horos->Preferences and click on Locations.
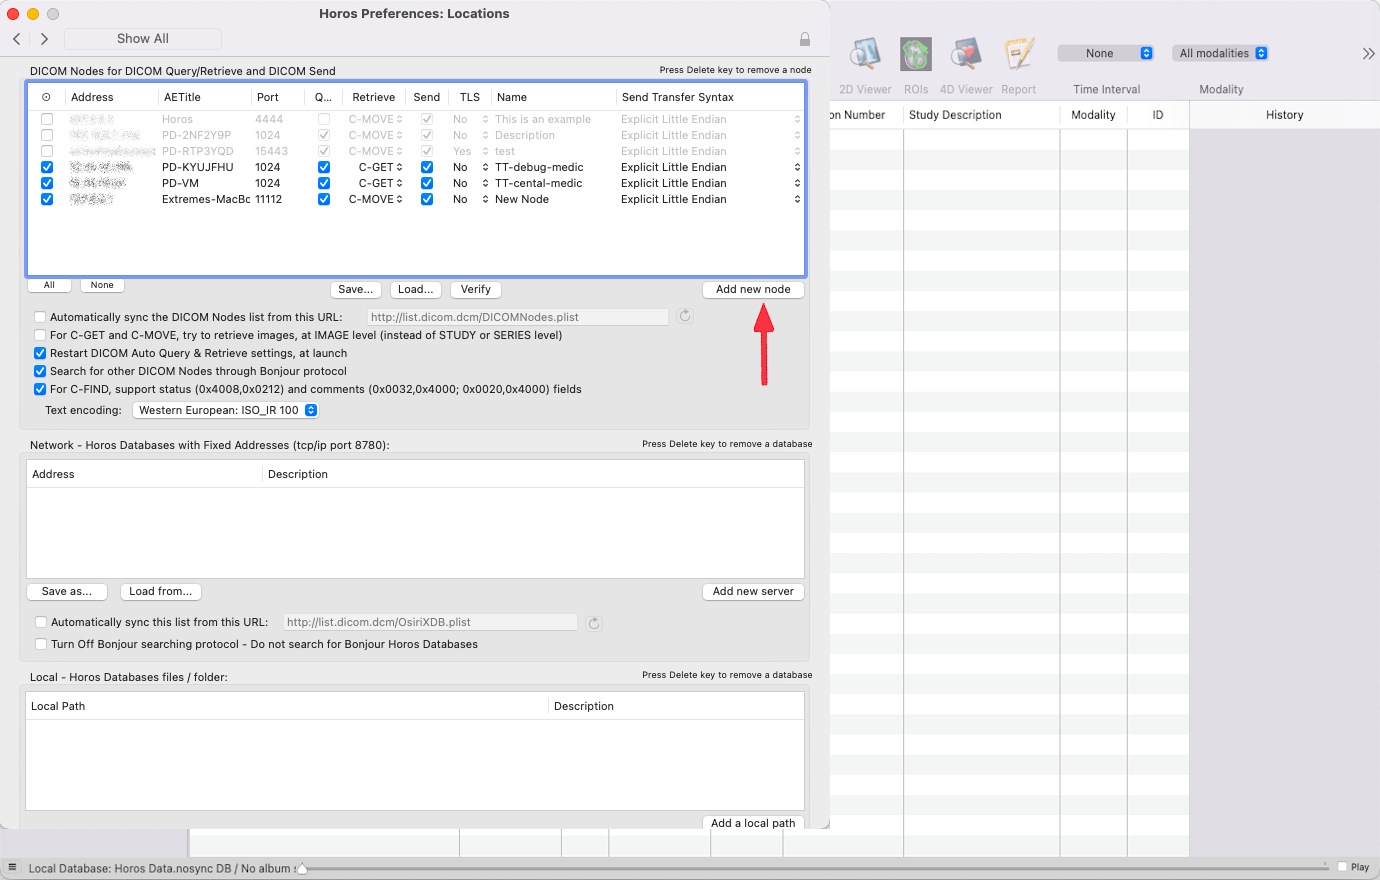
Click on Add new node.
Fill the values with PostDICOM's MeDiC AE Title, IP Address, Port and name.
Next image.
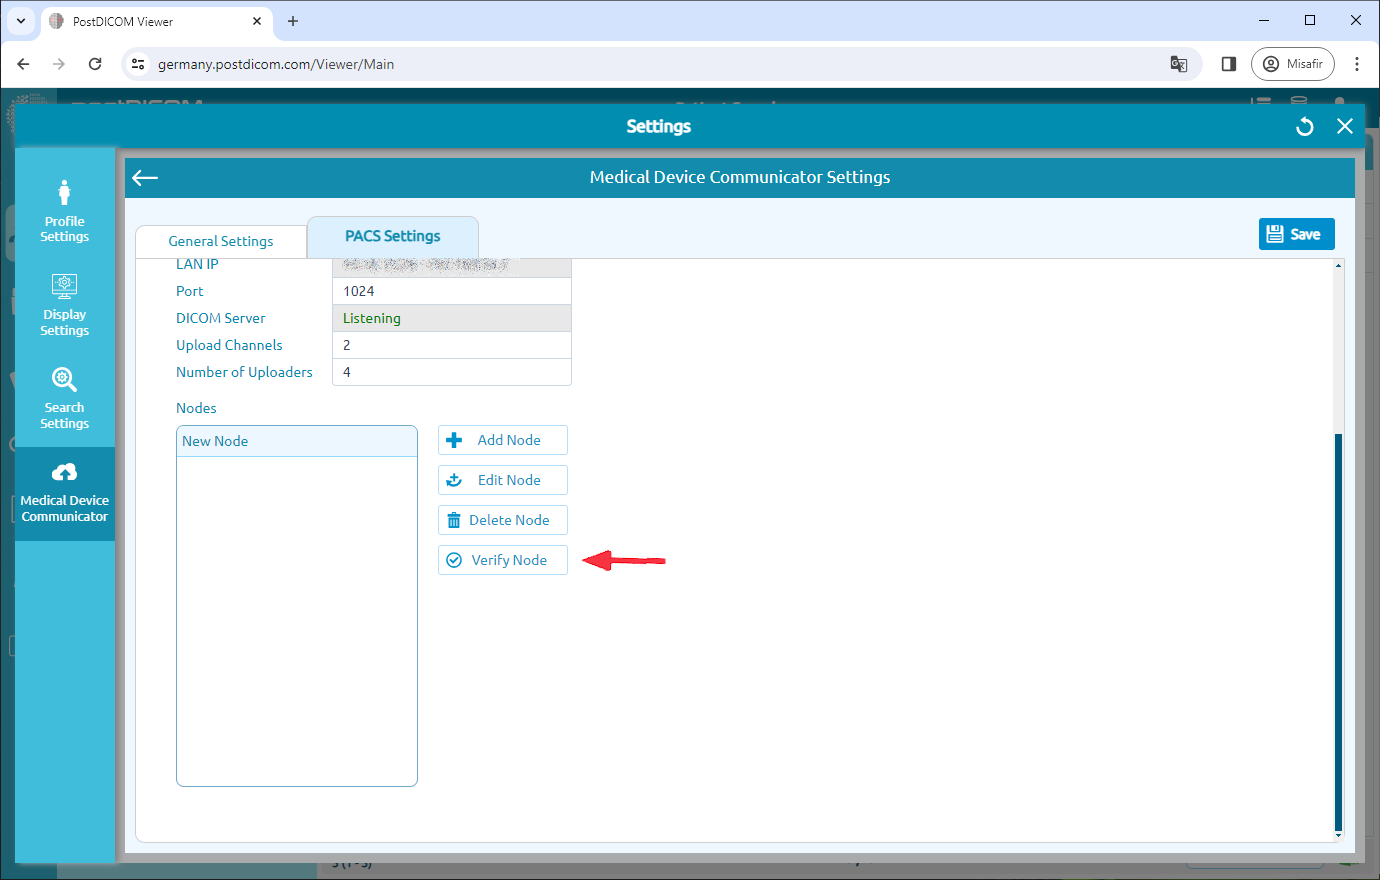
To verify (DICOM Echo) a DICOM Node, select the Node and then, click on the “Verify” button on the right side of the page.
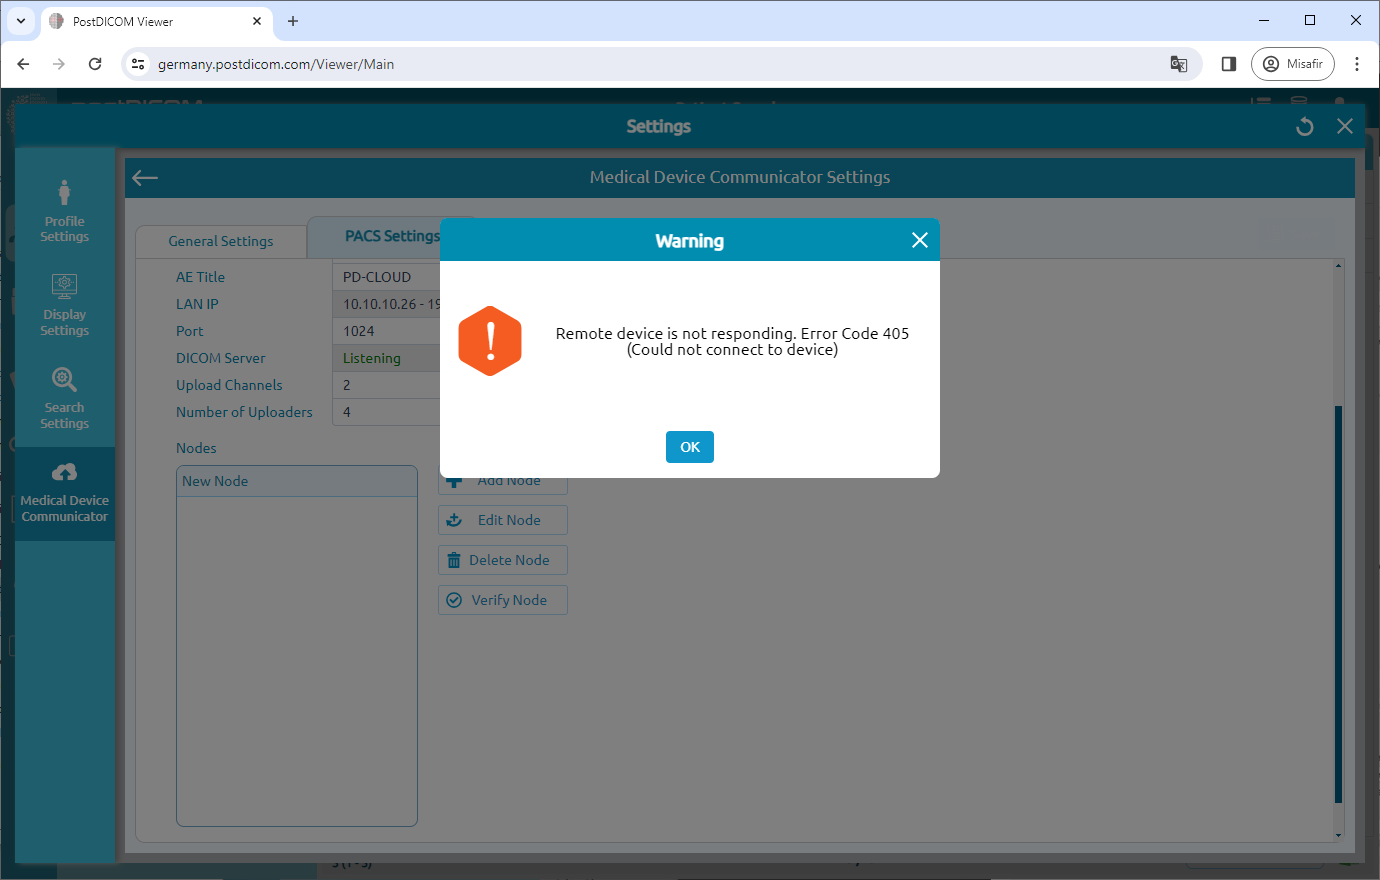
Once you have clicked, you will see a message box indicating whether the verification successful or not.
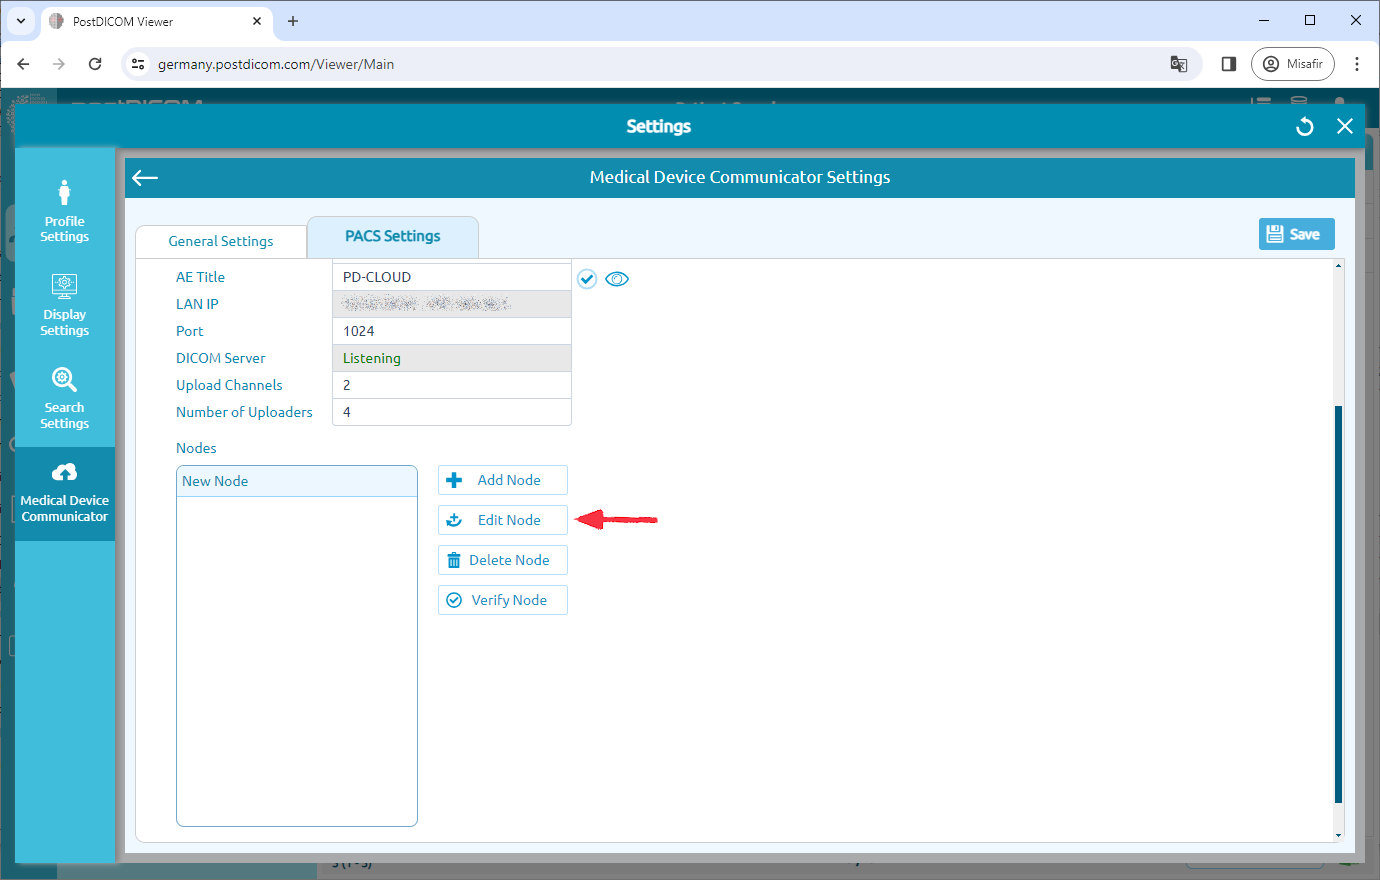
Editing DICOM Nodes
To edit nodes click on the "Edit Node" button.
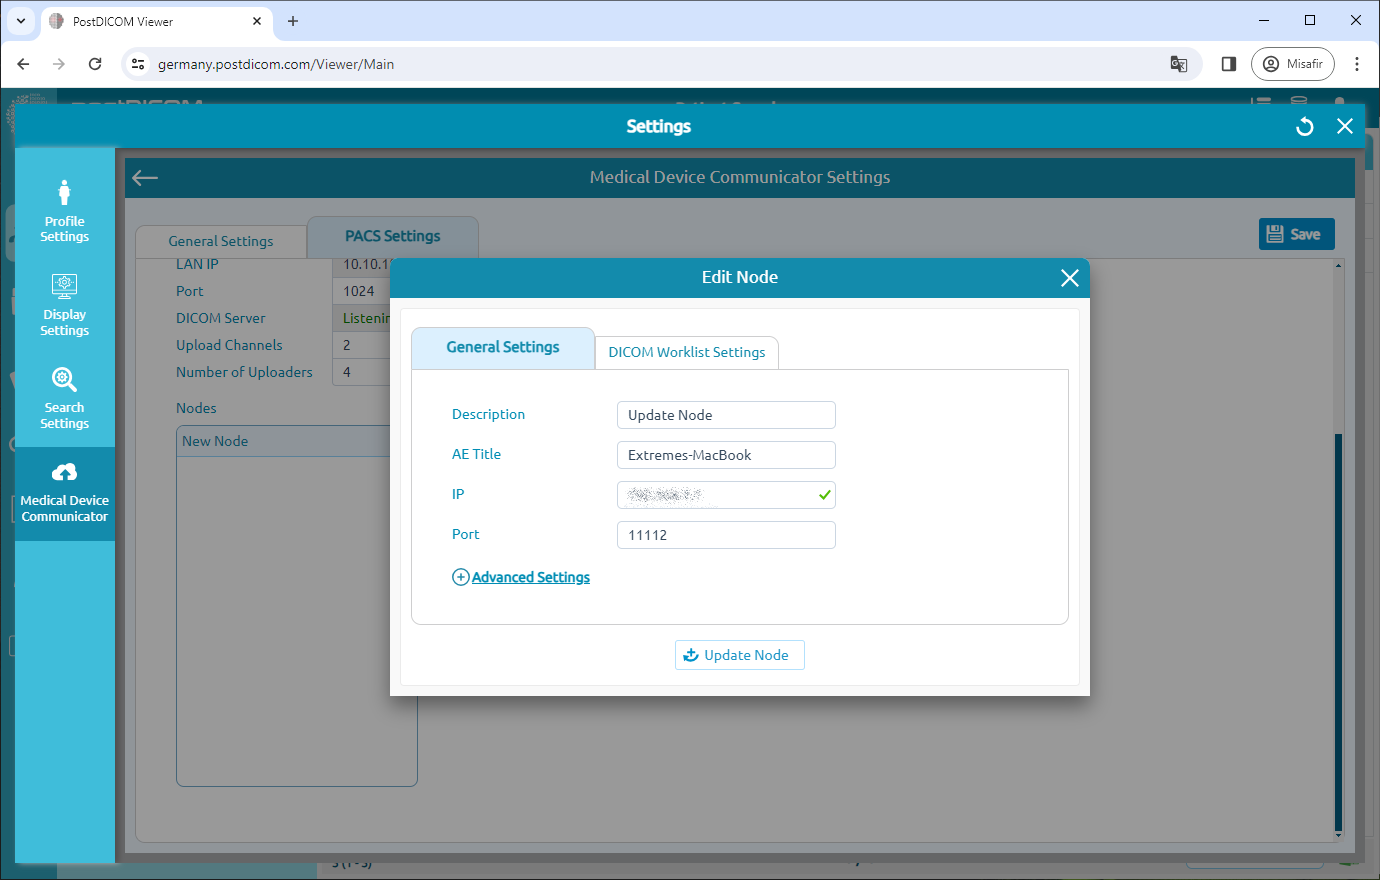
You can edit the selected node's description, ae title, IP address, and port number. After making changes click on the "Update Node" button. Make sure to click on the "Save" button to save configuration.
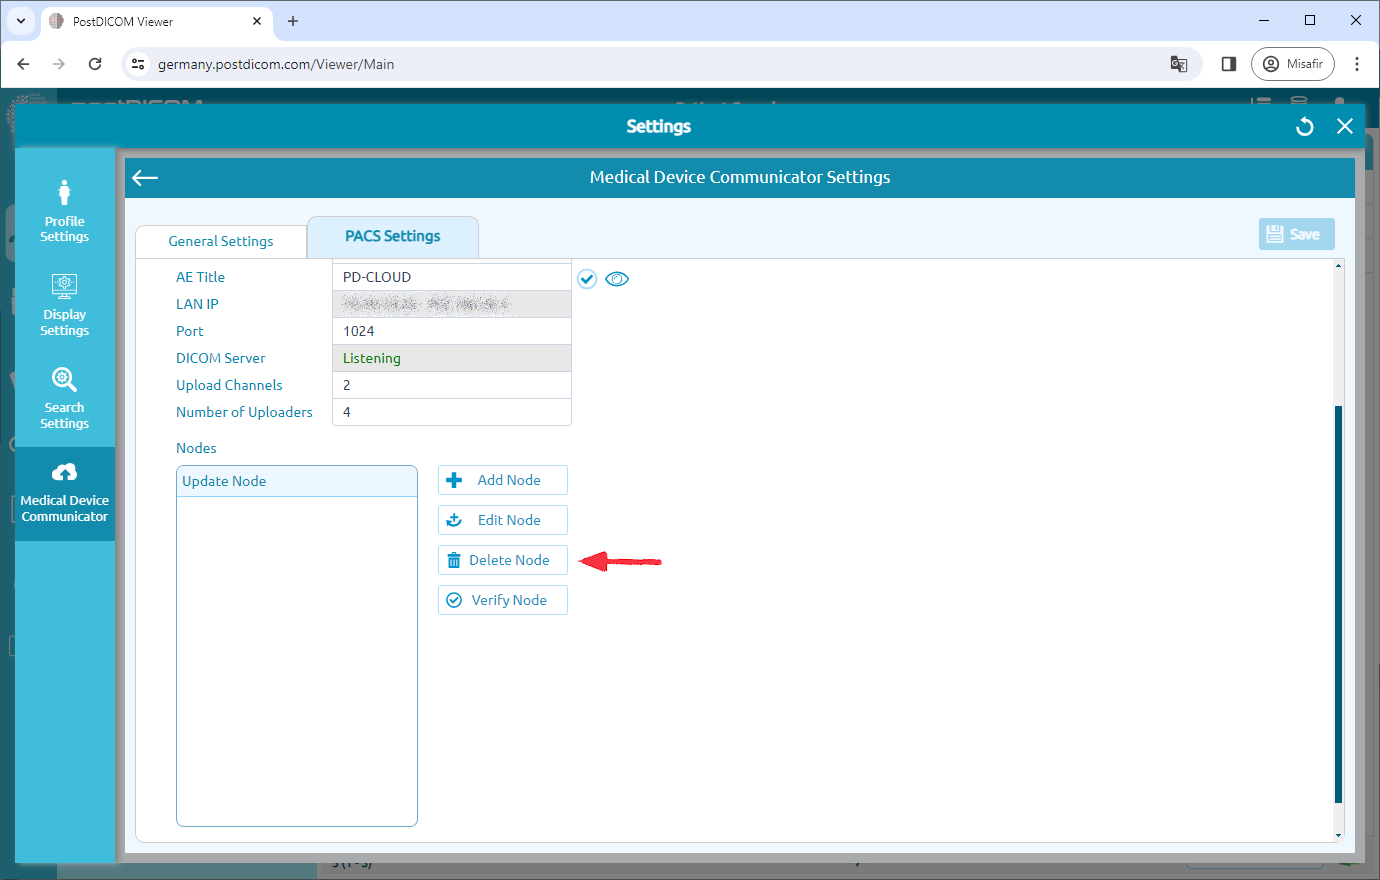
Deleting DICOM Nodes
To delete a DICOM Node, click on the node you want to delete. Then, click on the “Delete Node” icon on the right side of the page. After clicking the "Yes" button node will be deleted.
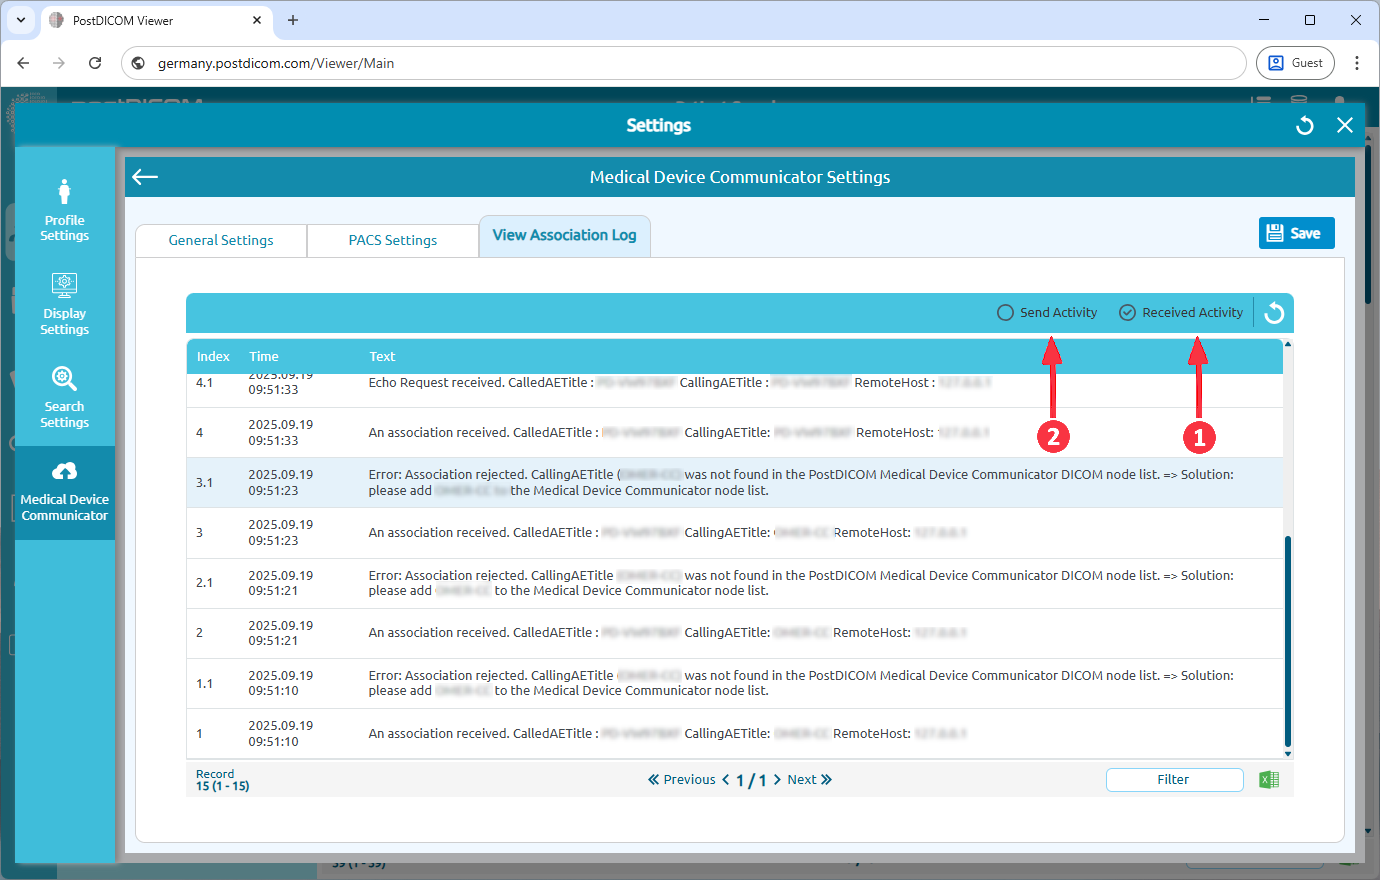
Viewing Association log
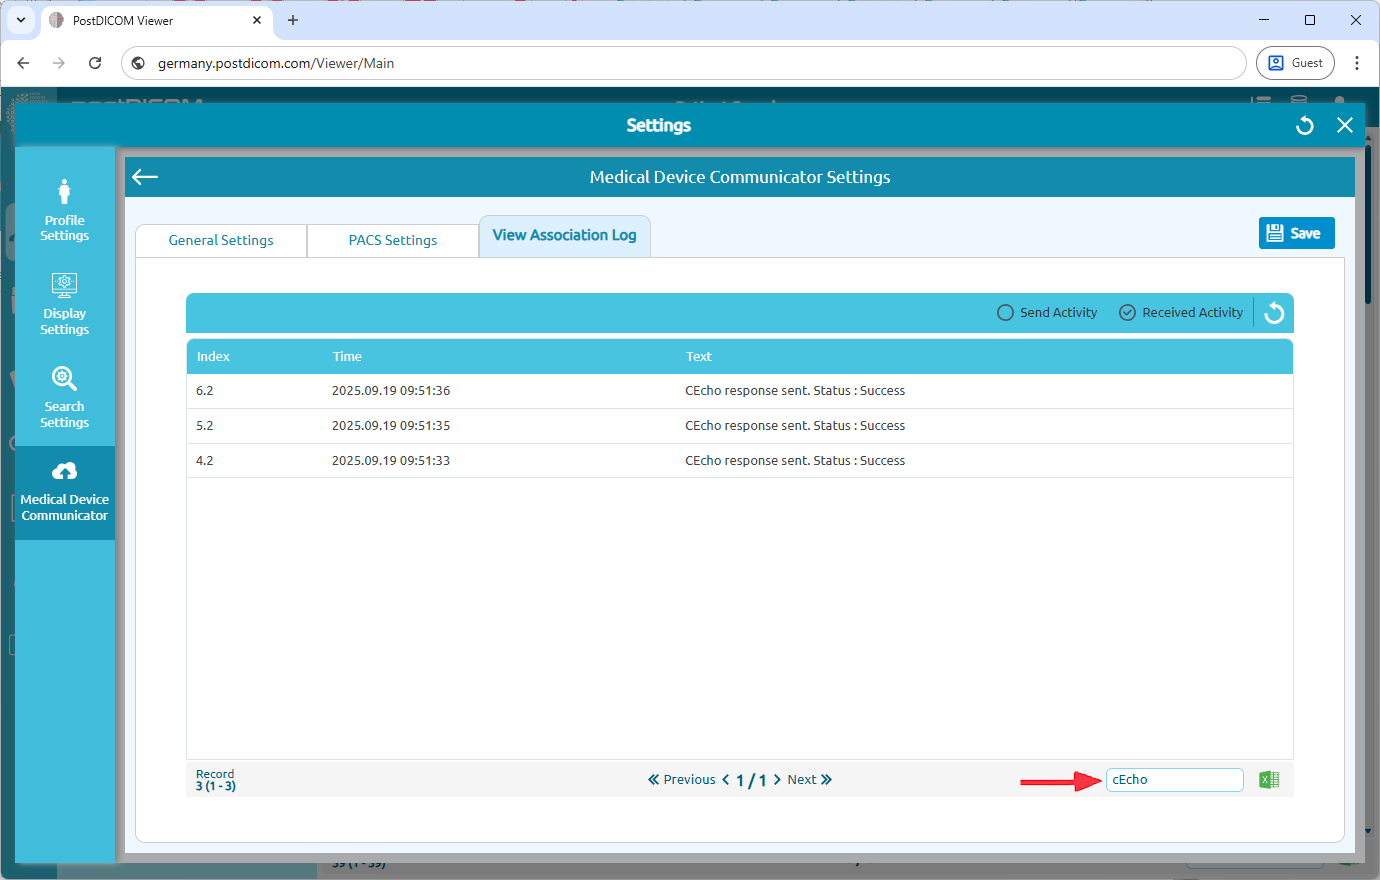
Go to the View Association Log tab.
On the opening page, you can view the association logs. You can select Send Activity or Received Activity.
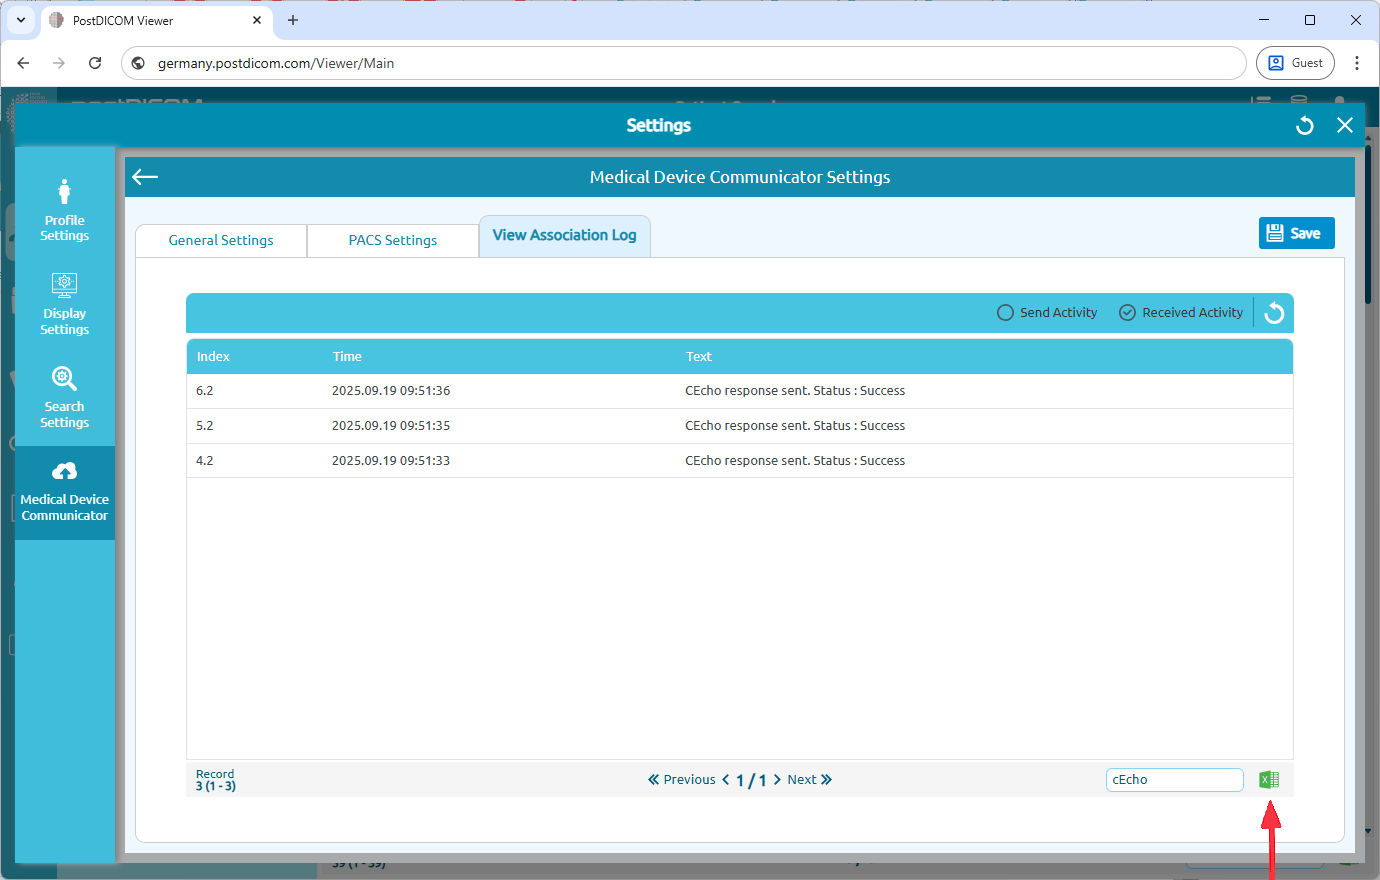
You can also filter the logs.
Additionally, you can export the logs to Excel by clicking the Excel icon at the bottom-right corner of the page.