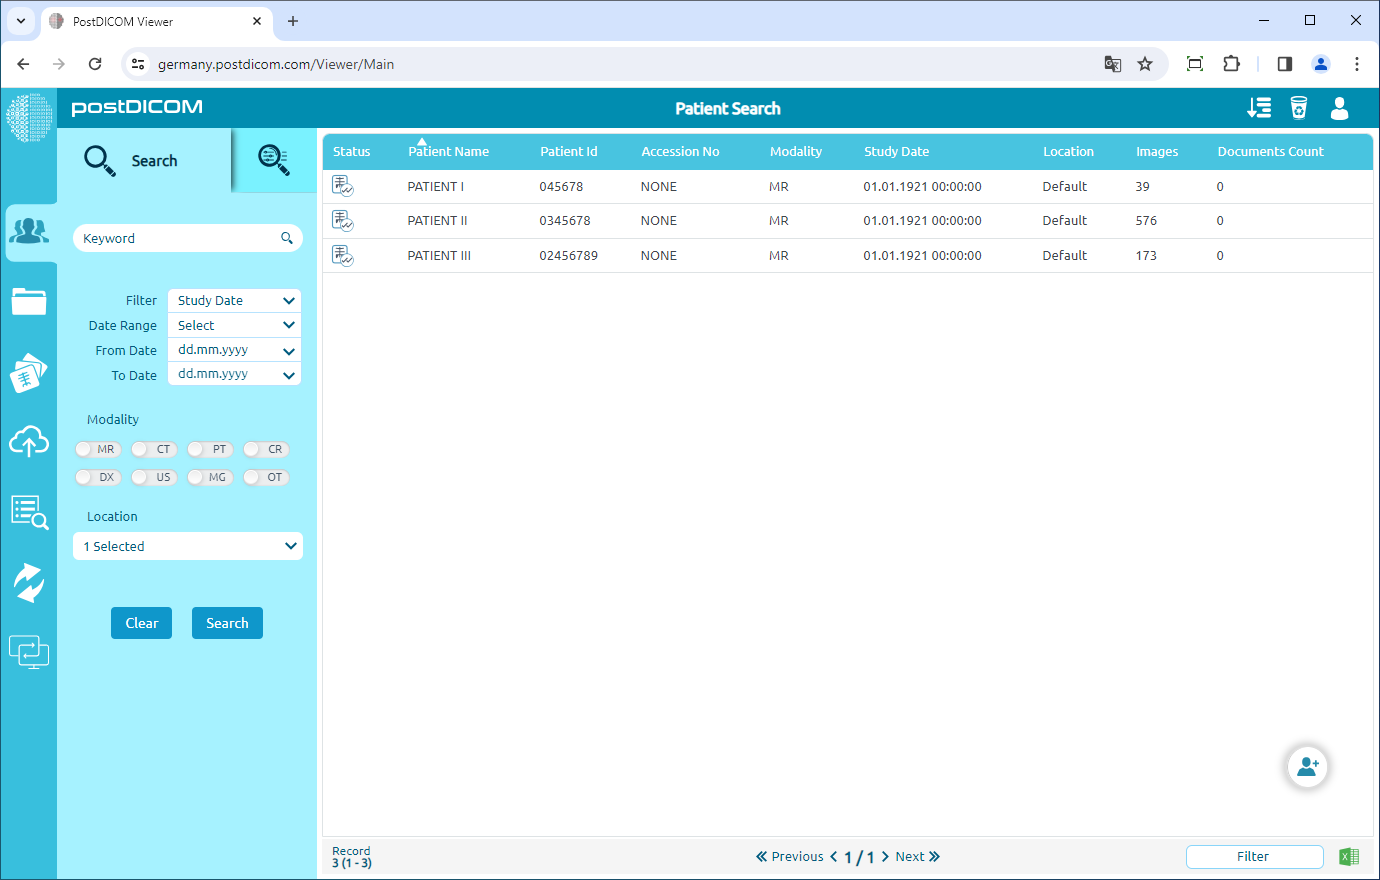
On "Patient Search" page, you will see all patient orders with patient name, patient id, accession no, modality,study date,location, images count columns information.
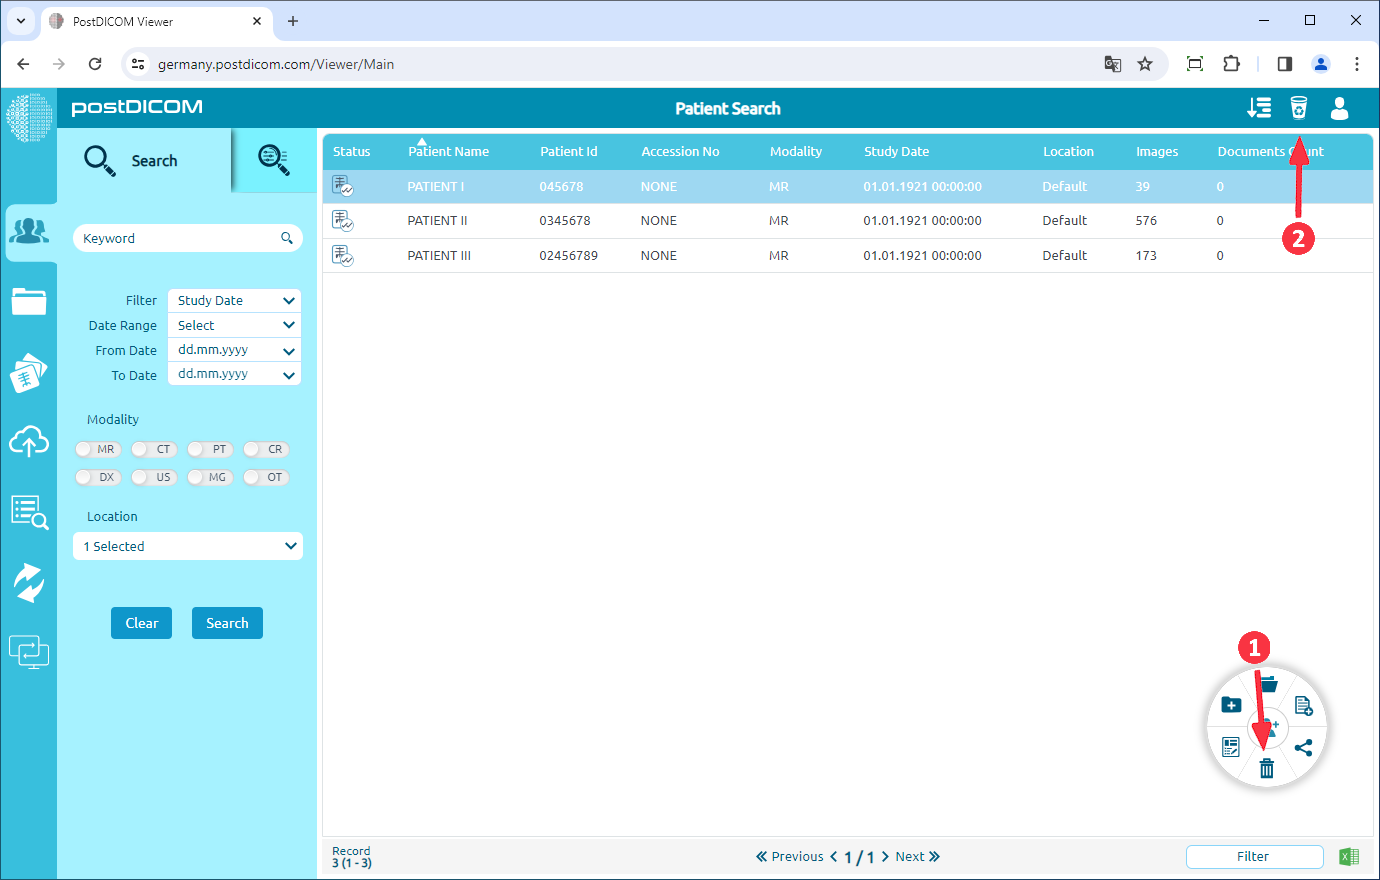
Click on the patient order, it will be selected and turn into blue color and order editing will be shown. Now, patient images and documents can be moved to the recycle bin in two different ways. The first one is by clicking on the "Move to Recycle Bin" icon on the menu. The second one is right-clicking on the patient order and clicking on the "Move to Recycle Bin" menu item
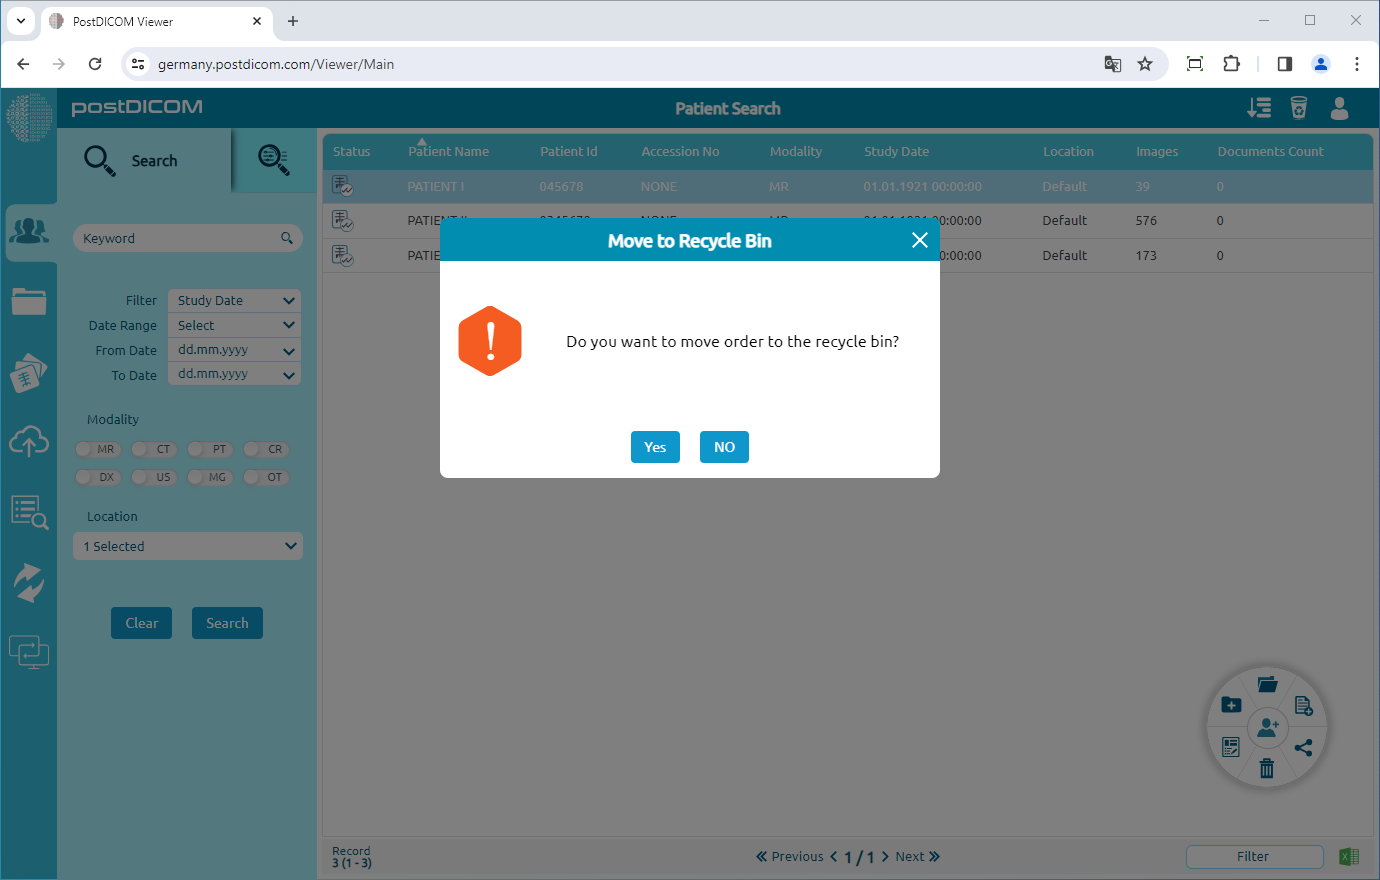
After clicking on the icon, a Message Box will be shown to confirm you to move the patient order to the Recycle Bin. Click on "Yes" to confirm that you want to move the order to the recycle bin. If you don’t want to move it to the recycle bin, click on "No".
If you click the "Yes" button documents will be moved to recycle bin.
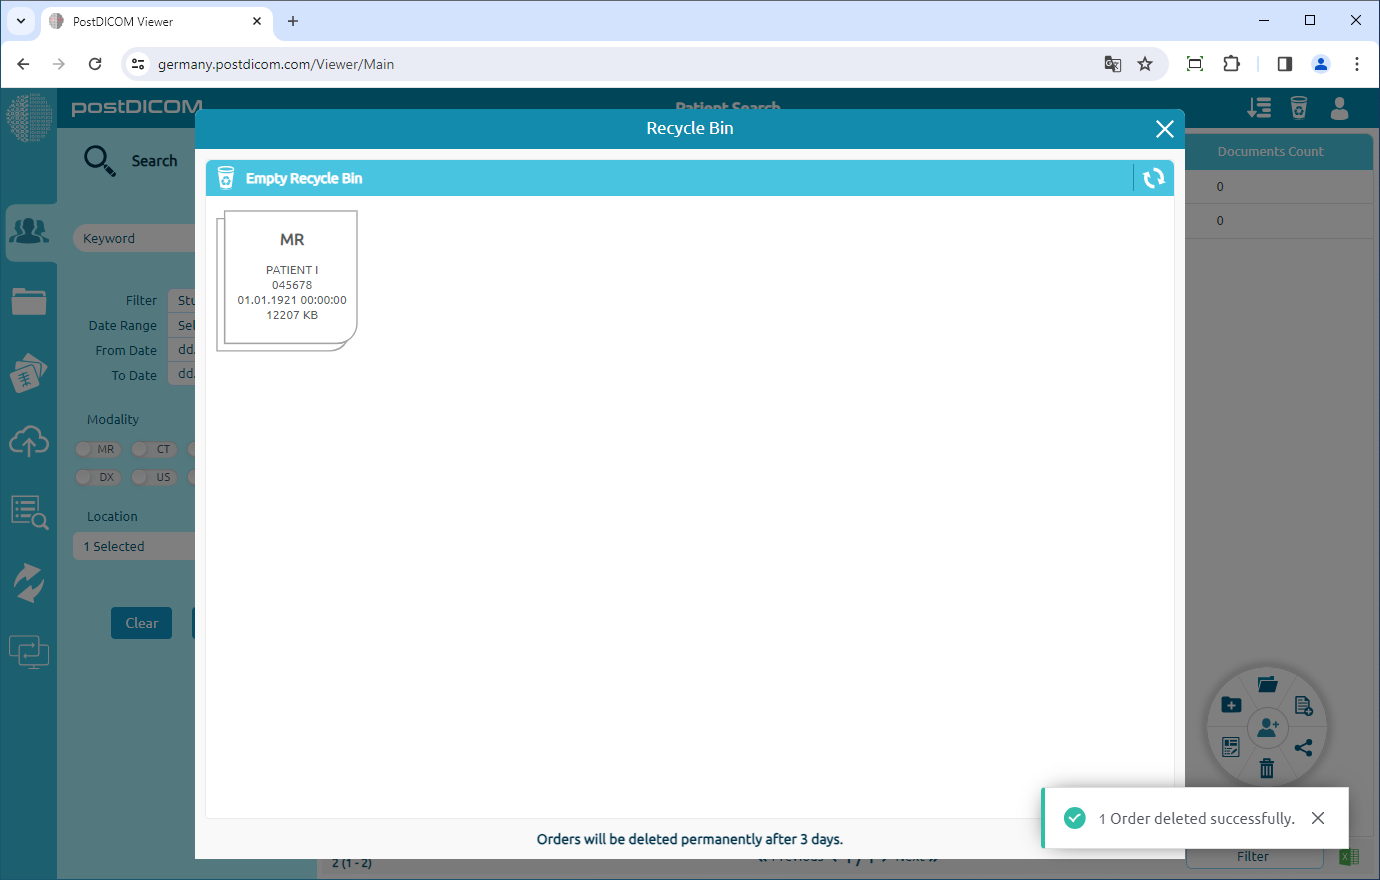
You can restore the documents or delete it permanently. Documents in recycle bin will be deleted permanently after 3 days.